When my kids were babies, their absolute favorite thing to do was to pull all the Tupperware and plastic food storage containers out of a small cabinet next to the stove. They loved taking everything out and dumping all the lids and bases on the floor before sliding the containers around in a loud, chaotic pile.
Even though it made a terrific mess, I was always happy to know that they were playing with something safe (plastic, non-breakable) and nearby, allowing me to wash a few dishes or quickly make dinner.
However, now that they are older and more interested in toys instead of plastic food storage containers, it was time to sort through our containers and give them a proper home in our kitchen.
This post contains affiliate links. As an Amazon Associate, I earn from qualified purchases.

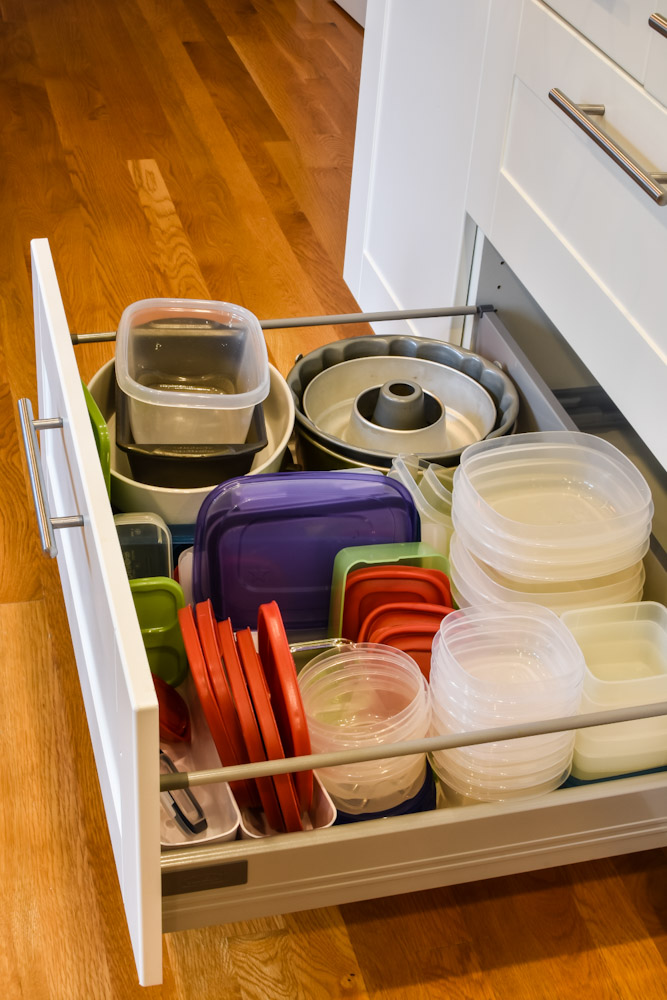
The problem with most Tupperware and food storage cabinets (including my own) is that they are overflowing. Too many containers of different shapes and sizes haphazardly thrown in a drawer that makes you feel like you are losing your marbles every time you open it.
But give this project 15 minutes and you can see results quickly, with little time and effort. All you have to do is take everything out of the drawer or cupboard and follow the 3 rules of Tupperware organization:
Rule #1 – Only keep Tupperware or food storage containers that are designed to nest or stack
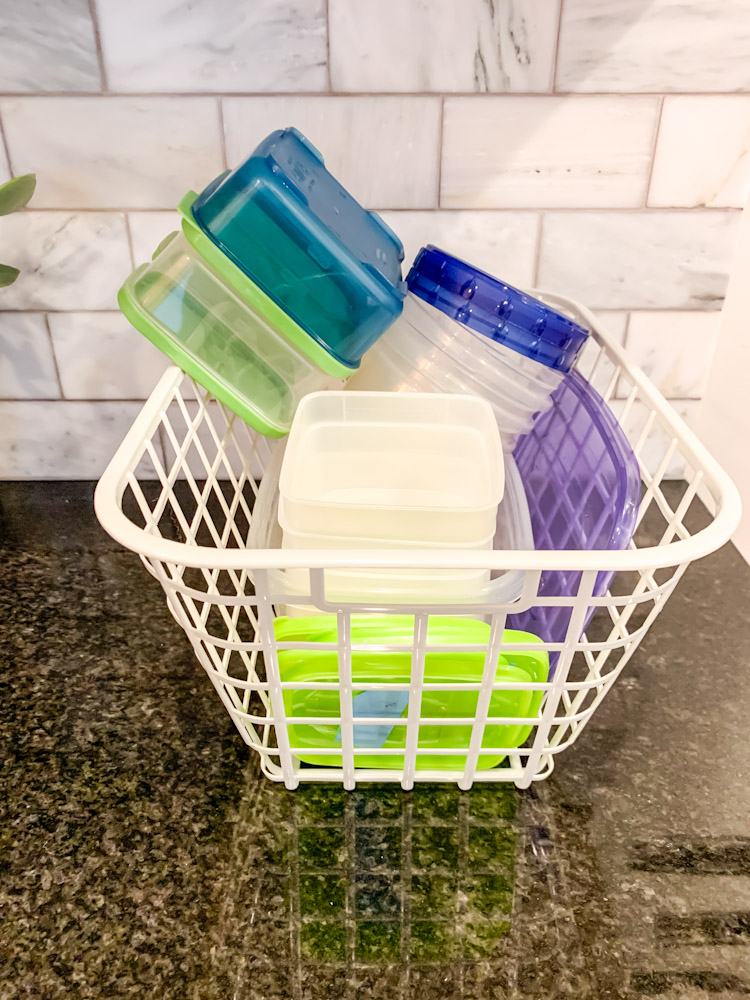
Yes, that’s right. Only sets that are designed to stack together. It’s nearly impossible to fit food storage containers into a drawer or cupboard if they aren’t the same style or brand. Mismatched, random food storage containers take up a lot of space.
It is 100% worth it to purchase a matching set that is designed to stack and nest nicely. While it does take a bit of an investment, it’s one that pays off in the long run.

I’ve used Rubbermaid plastic food storage containers for years and love how the different sizes are designed to stack neatly. The lids click together to keep them organized and the sizes are perfect for leftovers and lunches.
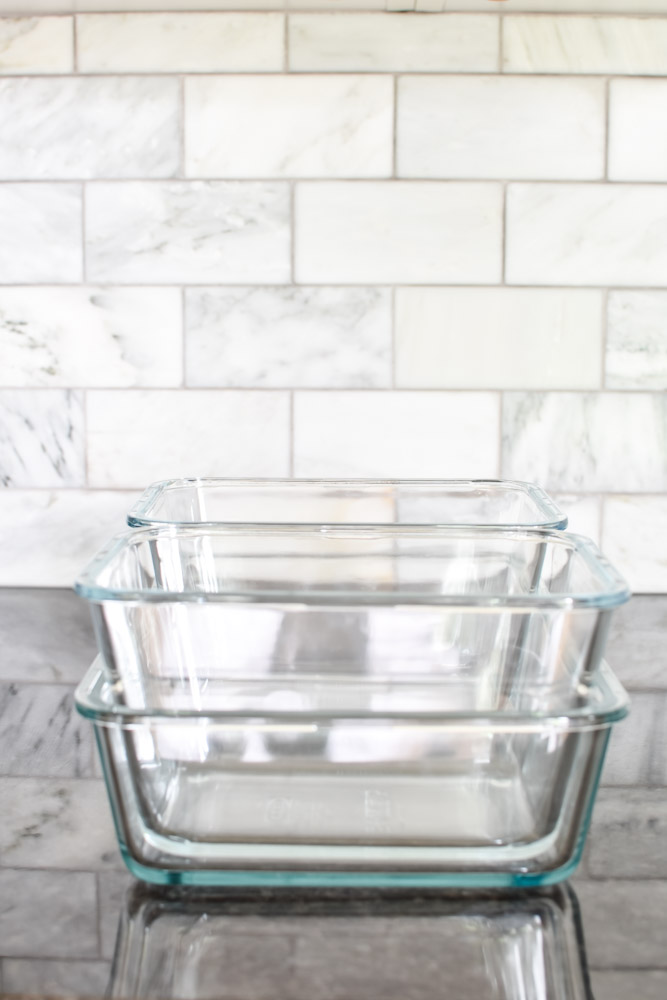
Glass containers are another durable, beautiful choice. I’m starting to slowly upgrade my food storage containers to glass as the budget allows. After researching the different options, I decided to go with the Ikea 365+ glass containers. I chose them because of the range of sizes, and the fact that they are designed to fit together for storage.

Rule #2 – Separate the lids from the containers and stack them vertically
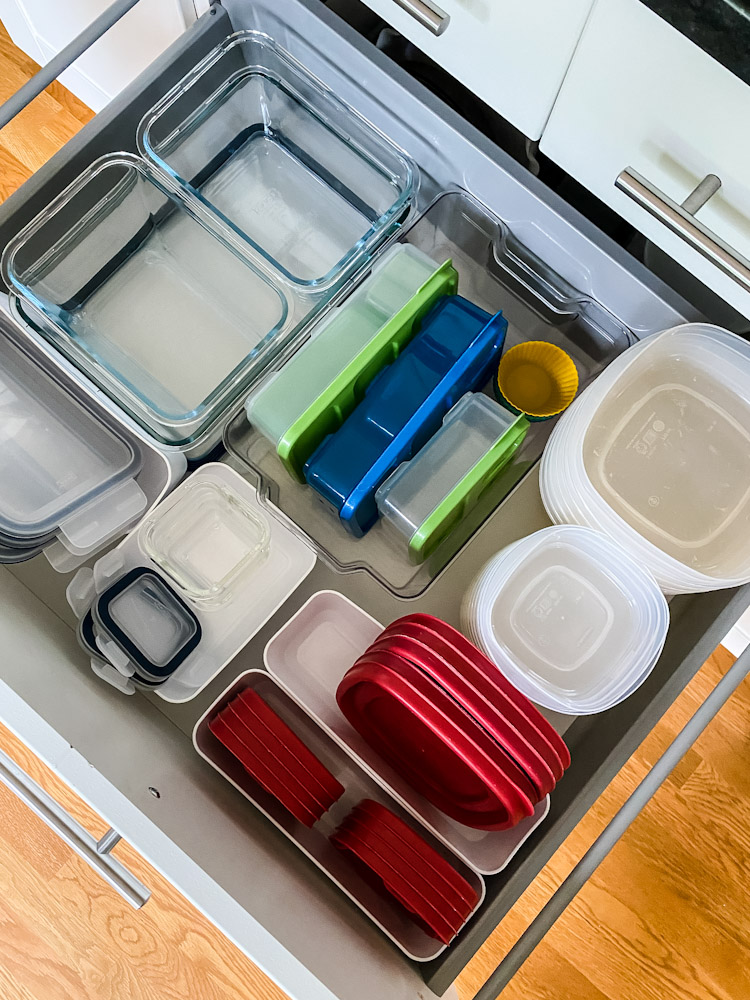
The key to maintaining the organization of your food storage containers is to store the base separately from the lid. Stack the lids by size and place them in a narrow bin or organizer that will allow the lids to stand vertically or at an angle. It’s easy to reach in to grab just the lid you want without disturbing the rest of the lids.

We used to stack our containers with the lids and every time I needed to put some leftovers away I had to take out the entire stack, remove the lid I wanted, and then place everything back in the cabinet. It was a pain.
Now that we stack our lids vertically our drawer stays organized. Since it’s easy to unload the dishwasher and put everything away, we are much less likely to toss the pieces into the drawer and slam the door.
Rule #3 – Minimize your set of Food Storage Containers
I guarantee that we all have more food storage containers than we actually need. Collections seem to multiply easily and are often not purged because they are all useful. Now, this may seem controversial, but I’m advocating that you get rid of perfectly good containers in the spirit of a more organized, easy to use drawer.
To do this you need to sort through what you have. Pull out every single container you have in your kitchen and pile it on your counter. Now, put like containers together and match the lids up with the correct container. Great. You should be able to see everything you have now.

Minimize your food storage containers
Do this quickly in three passes, without taking too much time to analyze.
Pass 1: Remove any containers without a lid. Or any lids without a corresponding base.
Pass 2: Remove anything that is stained or misshapen or past its prime. Maybe the dishwasher got the best of a container, or spaghetti sauce has it permanently stained. These are good candidates for removal.
Pass 3: Do you still have a lot of containers? Minimize to just the bare minimum of what you need. Here are a few ideas to help you eliminate more:
- If most of your containers are square, but you have a few round shaped containers, you could remove the round containers to save space. We did this, even though we use the round containers frequently because we wanted the space savings.
- Toss any free storage containers (such as yogurt or sour cream containers) these aren’t designed for repeat food storage.
- Are any of the styles frustrating to open or close? Consider just keeping just the easy to use containers.

Remember, opening your Tupperware cabinet doesn’t need to make you feel crazy. Following the above 3 rules will help you streamline your food storage container organization and help you find (and put away) exactly what you want.
Interested in watching how I organize my drawer? Check out my TikTok video of this drawer in action:
@smallishhome Organizing Tupperware and food storage containers! #homeorganization #organizing #organizingtips #kitchenorganization #kitchenstorage #tupperware
Are you on TikTok? I’ve been having a lot of fun making these videos (and watching other videos, to be honest). Come follow me @smallishhome to see more as I work through reorganizing every.single.drawer in my kitchen.

[…] 3 Rules That Revolutionize Tupperware and Food Storage Organization […]