See how we took our small breakfast nook from bland and boring, to bright and cheery! All it took was a fun new wall mural, some chair swapping and fresh art. Breakfast will never be the same!
Well here we are, ready to reveal the new and improved breakfast nook! If you remember, I’ve been on a big planning kick and recently posted the moodboard for this breakfast nook.
And while I was nervous to get started, I’m so proud of myself for taking on this project because I’ve never installed wallpaper before and really didn’t know if it was something I could do by myself.
But, I gave it a go one afternoon while my daughter was napping and was pleasantly surprised by how easy it was!
Was I tired at the end? Yes, yes, tired AND sore. But the impact it made to the room made it all worth it.
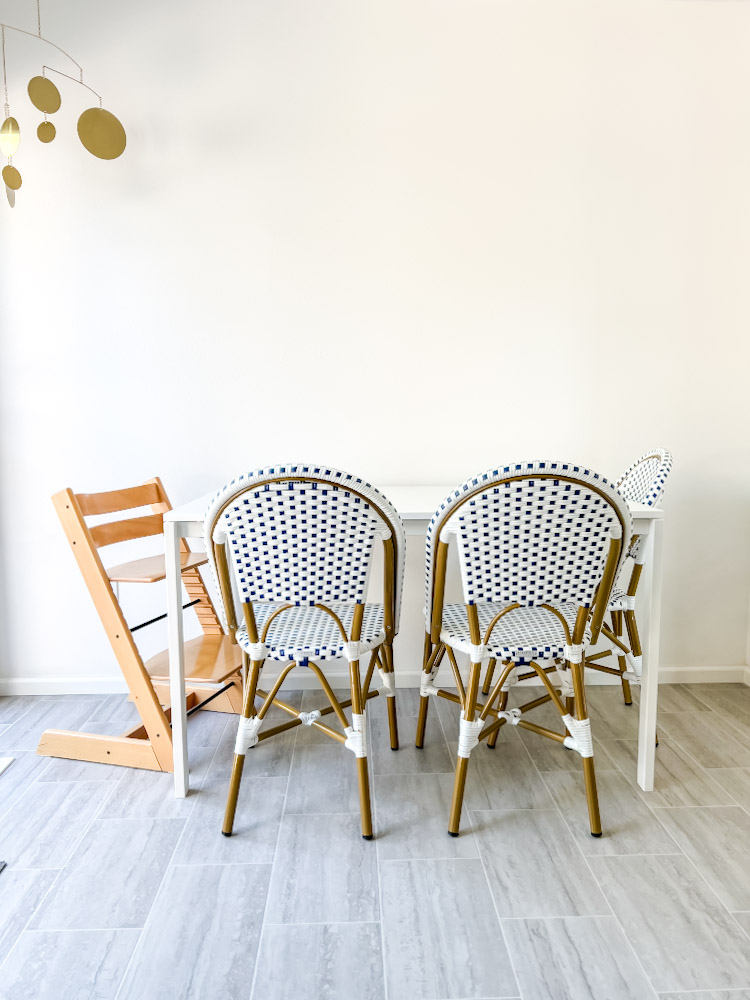
Just look at this before/after:
Before:
After:
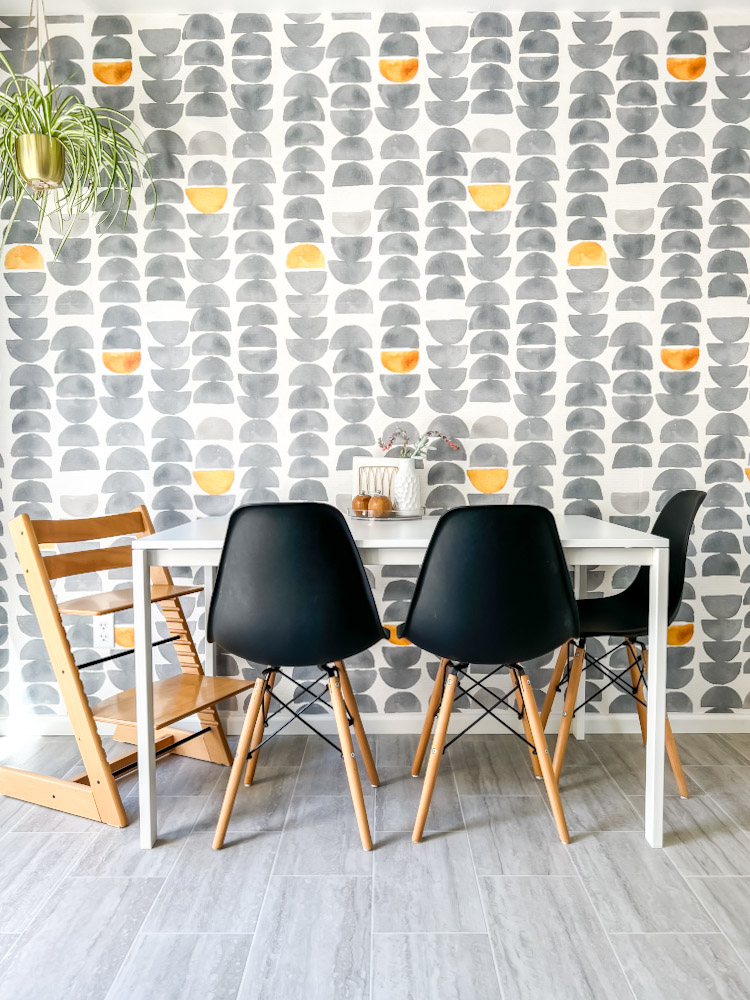
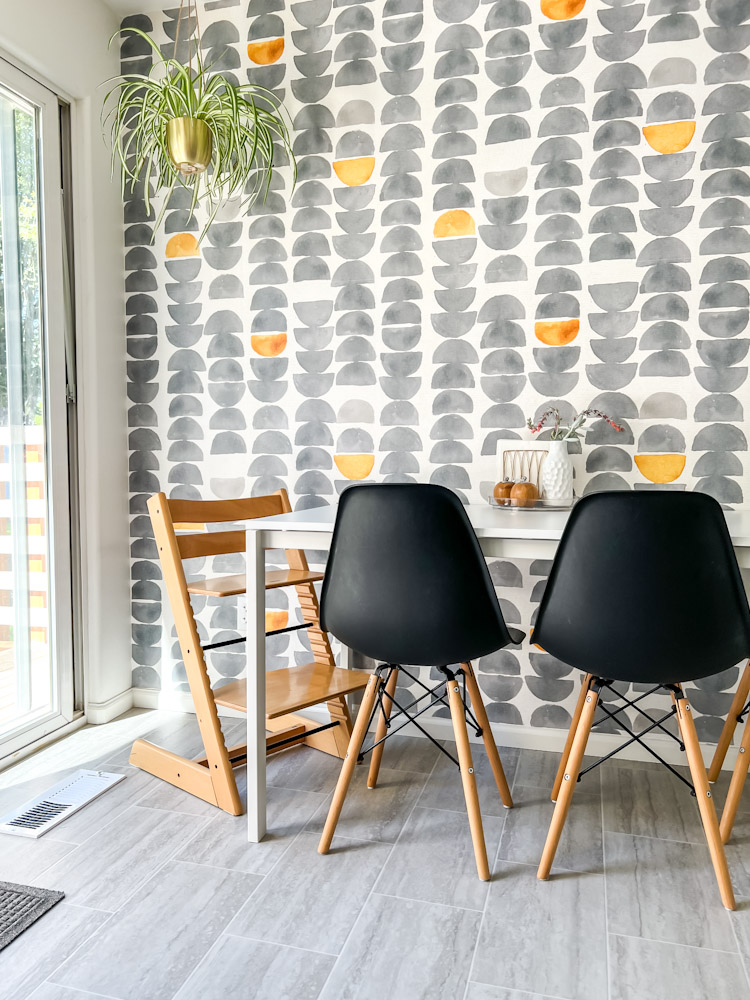
breakfast table / dining chairs / tripp trapp chair / brass napkin holder
What a difference, right?! Adding the geometric grey and yellow wallpaper really changed the whole feel of the room. It added a depth that wasn’t there before with the plain white walls and honestly makes this teeny tiny room feel much bigger.
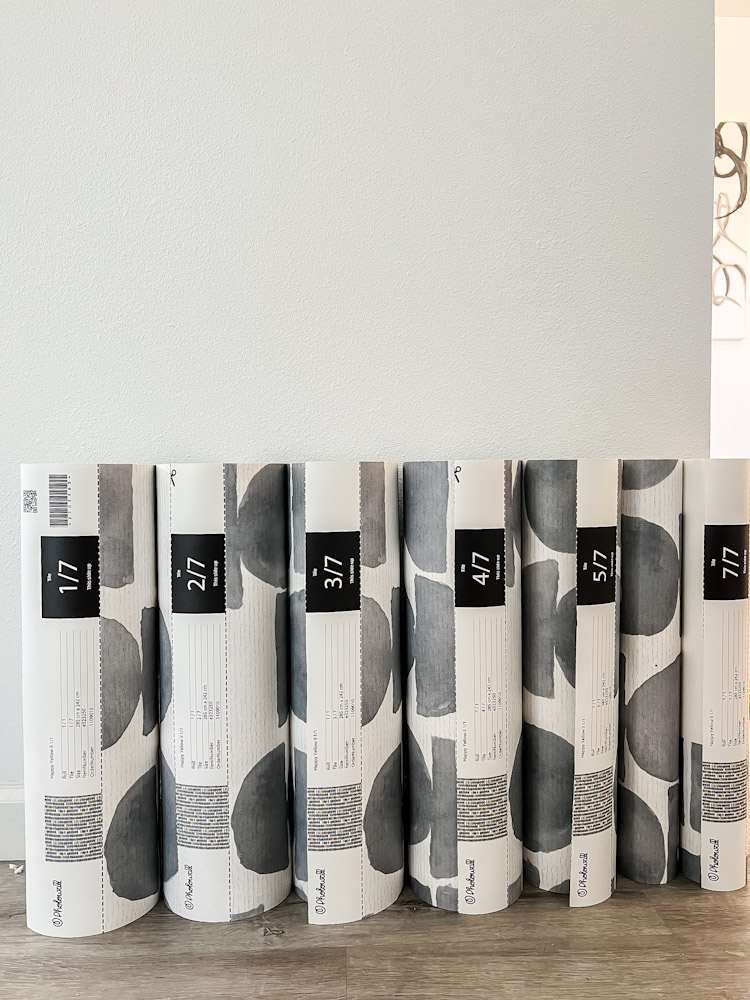
The wallpaper was technically a wall mural and comes in these handy numbered sheets, which make it really easy to line up the patterns. It really is as simple as putting paste on the wall and sticking the paper to it, but here’s the step by step:
How To Install A Photowall Mural
Step 1: Prep
Unroll the roll of paper and cut along the dotted lines. This will separate the panels into numbered sheets which make it very easy to line up the pattern.
Step 2: Supplies
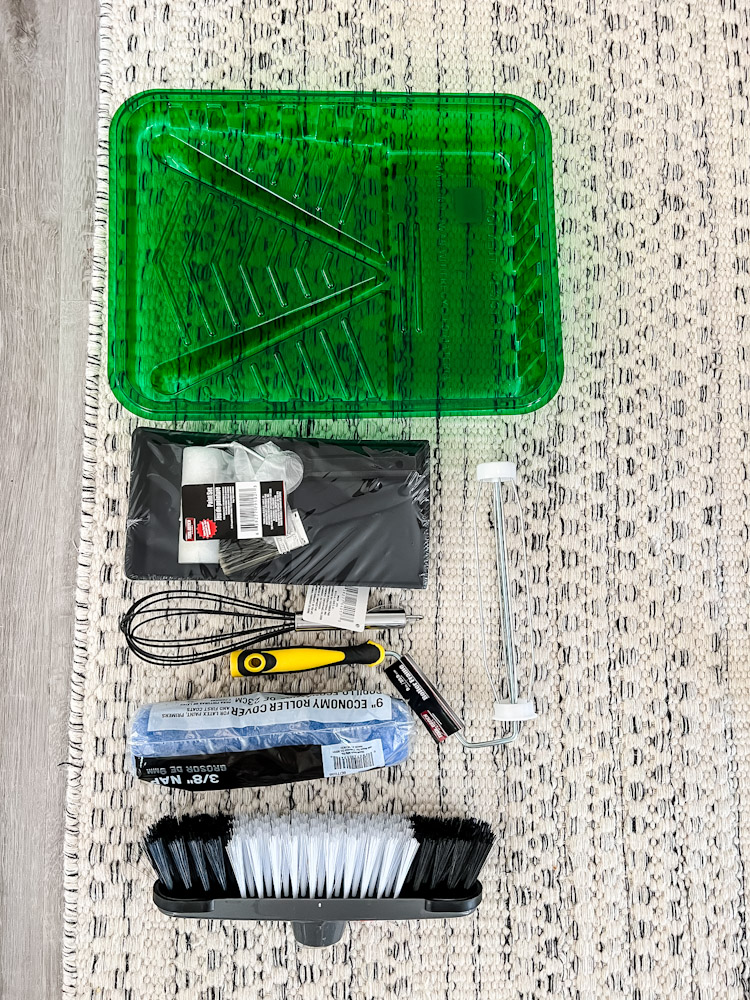
You can purchase the tools needed to hang the wallpaper from Photowall, but if you forget like I did, a quick trip to Dollar Tree will get you everything you need for cheap. Here’s what I purchased and used:
- plastic paint tray
- paint rollers – small and large
- paintbrush
- whisk
- broom bottom to use as a brush to smooth the paper
- scissors and and a razor
- bucket
- paper towels
Step 3: Mark your first vertical line
I used a measuring tape to measure in a little less than one panel width from the left side of my wall. From there I used my long level to draw a vertical line from ceiling to baseboard. This will be your guide line for ensuring that the first panel is hung straight and will ensure the rest of the panels go up easily.
Step 4: Paste
Mix the paste by whisking the included powder into 1 gallon of warm water. Let stand until thick and gummy.
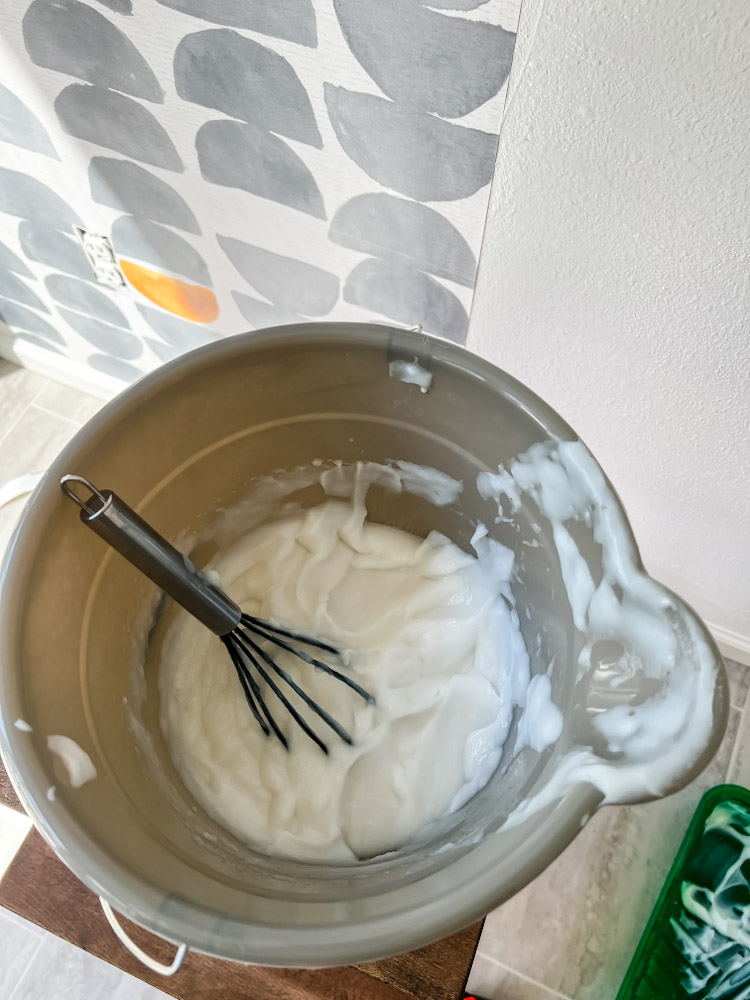
Brush the paste on the wall. I tried using a roller, but found it didn’t spread the paste thick enough, so I switched to a normal paintbrush. Aim for covering one panel width at a time so that the paste doesn’t dry out while you are working.
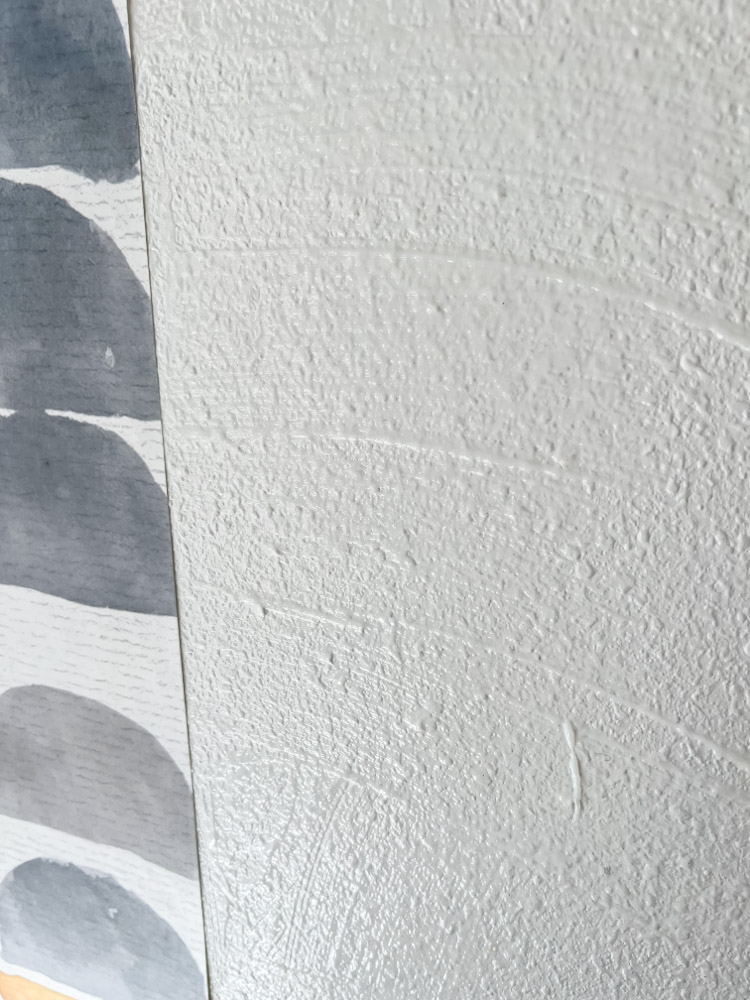
Step 5: Paper
For the first roll of paper, line the right edge up with your guide line. Press to the wall and trim any extra near the ceiling or hanging past the left hand edge of the wall. Cut holes for any light switches. Once the paper is up, use your clean brush or broom to smooth out any bubbles and ensure the paper is stuck to the wall.
For the next rolls, line up the pattern as you go and make sure the seams of the two panels are touching, but not overlapping. Press and wipe the seams with paper towels to remove excess paste and ensure the seams are flat.
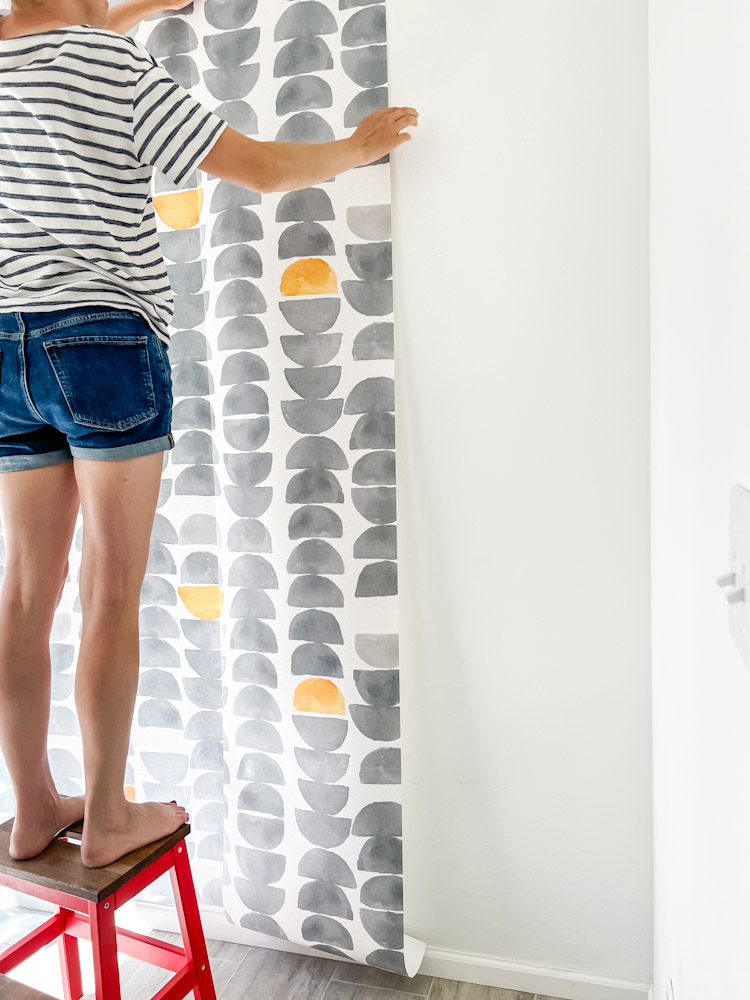
Step 6: Repeat
Repeat the process of brushing the paste on the wall and then hanging the paper from the top until all the panels have been used. Trim around the edges to make sure the corners lay flush with the wall. Smooth out any remaining seams or bubbles and use paper towels to wipe off any paste on the outside of the paper.
And that’s it! I found I needed to wipe up a few drips on the floor (mostly because I didn’t lay down a drop cloth). But the paste cleans up quickly and easily with water.
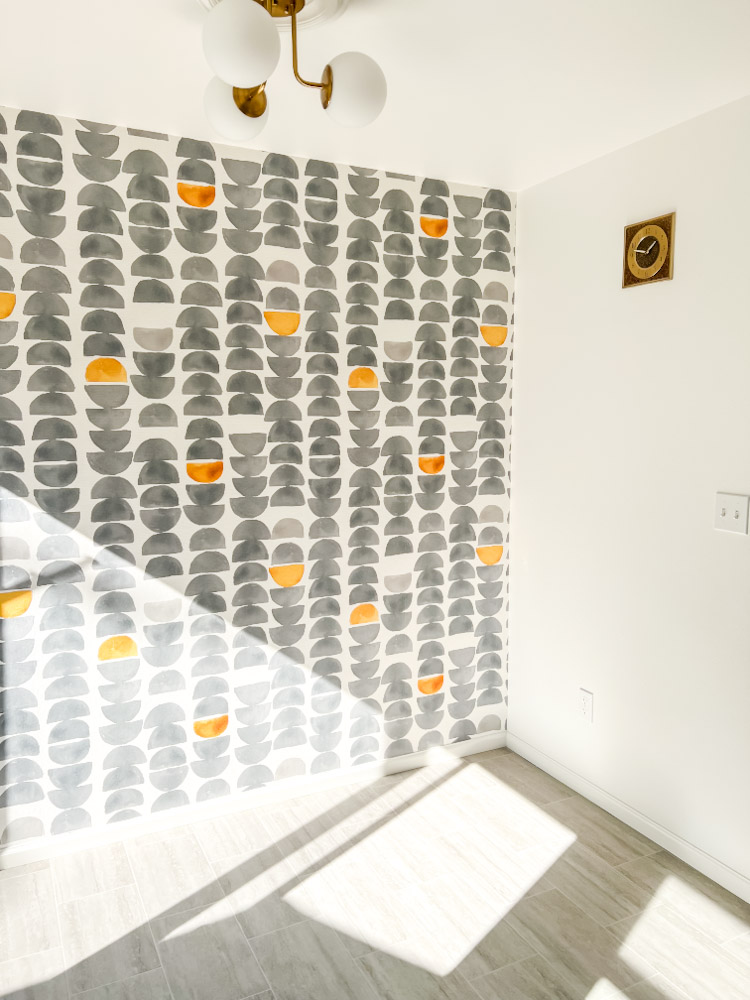
Once the wallpaper was dry, I brought in our breakfast table, some black chairs that used to be around our dining room table and a plant from the living room. Nothing like shopping your house to get a whole new look!
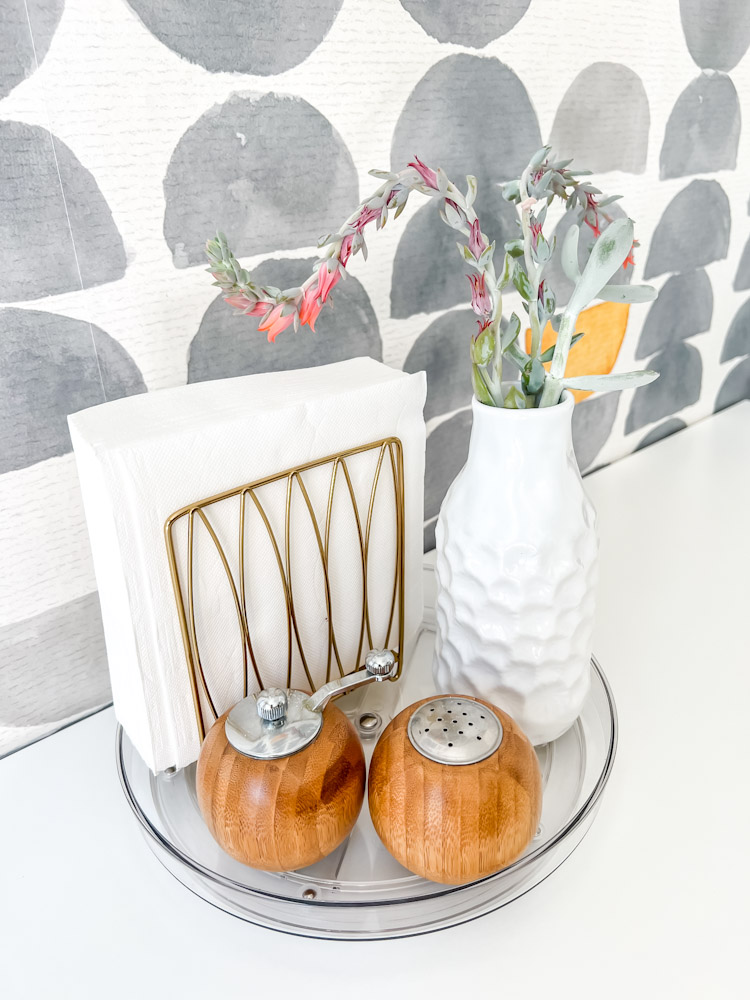
I added a clear turntable to the top of the table to hold napkins, salt and pepper shakers and a small vase for flowers (or succulent cuttings in this case.). With kids, I can’t stress enough the importance of having napkins close to hand. Ha!
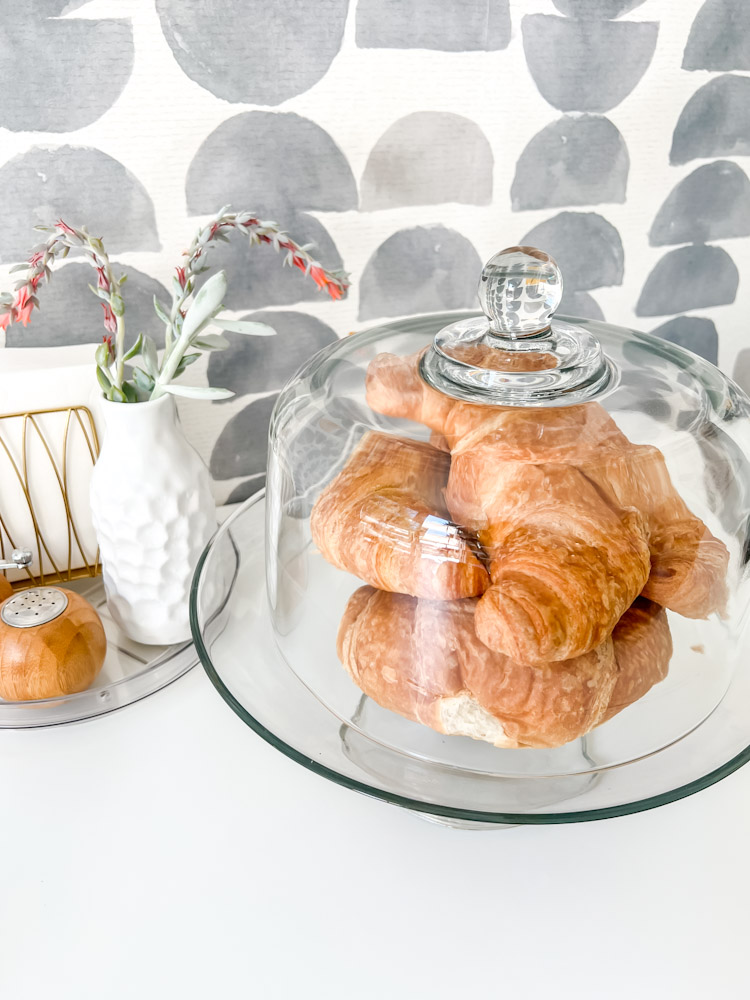
And of course, who can resist a plate of fresh croissants? (Well, actually I can since I can’t eat gluten, but I do really love putting these out for my family to enjoy.)
Overall, I feel really happy about this mini makeover. It feels very energizing to take on a quick-win project like this and makes me excited to tackle more in our house over the next few months.
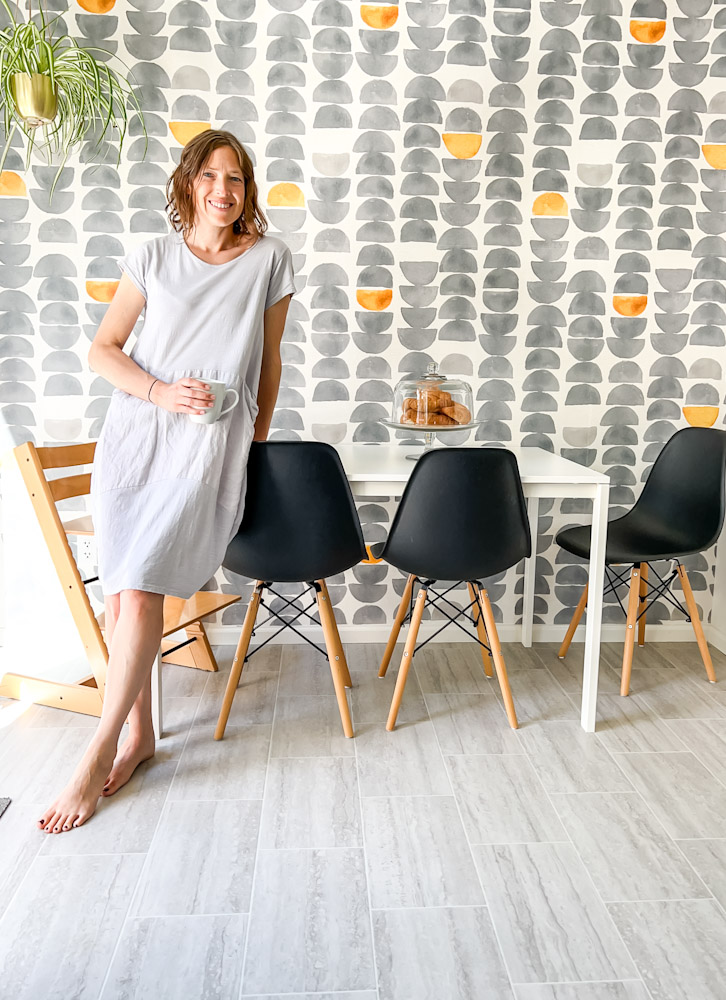
And if you would like to watch how this all came together, check out this 60 second video:
@smallishhome Our small breakfast nook was bland, claustrophobic and in need of a refresh. A new wall mural and some swapped out accessories were just the ticket to brighten the space and make eating much more enjoyable. @Photowall #photowallsweden #wallpaper #interior #wallart #fyp #breakfastnook #smallkitchen
Next up – the laundry room/mudroom! This room has so much potential and I’ve been thinking/planning/scheming for months on how best to add functional storage. Be sure to follow along on Instagram as I cover the behind the scenes of the project!

Leave a Reply