Are you looking for an easy way to modernize your bathroom hardware? Look no further than spray paint. For less than $6 you can DIY a cohesive set of bars, hooks, and holders that elevate the look of your bathroom.
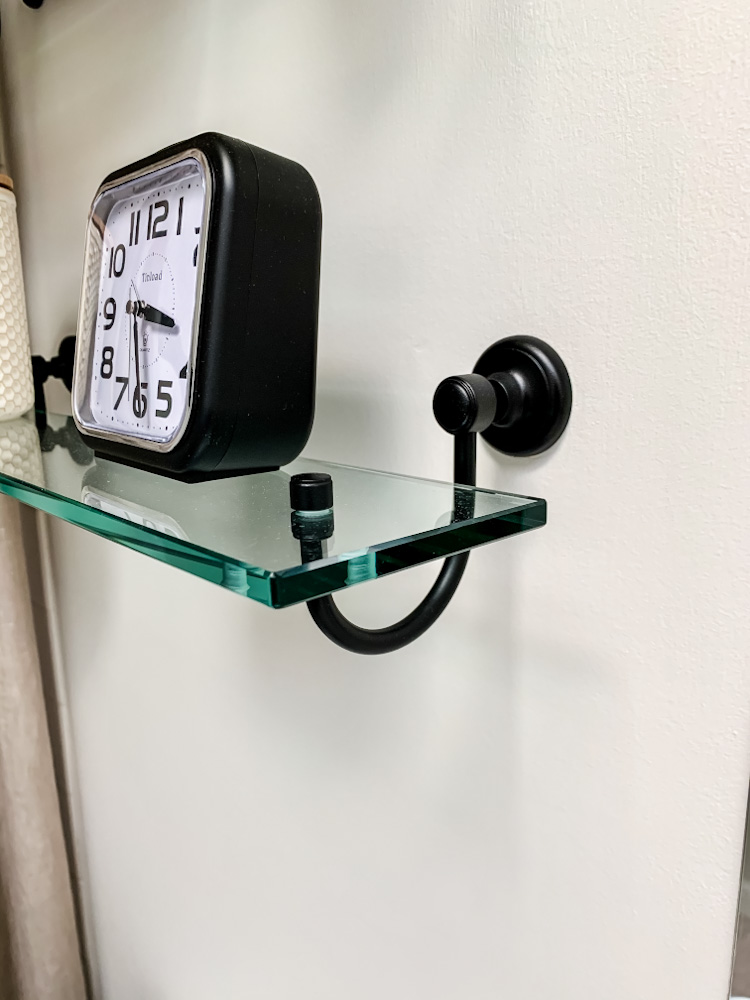
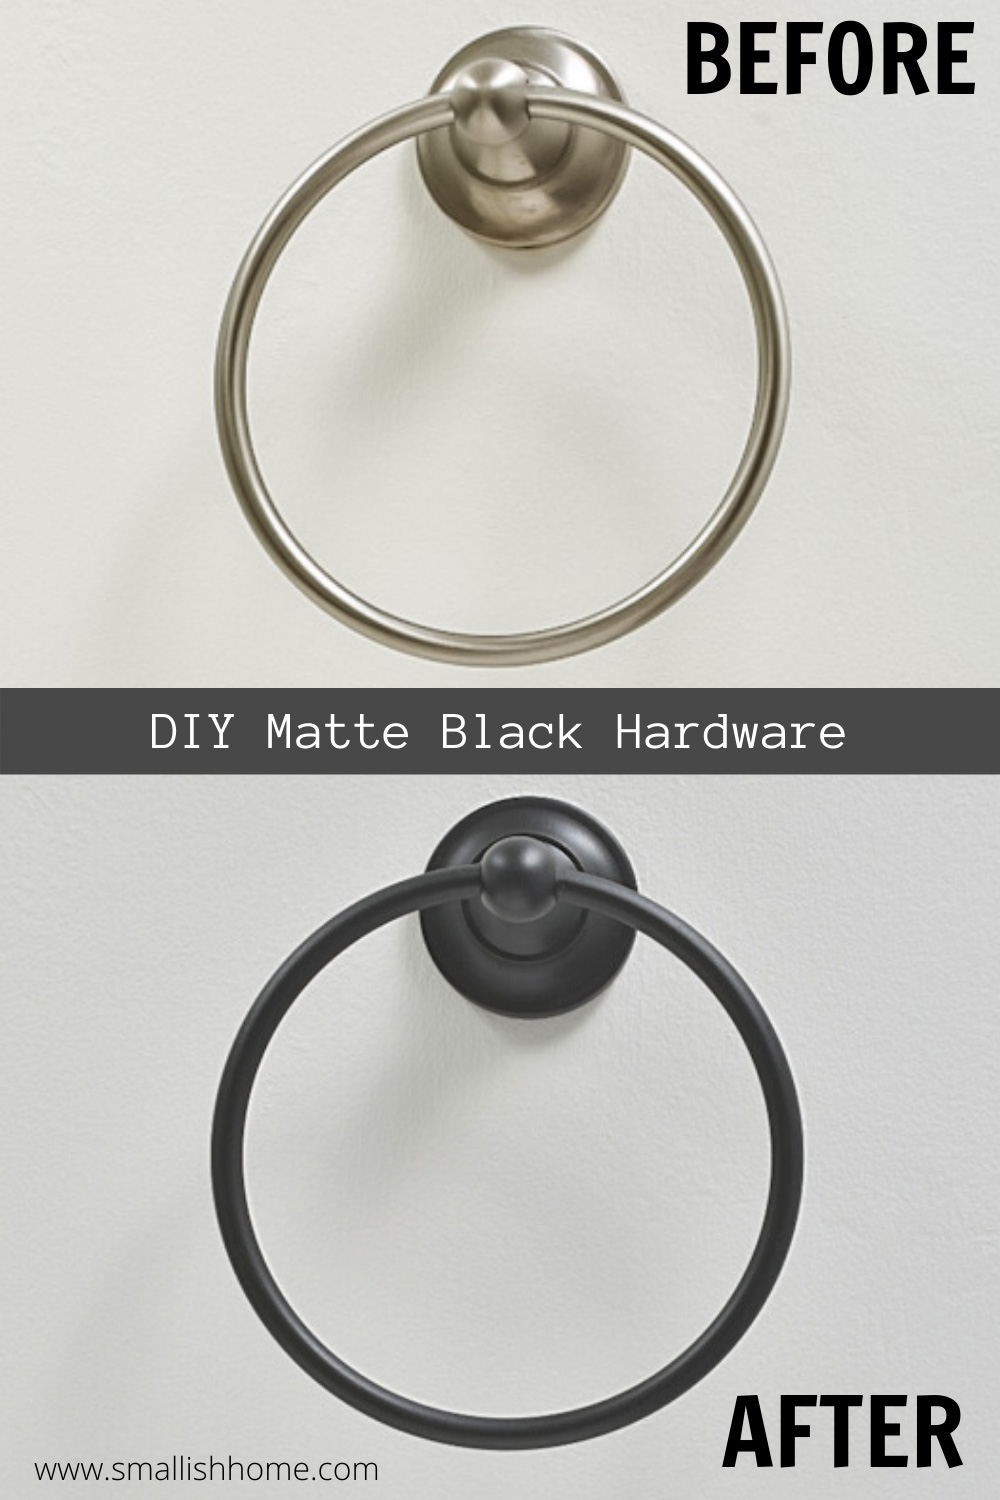
After spending $80 on spa paint for my bathroom I needed a budget-friendly way to update the rest of my bathroom. Specifically the hardware. The shelf brackets, towel ring, and toilet paper holder were all a brushed nickel and while there is nothing wrong with that finish, I was ready for a change.
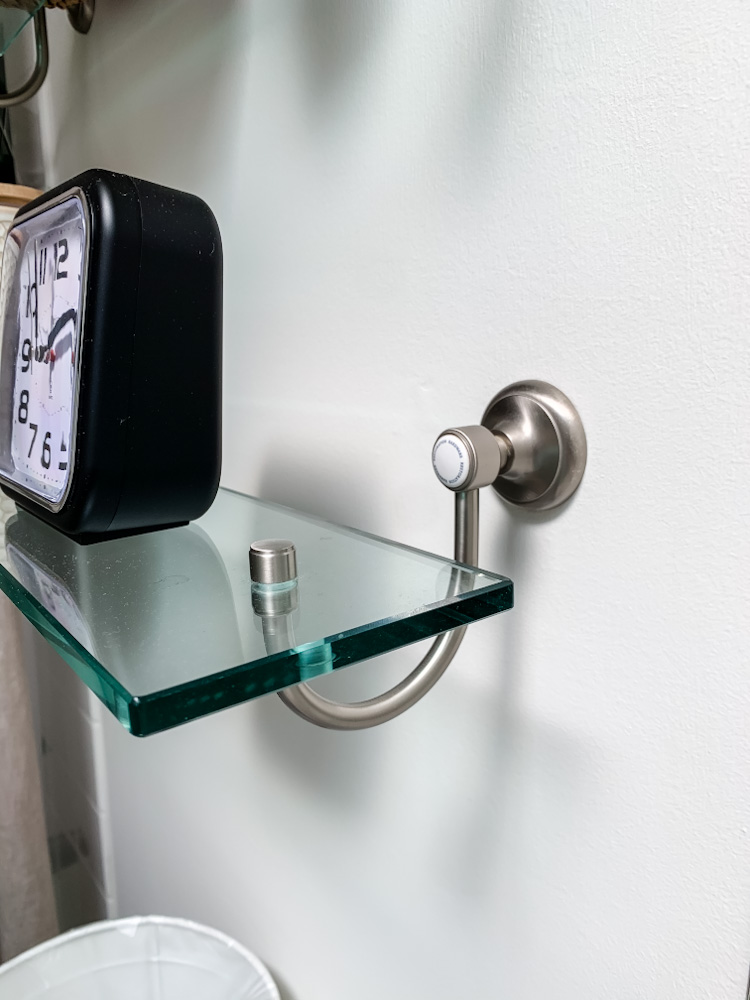
I mean, when you live in a house for 10 years, sometimes you just want something different.
So I took a screwdriver and removed the hardware. I figured the worst that could happen is it wouldn’t turn out and I would just eventually buy new. But spoiler – it worked. And it was cheap and easy!
Prep
With any paint project, preparation is key. I took my time removing the hardware, giving it a good clean, and sanding it all over with medium-grain sandpaper. My goal was to rough up the finish to give the new paint something to stick too.

Make sure to remove the little screw that holds the fixture to the wall bracket and keep it somewhere safe! I placed all mine on a labeled piece of masking tape so I could remember which went with which fixture. These do not need to be painted, nor should they be in the fixture when you paint since you will need to be able to screw them back in when you remount your hardware.
Paint
I love the look of matte black hardware in a bathroom. It looks so crisp and brings great contrast to a small room. So I decided to give black spray paint a try. I used Rustoleum 2x Semi-Gloss in Black. I wanted just a little bit of shine so that it looked like metal, but not enough to make it look glossy.
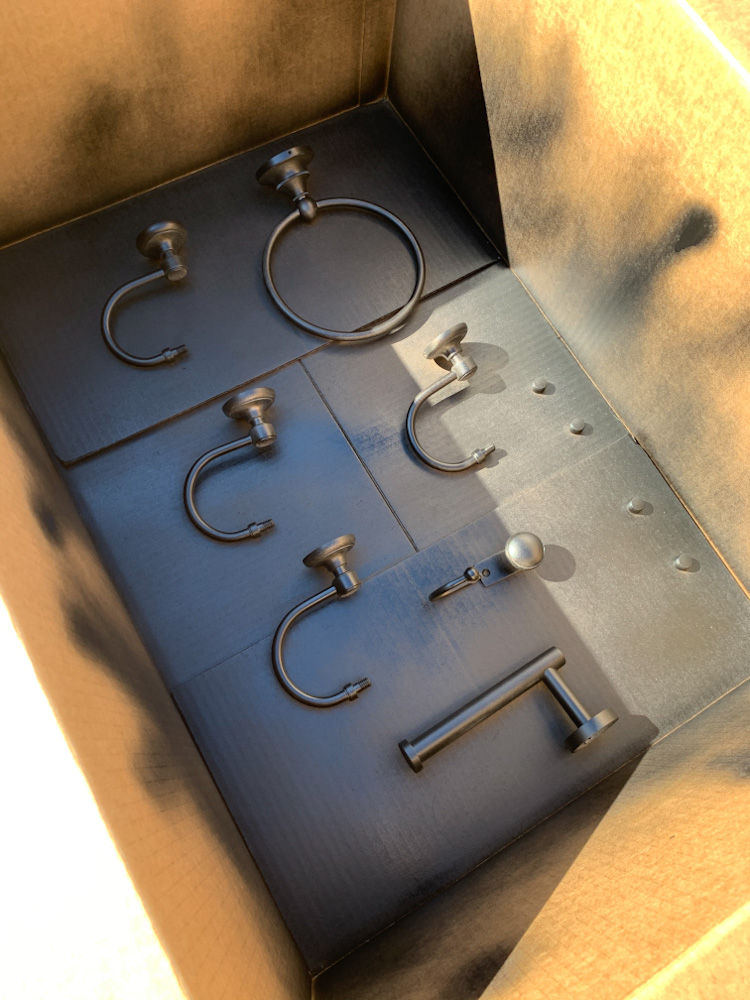
I set each piece in a large cardboard box and started with very light coats. After each coat, I would close the lid of the box to prevent dust or tree leaves from blowing on the hardware and messing up the finish. I sprayed many light coats waiting anywhere from 15-30 minutes in between. Once the visible side looked good, I let the box sit in my garage overnight.
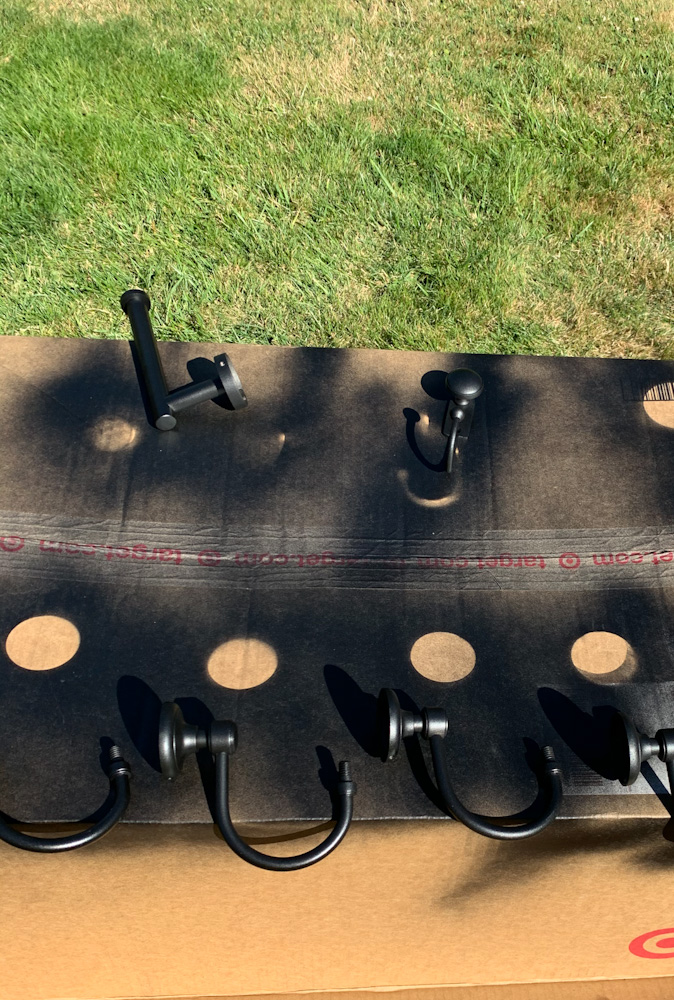
The next morning I flipped over the hardware and repeated the process on the other side. Again, it was many light coats with drying time in between. Finally, I placed each piece on top of the box and sprayed a few additional coats to ensure everything was evenly covered.
Cure Time
Once I was happy with the coverage, I let each piece dry fully. Then I carefully moved them to the garage where they cured for 6 days. This allowed any off-gassing to occur in the garage (instead of my house) and let the paint cure to a nice hard finish.
Reinstall
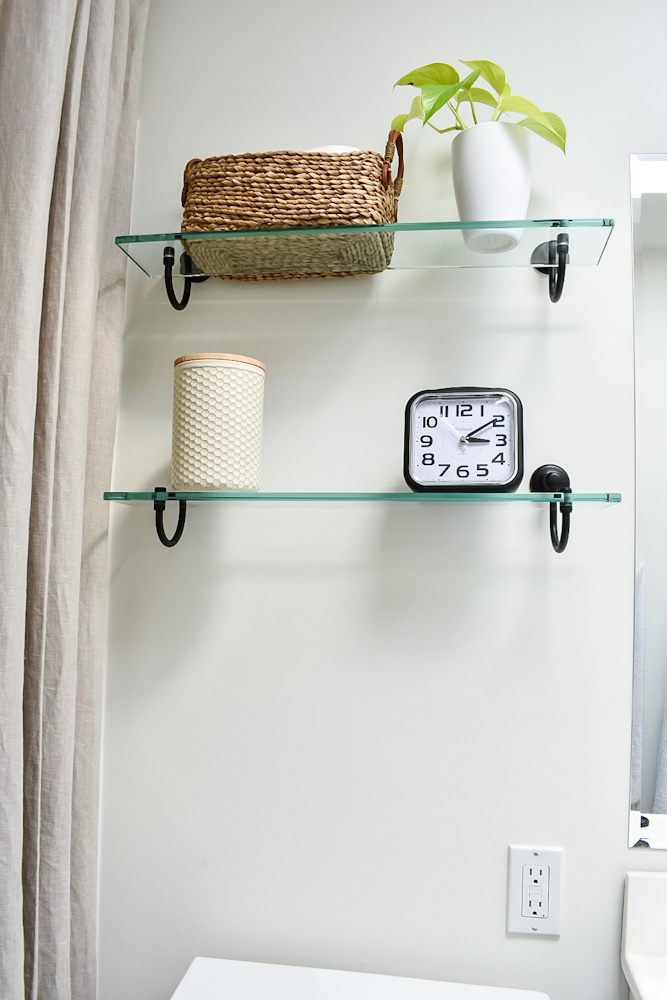
After the paint cured, I simply attached each piece to its bracket using the screw I had saved out.
It looks SO GOOD.
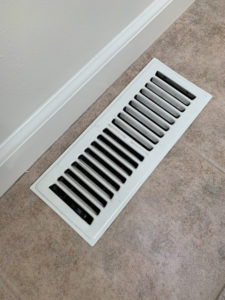
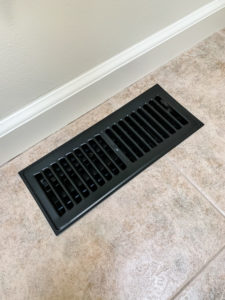
But I didn’t stop there. Once I saw all that fresh black hardware I decided to paint the heating vent as well. This time I didn’t even sand it. I just gave it a good scrubbing and then sprayed it with a few coats of the same black paint. Easy!
Now, a word of advice. I would not recommend this treatment for the shower curtain rod. I did quite a bit of research and while it’s possible to paint, it’s very prone to scratches. Knowing this I decided to buy a black rod and rings, but paint the rest of the hardware to match.
Honestly, there are plenty of other things you could spray. Soap pumps, garbage cans, towel bars, and cabinet pulls would all be great candidates for some black spray paint.
I may or may not have some plans to use the rest of my paint on some diy halloween decorations….we’ll see!
In the meantime, I’d love to hear the craziest thing you’ve spray painted. For me, it would have to be my plastic kitchen trash can. My husband thought I’d lost it with that one, but it honestly refreshed the tired can and it’s held up great.
So, your turn – what’s the strangest thing you’ve painted? Let me know in the comments how it turned out. 🙂
This post contains Amazon affiliate links. Thank you for reading and supporting my blog!

Leave a Reply