What’s better than one bookshelf? How about an entire wall of bookshelves! Today I’m finally sharing the tutorial for creating my take on DIY Mid Century wall shelves. By using closet tracks and off the shelf wood, this easy DIY is perfect for beginners, renters and new home owners.
I embarrassed to say that I’ve had this post sitting in draft for OVER A YEAR. My goodness, I don’t know why I never finished it but it’s high time I published this tutorial because these shelves are pure gold. I’ve been living and decorating them for over a year and they are still just as fabulous as the day they were completed.
They have completely change the look of our living room and have given us a TON of open storage for things like books, decorative objects and holiday decorations. Today I’ll share the full tutorial for these easy DIY Mid Century wall shelves but first, let’s take a look at the before picture:
Before:
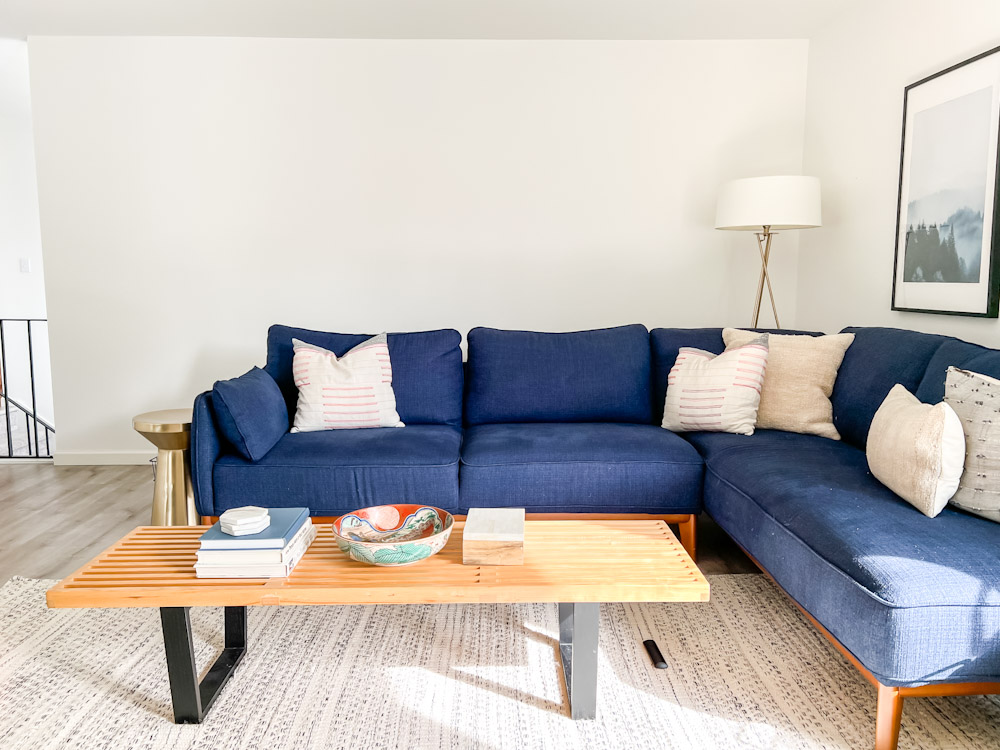
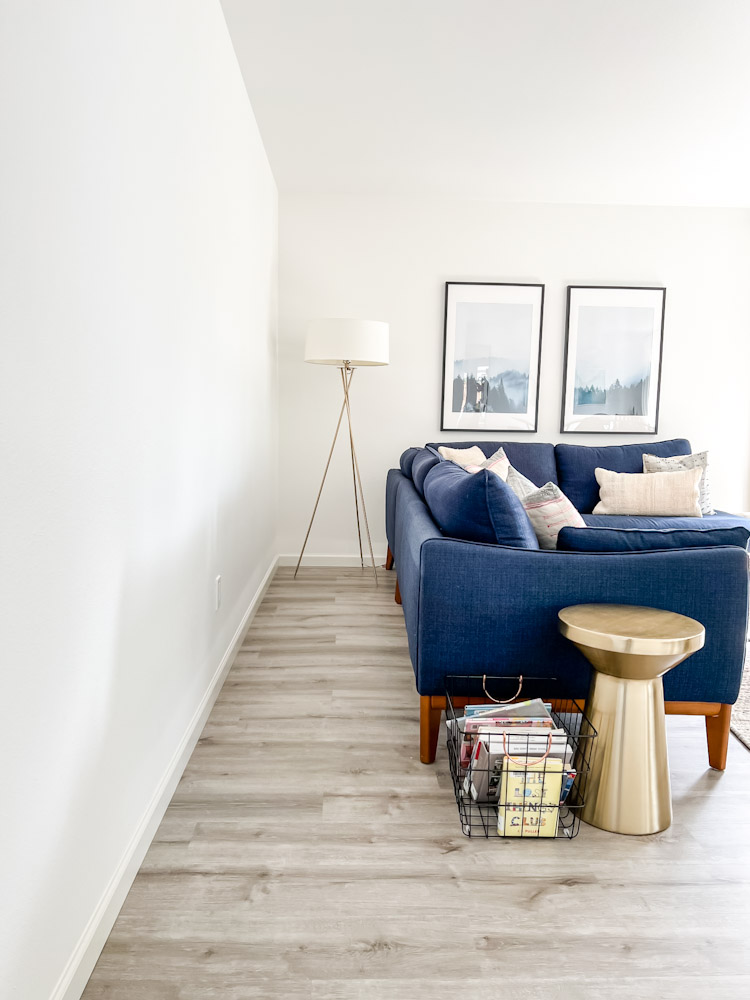
We had large expanse of empty wall space behind our couch. It was kind of a no-mans land. You couldn’t really store anything back there and you didn’t really want to walk through there, except to turn on the lamp in the corner.
Why didn’t we just push the couch back to the wall, you might ask? Well, we tried that and it actually made sitting on the couch feel claustrophobic and dark while the rest of the room was too open. It creates a much cozier seating area if we pull the couch away from the wall and leave a space behind the couch.
I knew I wanted some sort of shelf or cabinet, both for the added storage and the visual interest. After researching lots (and I mean lots) of furniture options, I decided to go with simple wall shelves 1) because of the cost – I could make these for under $300 which is way cheaper than anything I could buy and 2) using vertical space is the key to adding storage in small homes and this creates a lot of storage!
After:
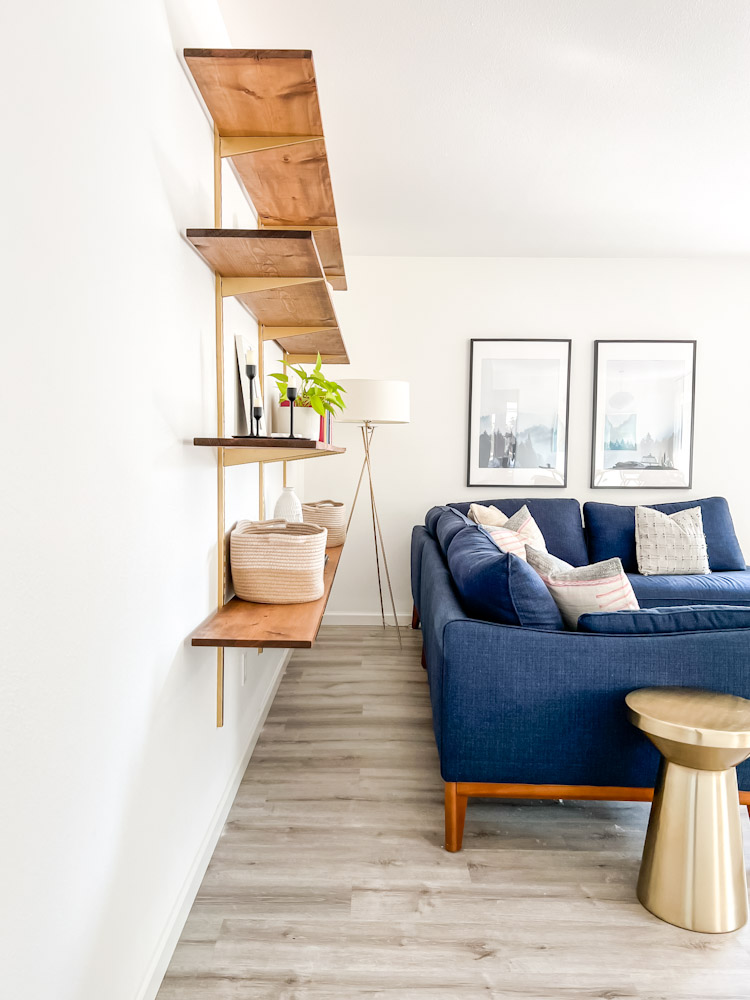
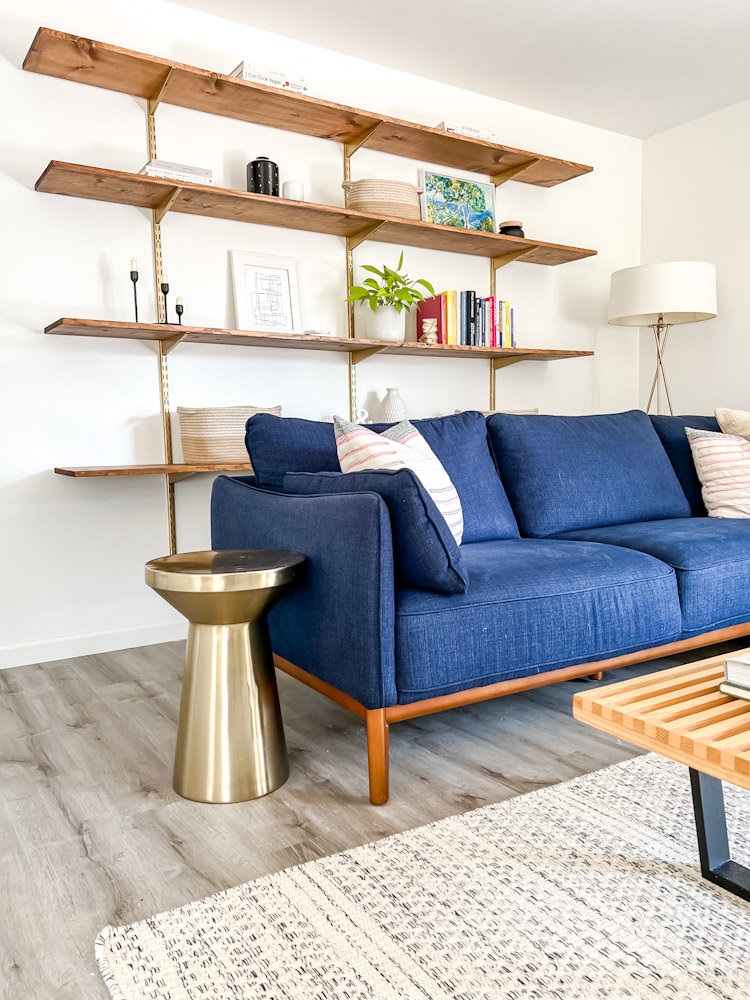
I love how they make the room feel cozy and engaging, kind of like a library. They balance out the fireplace on the opposite wall and make the whole room feel cohesive.
Here’s the step by step instructions to build your own mid century wall shelves:
DIY Mid Century Wall Shelves
Supplies needed:
- 3 Rubbermaid Twin Track 70″ upright
- 12 11.5″ Rubbermaid Twin Track bracket for wood shelving
- 4 1×12 whitewood square edge common boards as shelves. Mine were 8 feet long.
- Spray primer for metal
- Gold spray paint
- 2.5″ gold colored wood screws for anchoring the tracks into studs
- Sand paper or palm sander
- Wood stain in Special Walnut
- Water based polyurethane in spray can
- Stud finder
- 48″ level
Steps to complete this project:
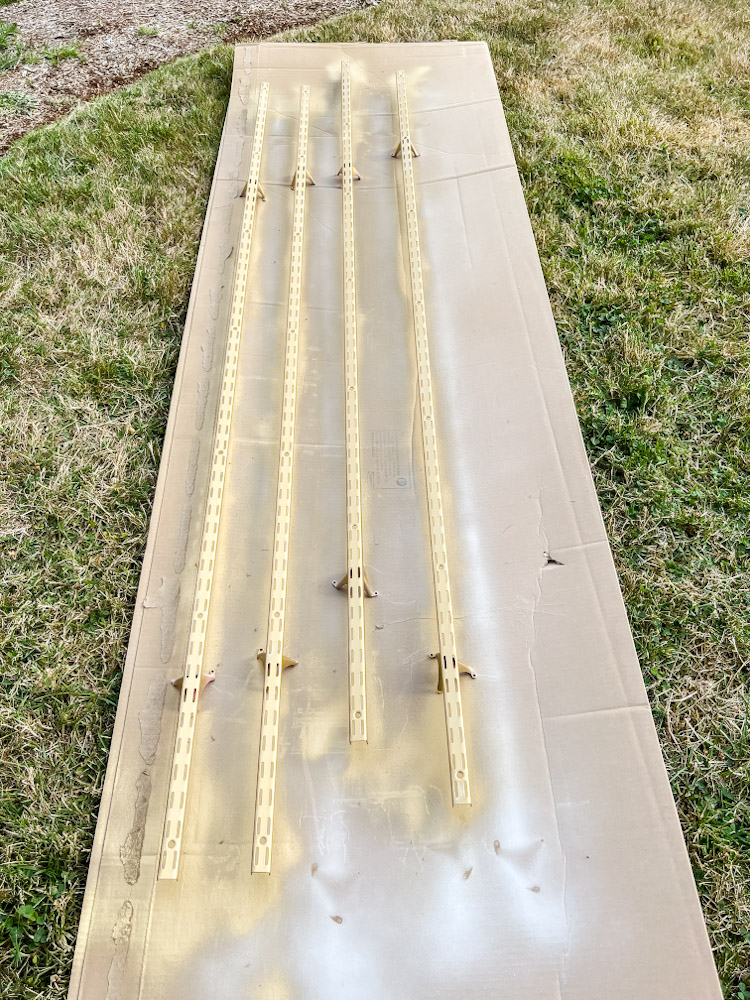
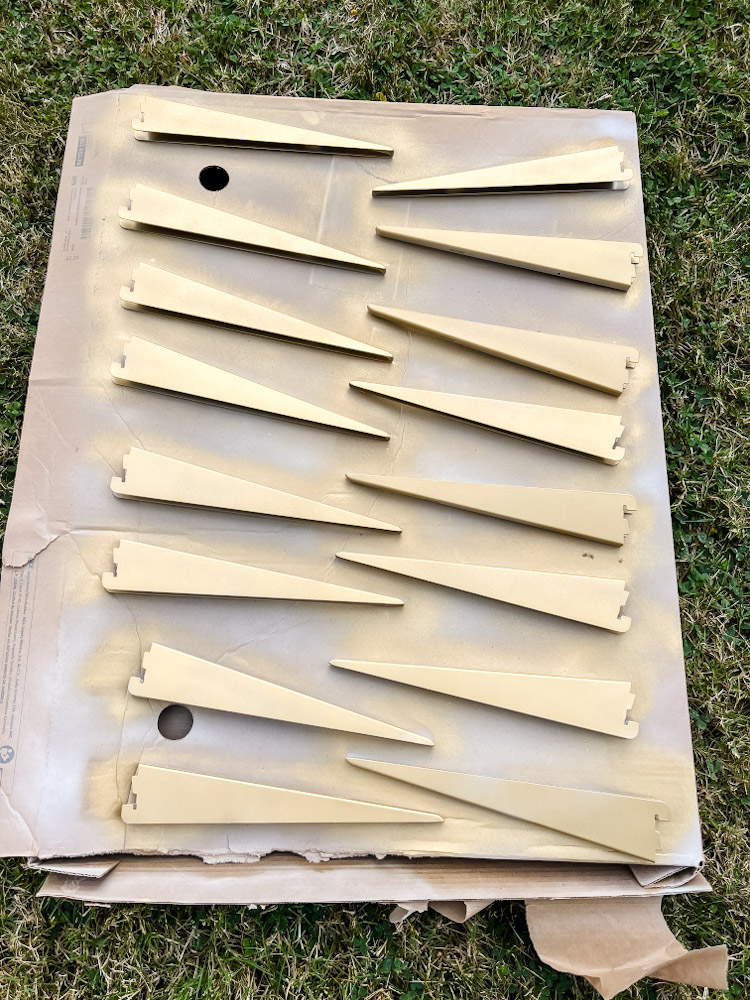
Step 1: Spray paint the tracks
Place the tracks and shelf supports on a drop cloth or cardboard box. Use a sweeping motion to spray a light coat of spray primer on the bare metal. This ensures that the gold paint will stick to the tracks. Follow the directions on the cans in terms of drying time.
Once primer is dry, add multiple thin coats of gold or brass colored spray paint. I waited until the gold was dry (but before 2 hours) and then flipped them to paint the other side. With spray paint, you often have to paint all coats within 2 hours OR wait 48 hours to prevent cracking while drying.
Step 2: Sand and stain the shelves
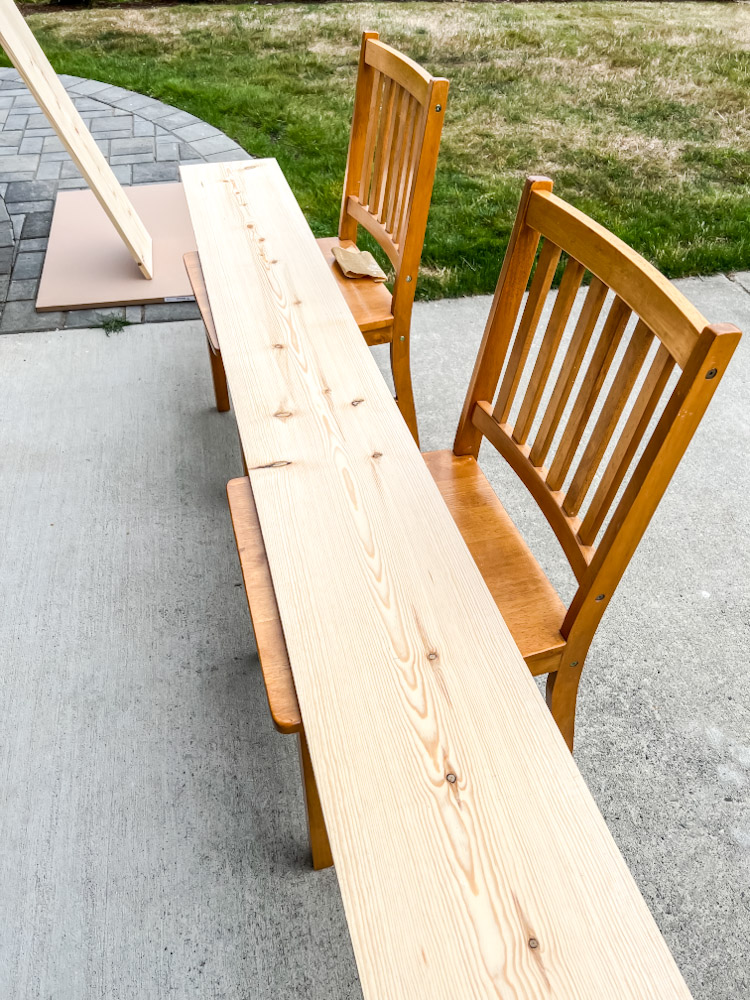
Take the 1×12 board and sand all sides, including the corners and edges. Wipe off all sanding dust with a microfiber cloth. Then place the boards on boxes to prop them up while you stain. For stain, I used the color “Special Walnut” and found it best to apply with a foam brush and then wipe off immediately with a rag.
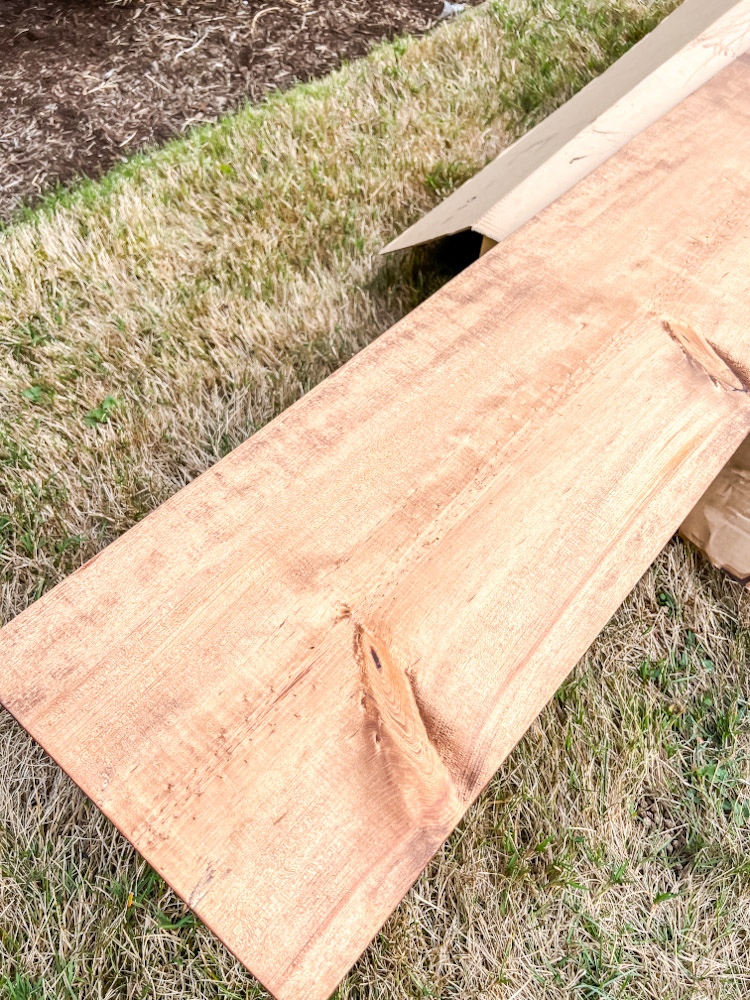
I waited 48 hours before applying water based polyurethane. I used the spray can version to make the process quick and easy and found I needed exactly one can.
Step 4: Measure and mark the track locations
I chose to hang my tracks on studs so I could be 100% sure that they would hold the weight of the shelves. In my experience I’ve found it is so much easier to drill into studs then to use wall anchors. My plan was to space the tracks 16″ apart so each track would be on a separate stud. To make sure this would look OK, I used blue painters tape to mock up the shelves and the spacing. After deciding that I liked the look, I used an extra long level and my stud finder to make sure I had a perfectly straight vertical line drawn on each stud that would hold a track.
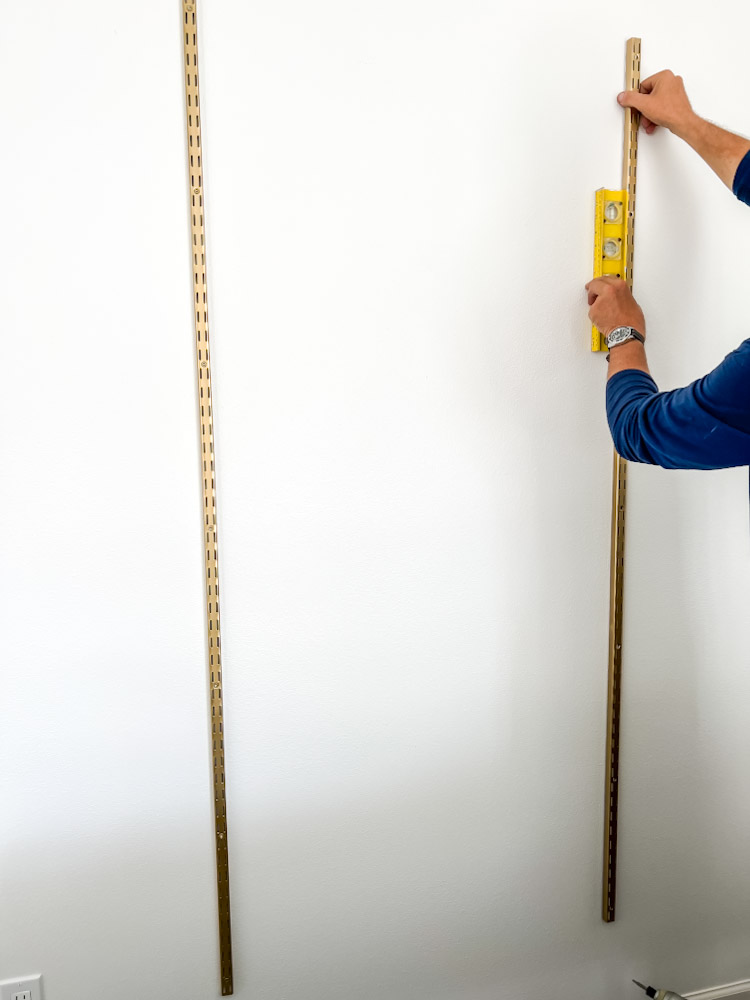
Step 5: Mount the tracks, add in the brackets
Once you have your track spacing identified and a level vertical line drawn on the wall where you want each track, it’s time to mount the tracks. I used 2.5″ wood screws with a star tip and an impact driver to screw each track to the wall in 5 places along the stud.
Once all the tracks have been screwed into the studs, you can add the brackets. Each triangular shaped bracket fits into the holes on the track and clicks down to lock in place. Because there are holes all along the track, it’s easy to adjust spacing to get the shelves exactly where you would like them.
At this point you are ready to lay the stained boards on top of the bracket. I like to make sure all the boards are lined up evenly and balanced between the vertical tracks.
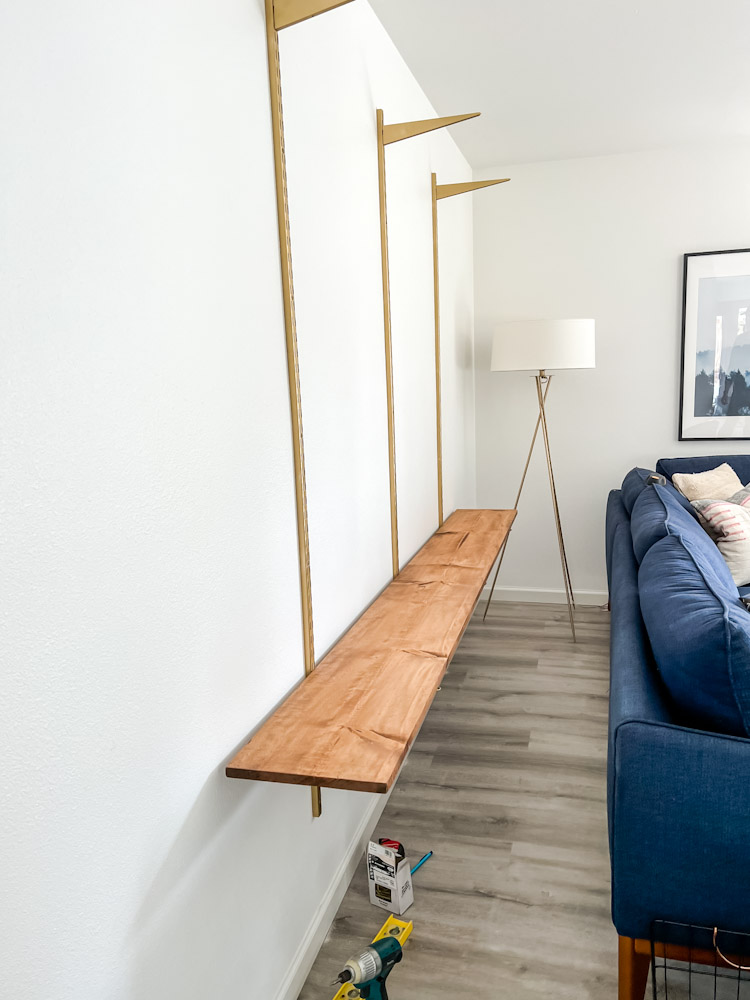
Step 6: Add screws into the bottom of the boards
Once all boards are in place and you feel good about the spacing, you can add screws to hold the shelves in place. Drill holes in the underside of each board and use a screwdriver to turn a screw from the bottom of the bracket (there is a hole) into the bottom of the shelf (the hole you drilled). This provides extra safety from boards slipping out of place.
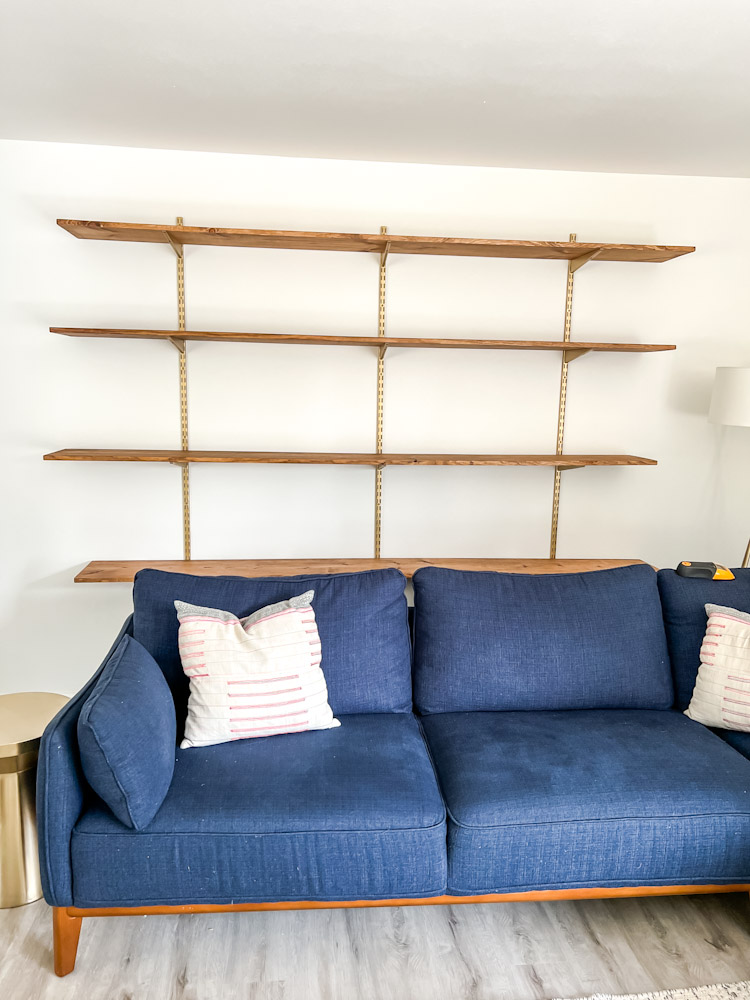
And that’s it! Not too bad, right? Once your shelves are up you can feel free to add pretty much anything to these shelves. Books, baskets, plants – it’s all fair game!
Not only are these shelves great for small space, they are perfect for renters. Why you might ask? Patching the screw holes into studs is 1,000x easier than patching the gigantic holes that are left by wall anchors. And everything is removable and easy to take apart and move should you need to.
Here’s what my shelves look like all styled:
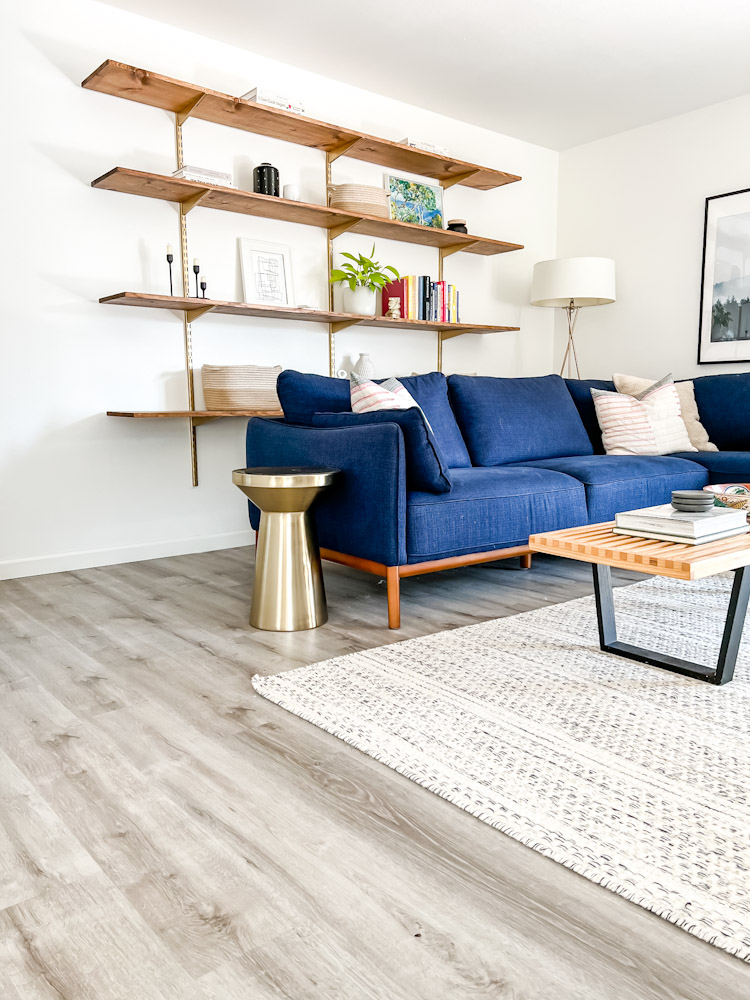
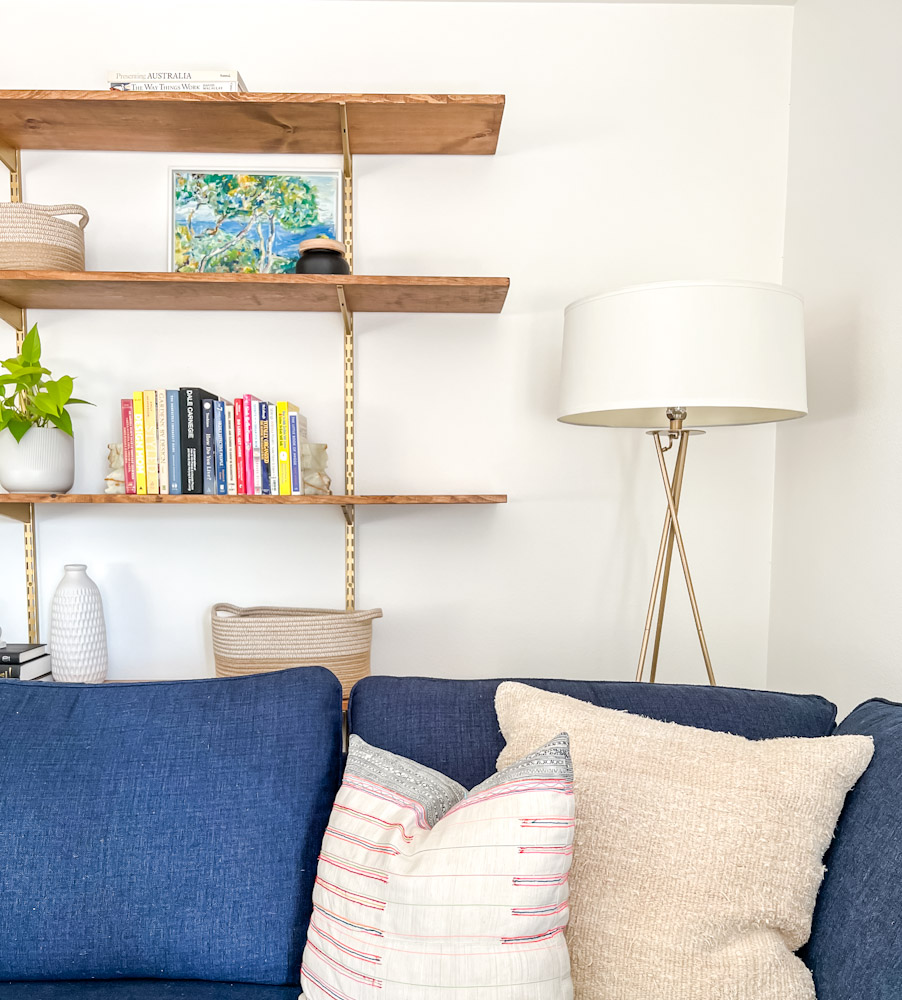
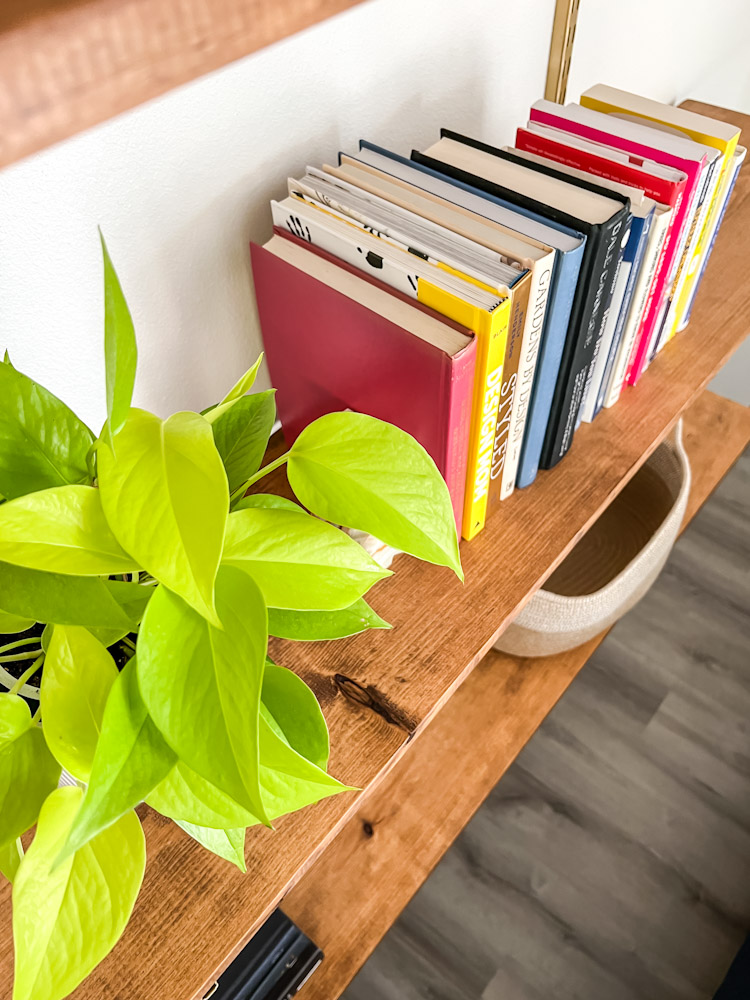
I love these shelves! And if you would like to see them in action, be sure to check out the video below:
Let me know in the comments if you would like to see more DIY storage tutorials (because can any home have enough storage??) and be sure to follow along on Instagram and TikTok.
*This post contains affiliate links. Thank you for shopping my links and helping to support my blog!

Leave a Reply