Learn how to use Cricut Joy and Smart Vinyl labels to create an adorable and functional multi-level kit perfect for organizing and storing first aid supplies and medications.
Disclosure: This post was sponsored by Cricut and contains affiliate links. This means I may receive a commission from the brand if you make a purchase using one of my links. As always, all opinions are my own.
Ahhh, Spring. It’s that time of year where the days get warmer and it just feels so good to be outside again. We love spending our afternoons running around the yard, but between allergies and cuts and scrapes from bike riding we are constantly reaching for the antihistamines and Band-Aids.
Unfortunately, our medical drawer in our pantry just wasn’t cutting it anymore. It had turned into a jumbled mess and was nearly impossible to find what we needed. This led to duplicate purchases and panic when we couldn’t find the Neosporin or Tums.
So when Cricut reached out to see if I wanted to try the Joy, I knew exactly the project to tackle. For months I’d been wanting to create a new combination first aid/medicine kit for our kitchen and now was the time!

I was excited because Cricut can help you get organized by creating large, eye-catching labels, like the medical symbol, that are easy to see.
If your medicines or first aid supplies are in need of a spring cleaning, follow these 5 easy steps to create a kit of your very own.
Step 1: Gather all your medications

It’s important to get everything in one place because medications like to hide all over the house – the bathroom, the kitchen, the pantry, the linen closet, etc. I like to use the dining table or kitchen counter so I have room to spread out and examine all the bottles, tubes, and boxes.
Next, check each item for an expiration date. Medications lose their potency quickly and it’s important to make sure the items you keep are effective when you need them.
As you identify items that are expired, make a list of things you need to replace. I used to keep EVERY SINGLE TYPE of medication on hand, but I found I just wasn’t using things before they expired. Now, I focus on stocking medications that our family uses frequently or urgently.
Anything for special situations can stay at the store and be purchased when needed.
Here are the items I keep in stock and unexpired:
- Pain/fever medicine for both kids and adults
- Allergy medications (in season)
- Benedryl
- Tums
- Cough syrup
- Prescription inhalers for my son with asthma
- Vicks vapor rub
- Anti-itch cream
- Band-Aids
- Neosporin
- Nasal Decongestants
- Cold medication
Your list will (and should!) look different than mine. Every family has different needs and preferences and you want to make sure you tailor your kit to fit your family.
If you find yourself missing anything important, write it on your grocery list and pick it up next time you are at the store.
Step 2 – Assess first aid supplies
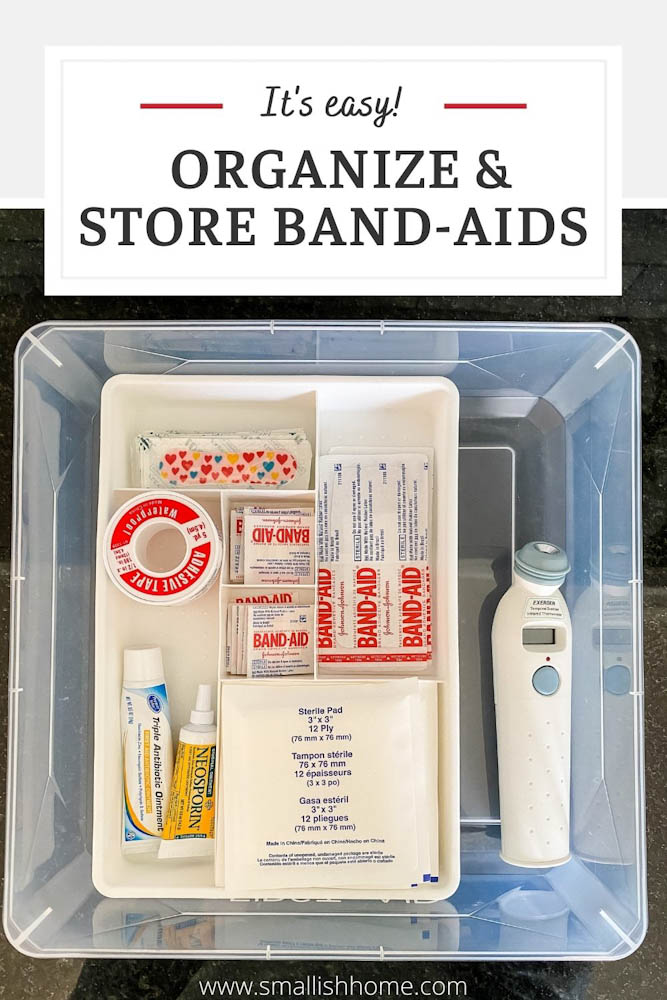
Band-aids can be a real pain to store because they come in all different shapes, colors, and sizes. The boxes conceal how many are left, so while it may look like you have a whole box of Band-Aids, only one may remain in the box.
And with young kids in the house, It’s really important for me to have a functional first aid kit that lets me find the supplies to treat skinned knees quickly.
Thus I decided the top of the kit would be dedicated to organizing first aid supplies. Because the small bin nests into the larger bin, it’s easy to remove and transport to wherever it’s needed, whether that’s the bathroom or even outside.

I repurposed a small drawer organizer from my bathroom as a way to organize all the different-sized bandages, creams, and tape. Taking Band-Aids out of the packaging saves a ton of space and makes it easy to 1) find the size or character bandage you need and 2) know when you are running low.
Step 3 – Find a bin that will fit your tallest medicine bottles
I love clear bins for medicines. Why? Because they make it clear what’s inside. Even with a label, it can be helpful to see the items in a bin when you are looking for something specific. Lids that click on keep everything securely inside and away from little hands. (I also put the medications up high, just to help prevent the kids from getting in without adult help).
For my medicine and first aid kit, I used one of my favorite clear bins from Target. The Made by Design bins in large and small nest perfectly to create a layered system that also happens to fit in my kitchen cabinets.
The large bin is much taller and gives me space to store my medication bottles upright. This prevents spills and makes it easy to find and put away exactly what I need without layering.
Step 4 – Create a custom label with Cricut Joy
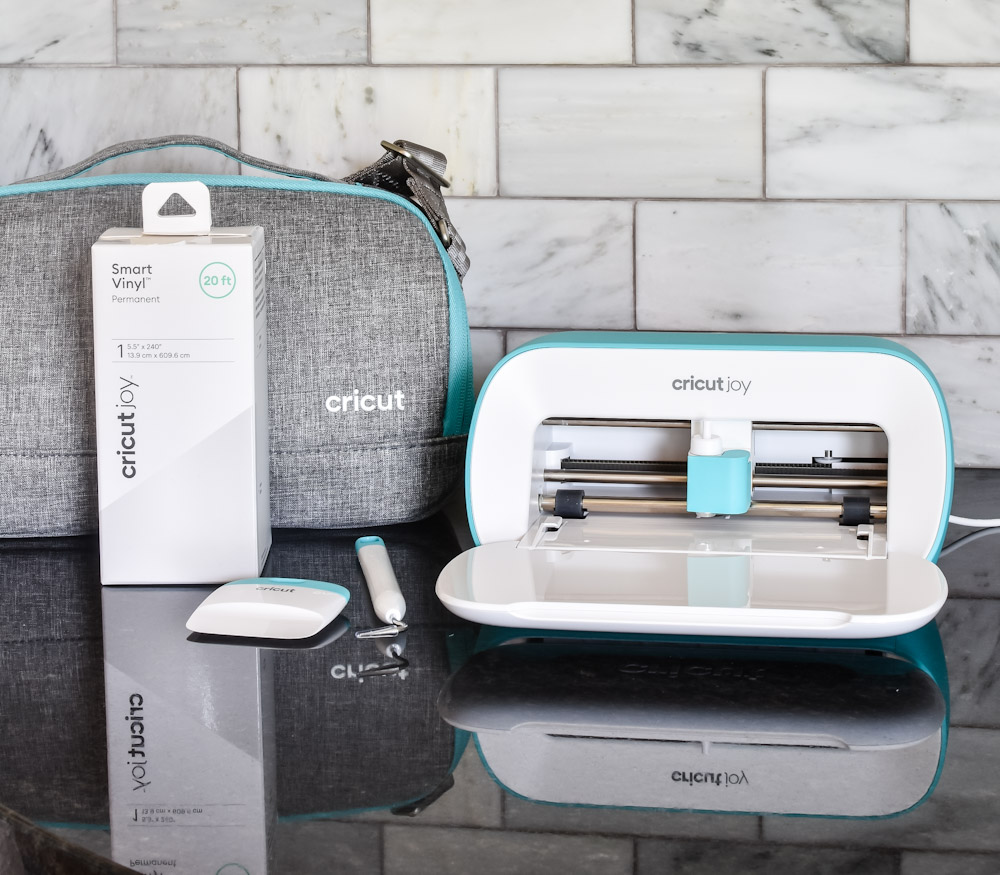
I was so excited to try out my new Cricut Joy with this project! You know I love a good label, and this was the perfect place to start out as a Cricut newbie.
I was a bit worried about the learning curve, but thankfully the Smart Materials are easy to use and I found that the whole project took less than an hour to put together.

Here are the step-by-step instructions for creating custom labels first aid labels:
Supplies needed
Instructions
Open up the Cricut Design app on your phone
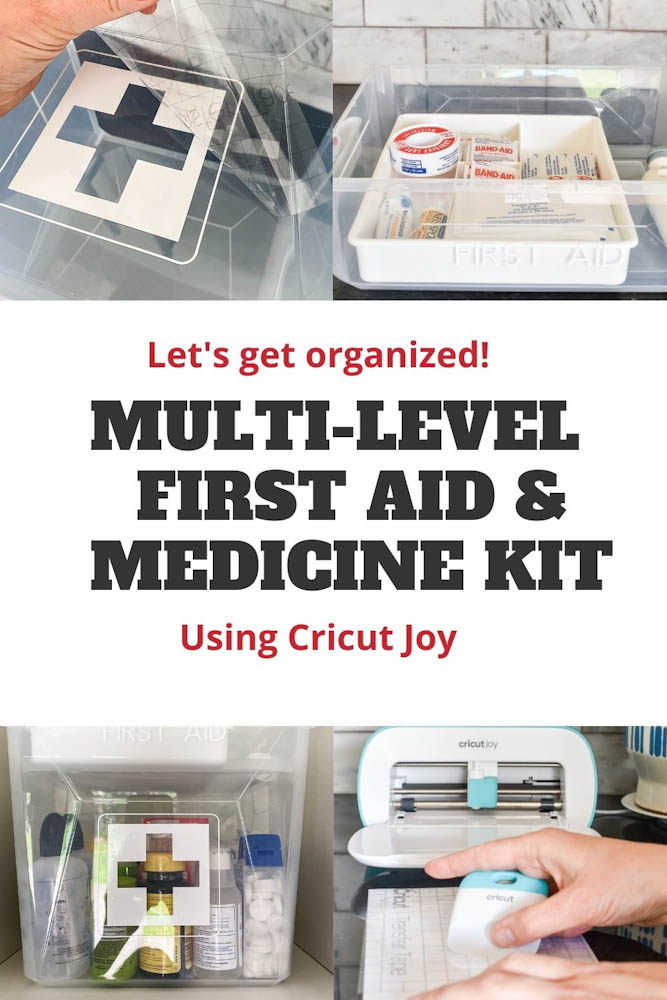
Click ‘Add Image’ and look for the medical symbol. Then click ‘Add Text’ and add the words “First Aid” in the font Avenir Next.
Size your design to be no wider than 4.5″
Cut a piece of Smart Vinyl Permanent in white the size of your design and place it in the Cricut Joy.
Press ‘Create’ in the App and follow the directions on the screen. If you are using Smart Vinyl, there is no need to use a cutting mat.
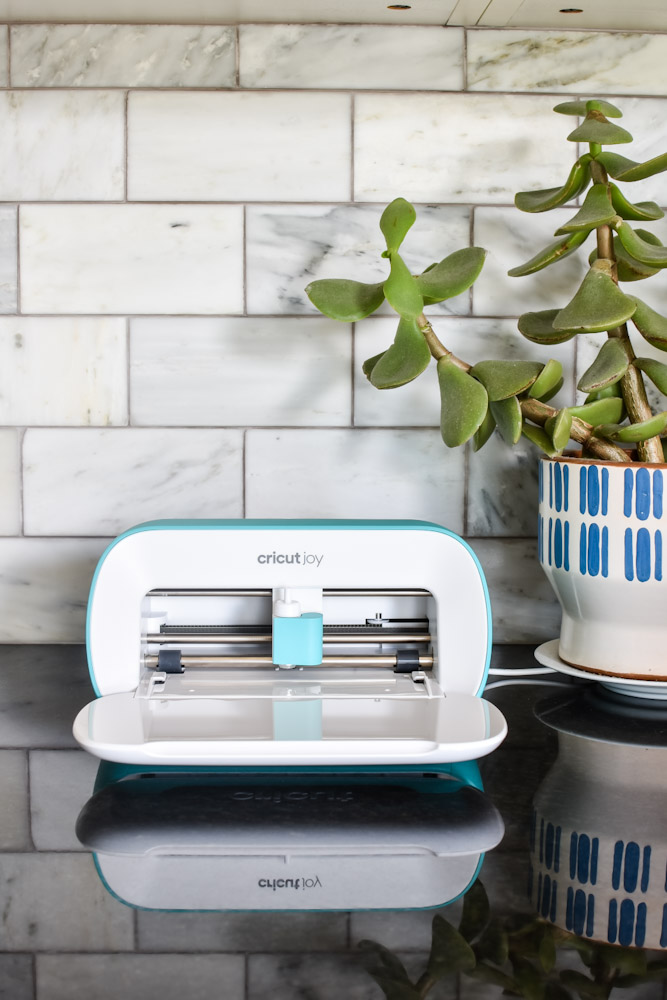
Now for the best part – the cutting! It’s incredibly satisfying to watch the machine cut out all the intricate lines on the design.
To remove the excess vinyl, use the pointy weeding tool to gently pull away and part of the design that you want to be clear. Then, cut a piece of transfer tape the size of your labels, remove the backing, and stick it on your design.
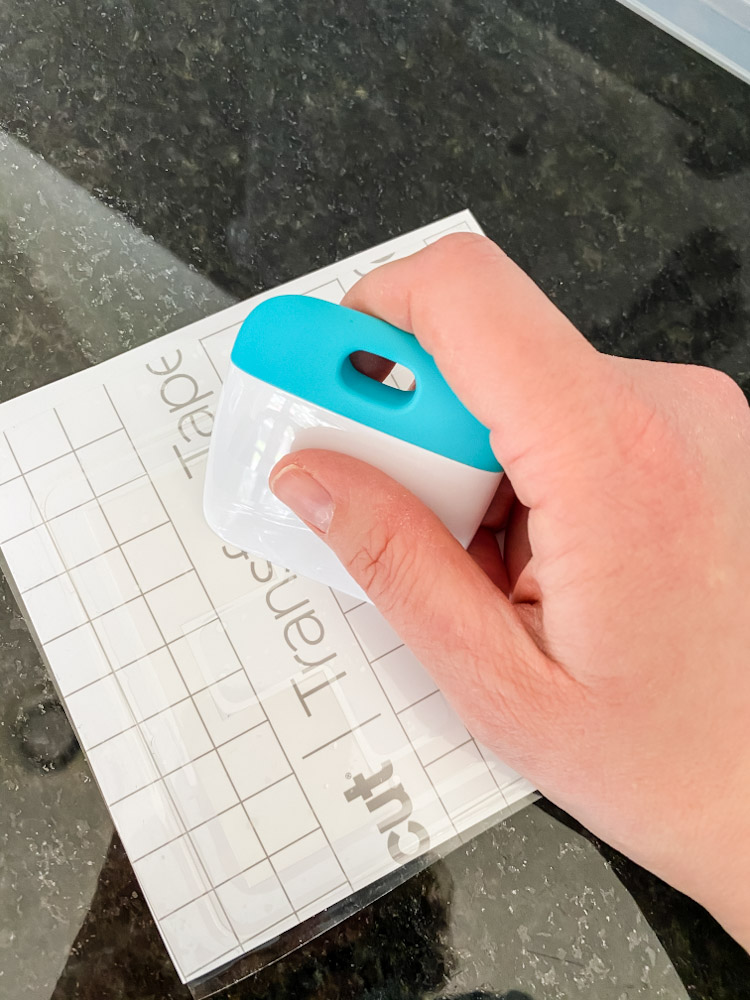
Use the scraping tool to ensure the design is stuck to the Transfer Tape. Then remove the backing of the Smart Vinyl and carefully place your design on your bin. Make sure it is visually centered and level.
Use your fingers and the scraping tool to press the design on your bin then carefully pull the transfer tape off, leaving the vinyl on the bin.

Voila! The labeling is complete! Save your remaining vinyl for another project and store your Cricut Joy in the handy storage bag, ready to pull out for all your future labeling projects.
Step 5 – Time to fill your newly labeled first aid medicine kit!
Place all medications in the bottom deep bin, standing vertically. If you have more than will fit in one bin, consider using multiple bins and organizing by the type of medication.
Nest the smaller bin in the deep bin and place the first aid organizer and any other first aid tools in the bin. Cover with a clear lid and store in your kitchen or pantry.
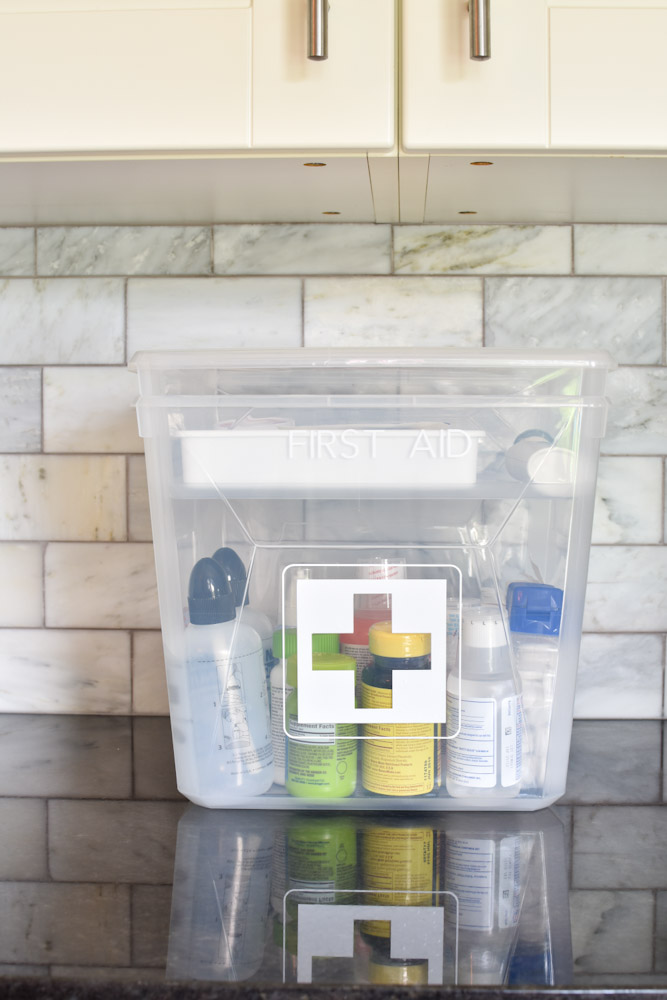
That’s it! Now you have a perfectly organized, smartly labeled bin to help you find just the right Band-Aid or medication in a pinch.
And if you want to save these instructions for later, be sure to pin one of these images to your Home Organization board on Pinterest.

Don’t forget to follow @smallishhome while you are there!

Leave a Reply