Making your own fresh cedar garland is incredibly fast, easy, and downright satisfying as a DIY. And if you happen to have access to fresh cedar in your yard, it’s also incredibly cost effective compared to faux garland.
This post may contain affiliate links. As an Amazon Associate, I earn from qualified purchases.
Christmas for me is associated with so many smells, but nothing as strong as the smell of fresh evergreen. And while I’ve always been a fan of fresh-cut Christmas trees, I like to look for additional ways to bring that woodsy scent into our house this time of year.

One of my favorite low-cost, low-waste solutions is to add fresh garland, especially the drapey cedar kind. I like to make my own, because I’m able to customize the length and the thickness to fit different areas in our house.
I’ve made long thin garlands to drape above the kitchen window, thick bushy garland for the mantle, and even tiny garlands to decorate around a picture frame.
This year I’m lucky enough to have a set of stairs, so I can live out my lifelong dream of decorating a banister with garland. And with a cedar tree in our yard, I have plenty of free material to make 22 feet of gorgeous garland.
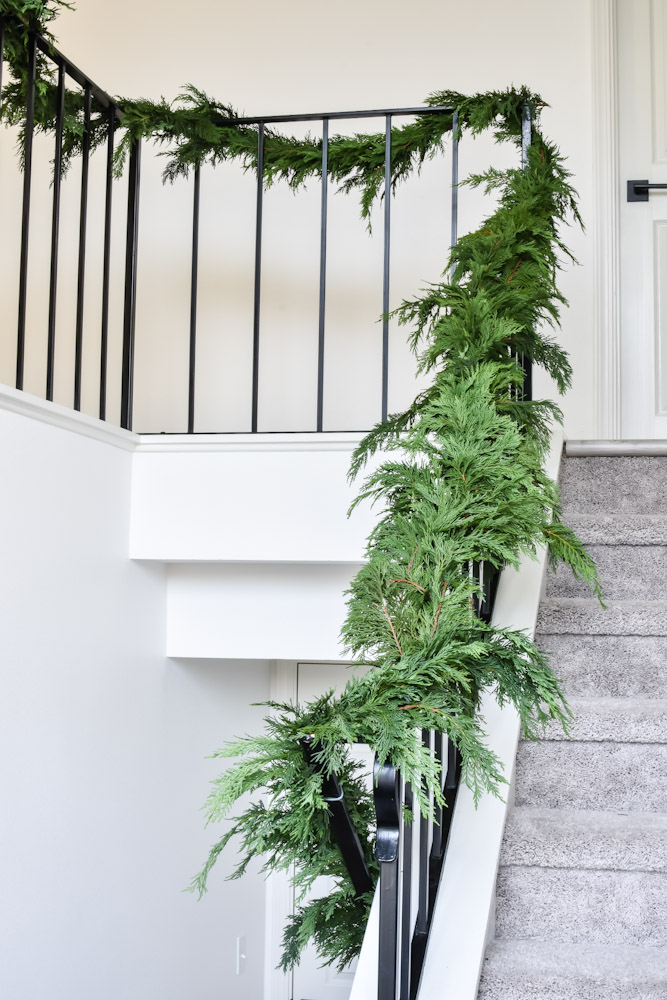
If you have access to greenery and can twist a twist tie, then you can make a garland. Here’s my easy DIY method for creating lush, fresh garland:
Gather Your Materials
If you have evergreens in your yard, especially cedar or cedar-like shrubs and trees, then you are in luck. Take some clippers and a ladder and give those trees a good pruning. I like to selectively cut branches that are 1-3 feet long, depending on the branch.
Avoid any spots that are brown and vary where you cut to avoid making your tree look bald. If you can only cut shorter branches, those work fine, you will just need more of them if you wish to create a longer garland.
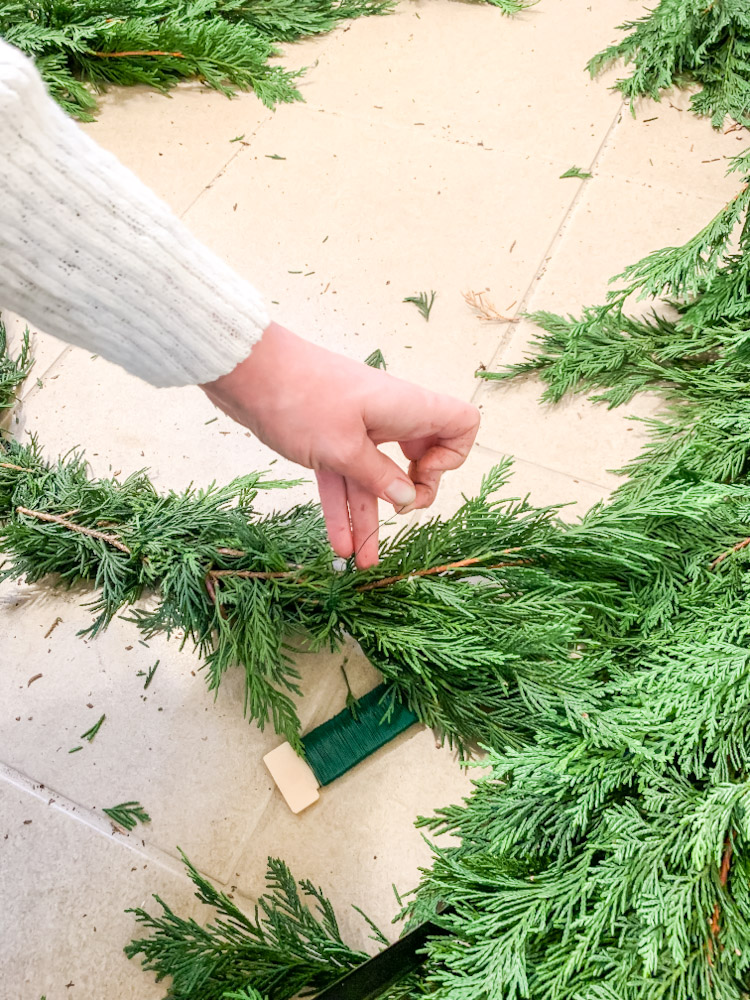
The only tools you will need are thin green florist wire and sharp edge pliers to cut the wire. I have a roll of wire that has lasted for multiple seasons, so once you make the small investment, you can essentially have as much free garland as you can make every year.
Once you have your supplies and tools, find a good place on the floor to construct your garland. I spread out on our laundry room floor since it has tile flooring, which makes cleaning up easier.
Construct the Garland
The trick to garland is to wrap one continuous piece of wire across the entire length. I start by laying one branch down and then adding a second about ⅔ of the way down the first branch. I take my wire and tie a knot around both branches and wrap tightly 3-4 times to ensure the branches are securely tied together. Then I continue wrapping the wire around the garland and add branches as I go.
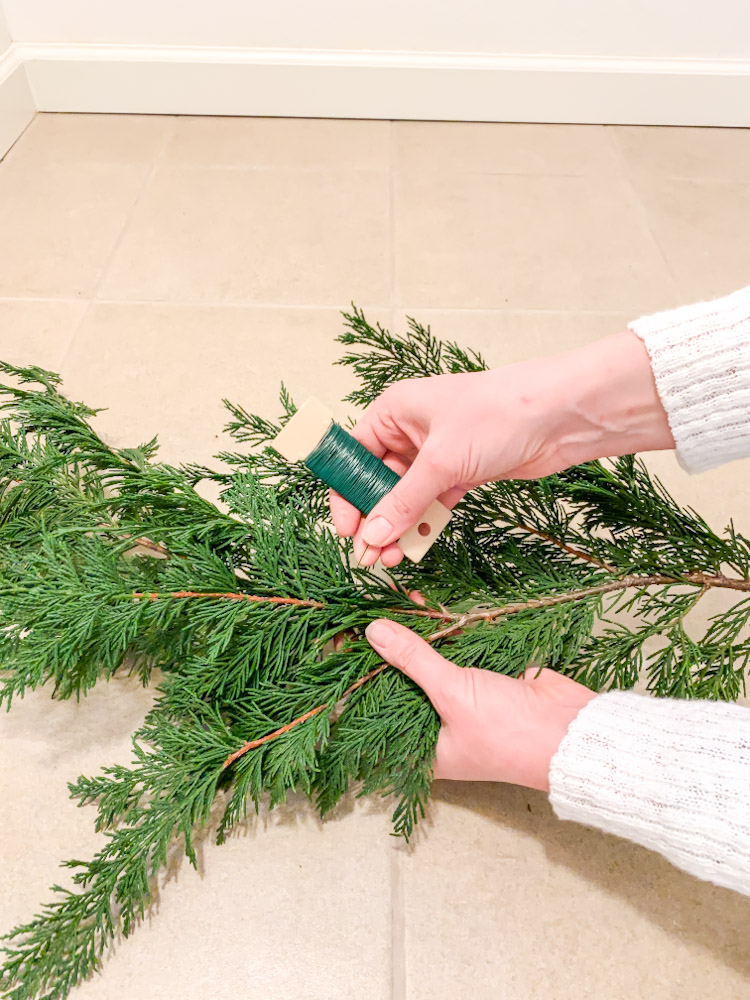
It’s important to make sure you always overlap your branches by at least a few inches to prevent the sections of garland from separating later. I like to try to wrap around the core branch and leave some of the thin side branches exposed to give the garland a fuller, more natural look (and to better hide the wire).
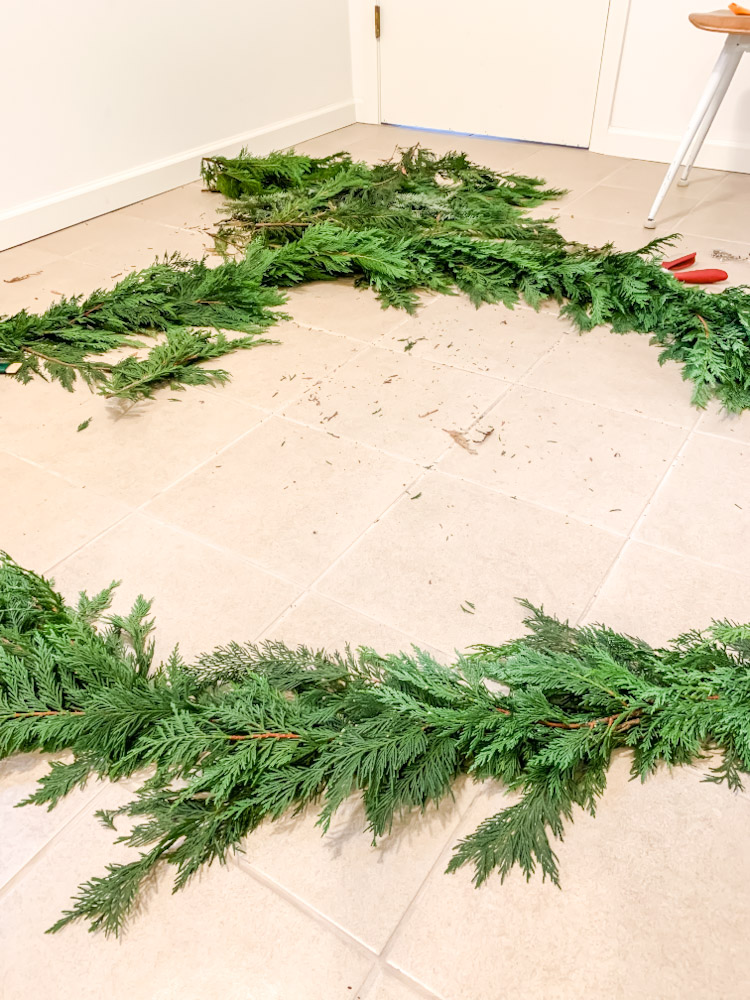
Continue wrapping until the garland has reach the desired length. Or until you run out of greenery (as usually happens with me!). Then lift the entire garland and give it a light shake to remove any dead needles before hanging.
How to Hang Cedar Garland
For a banister, I like to use clear zip ties to securely attach the garland. Start with one end of your garland and zip tie to the banister. Then either swag your garland or lay across the top and secure in multiple places with additional zip ties. To disguise any visible zip ties, tuck in a few short cedar clippings into the garland.
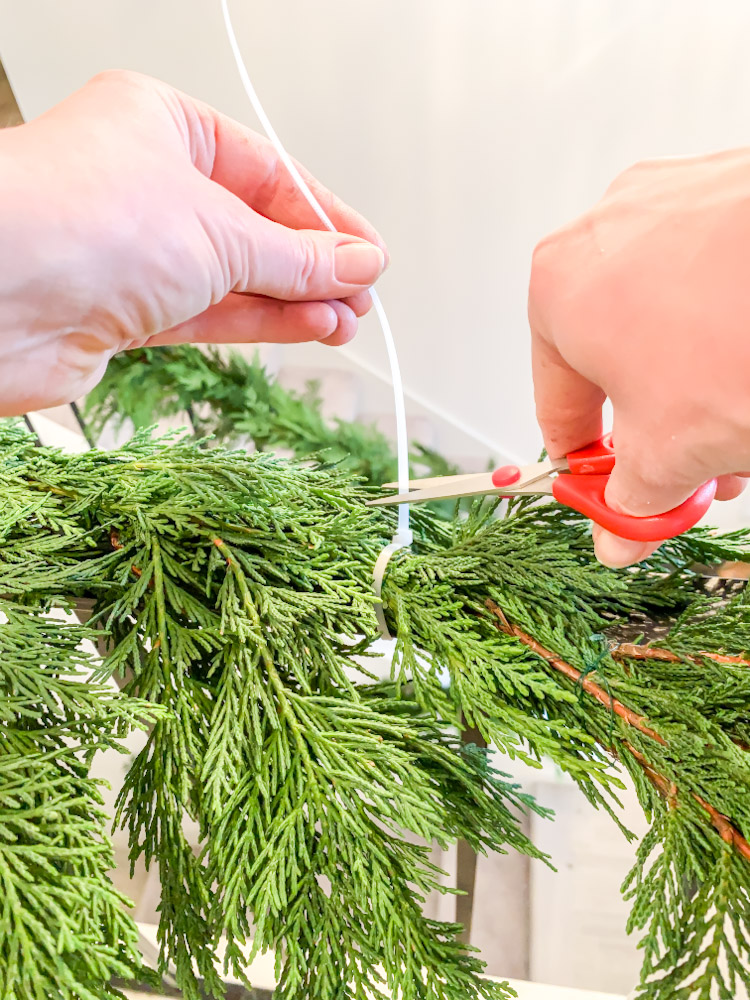
For a window or doorway, I like to use small finishing nails tapped into the top of the moulding, where the holes will not be visible. One on each corner and one in the middle is often sufficient to hold the garland in place.
If your window or doorway doesn’t have trim, then pick up some 3M Command Hooks. These can each hold quite a bit of weight and leave no damage when removed.
How to Keep Cedar Garland Fresh
To keep your garland looking fresh and green, use a clean spray bottle filled with water to mist the entire length of garland each morning. This will help prevent the garland from turning dry and brittle before Christmas Day.

When the holiday is over and you wish to remove your garland, snip the end of the wire and unwind the length of the garland to separate the greenery from the wire. I like to compost the greenery and throw away the wire to minimize waste.
Hopefully, I’ve inspired you to attempt to make your own garland this year. Not only is it incredibly easy, but I guarantee people will be amazed that you made it yourself. It’s one of those high-impact low effort DIYs that are perfect for this busy time of year.

Leave a Reply