Short on space this season? Corral all those gift bags, ribbons, and bows in a slim under-the-bed storage bin, making it easy to find just what you need for those late-night wrap sessions.
This post may contain affiliate links. As an Amazon Associate, I earn from qualified purchases.
With Christmas just around the corner, I’ve been slowly gathering supplies to help me wrap the pile of Christmas presents I’ve been hoarding in my closet for the last month.
And while wrapping gifts is not exactly my favorite holiday activity, the job goes much smoother when I have all my supplies together and ready to go. My go-to method for storing and organizing Christmas wrapping paper is plastic under the bed storage box – with a red lid of course!

Why use an under-the-bed storage bin?
The long, flat shape is the perfect size to hold everything you could need to wrap all your holiday gifts, and that’s exactly how I stock it. I like to make sure that once I start wrapping, I have everything from tissue paper to tape at my fingertips, plus extras so I don’t run out.
I’ve actually stored my holiday wrapping paper in this under the bed box for at least 10 years. Some years it is stored under the bed, some years in the garage, but always in this same bin. Proof that this method really works for the long haul.
If you are looking to recreate this storage solution, follow these step-by-step instructions to turn your wrapping paper from an unorganized mess to Christmas ready in less than 20 minutes.

How to put it together
SUPPLIES NEEDED
- Under the bed storage box – make sure to measure the space under your bed to ensure it fits!
- Small tension rod
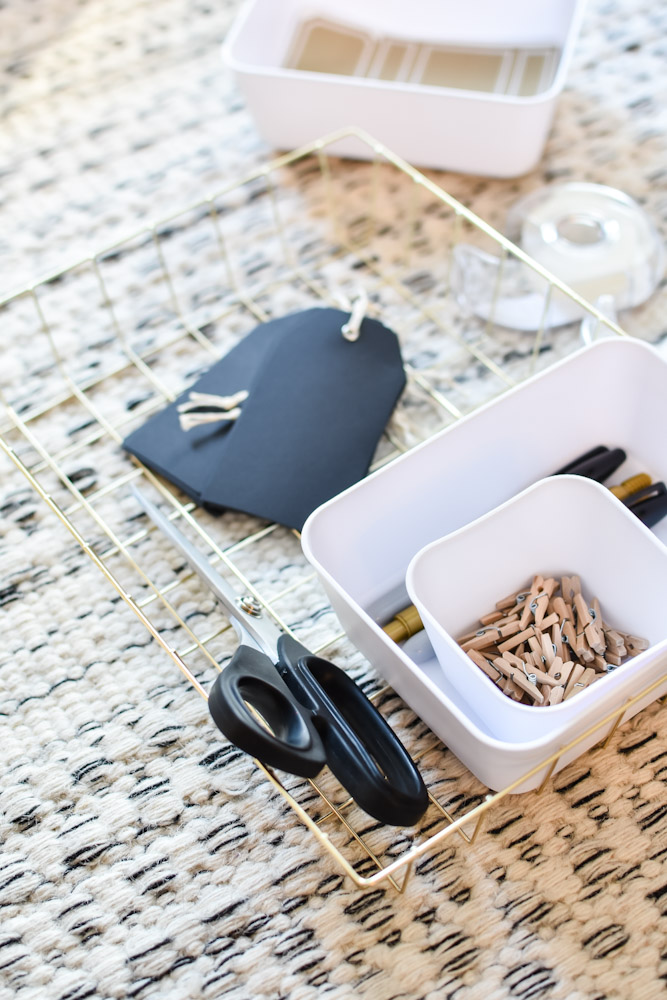
- Various flat organizers or boxes – the gold basket I used is from Dollar Tree and the flexible white trays from Target. You could use whatever you have around your house.
- Tape
- Scissors – make sure they are sharp!
- Gift wrap – paper, bows, ribbon, tissue, boxes, and tags!
INSTRUCTIONS
Group wrapping supplies by type. Recycle any wrinkled or too small pieces of paper, as well as any bows or ribbons you don’t plan on using. Then neatly stack all remaining items. Make note of any supplies you are missing or need to buy more of.
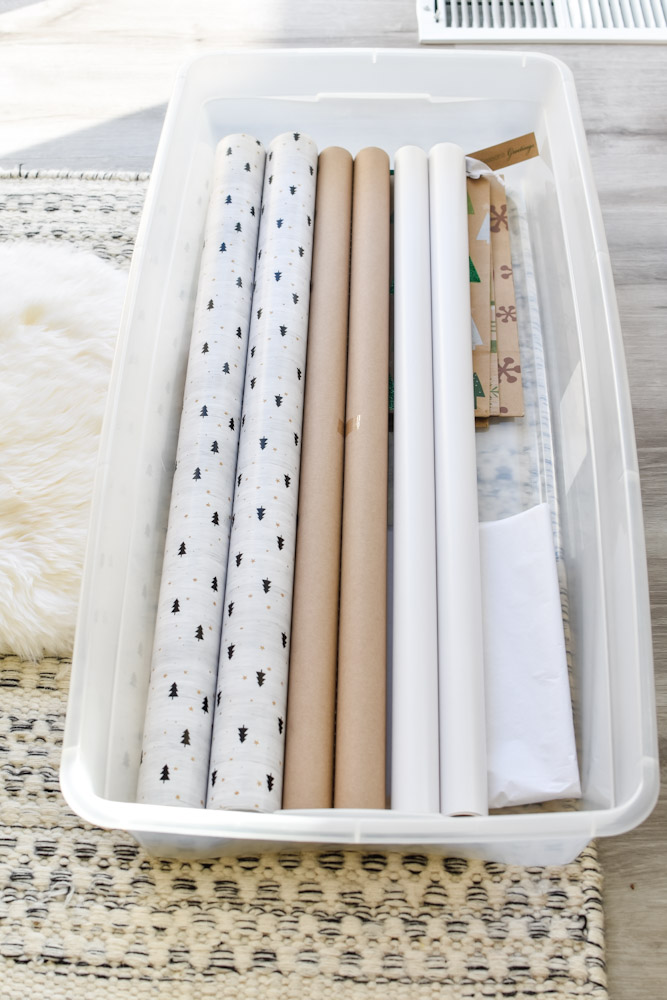
Begin layering in the box. Start with large, flat items, such as gift bags, folded boxes, or tissue paper. If I have extra-large bags, I fold them in half.

Next, layer in tubes of wrapping paper. Fun fact, I purposely don’t buy the extra long tubes of paper since they don’t fit in the box. I stick with the normal size wrapping tubes and I’m a much happier person.
Most years my wrapping paper is an uncoordinated mix of colors and patterns, likely purchased 50% off after the previous Christmas. This year I decided I really wanted to stick to a cohesive color palette so that all my gifts would look “fancy” under the tree. To achieve this, I intentionally chose a few colors and purchased my supplies early to make sure I had a lot of options to work with.

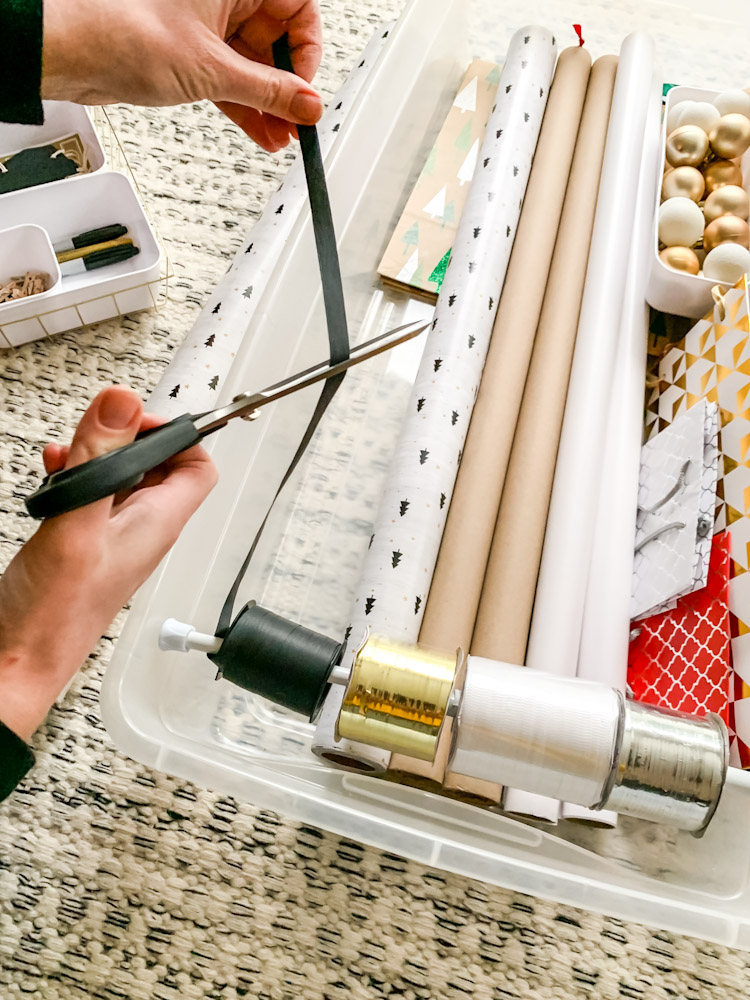
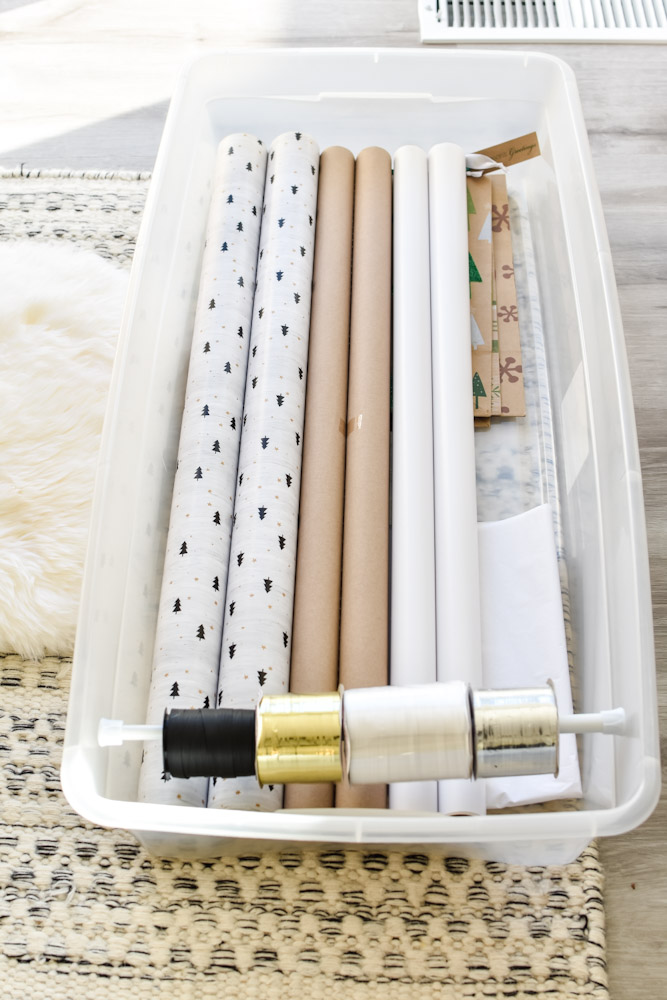
The next step is to create a ribbon dispenser by stringing the spools on a small tension rod. I found this 3 pack of tension rods on Amazon and they are the perfect size to fit across my storage bin.
Place the rod in the bin and twist to create the tension that holds it in place. This makes it so easy to take just the ribbon you need without chasing the spool across the room.

Add in a small tray and flexible organizers to hold small objects. I like to keep gift tags in one and decorative toppers in the others. Also, make sure to tuck in a roll or two of tape and some nice, sharp scissors. Extras if you plan on any wrapping helpers!

Place the trays on top of the rolls and then close the lid. Now you have the perfect mobile wrapping station, perfect for sliding under the bed or couch when not in use!
This space-saving storage solution has been a lifesaver in our small house. It easily stores all the odd-shaped wrapping tubes and prevents holiday clutter from taking over our living room. And when the holidays are over, I know I can just slip it under a bed and forget about it until next year.
Happy wrapping!

Leave a Reply