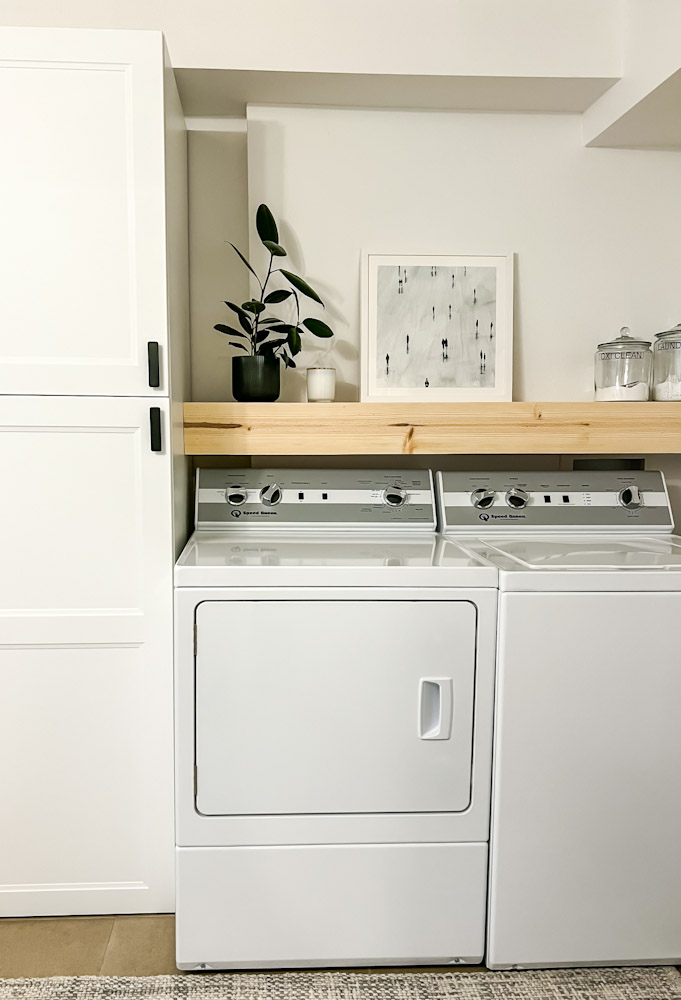
Washers and dryers work hard cleaning all our clothes and linens, but when was the last time you cleaned the machine itself? Today I’m sharing a simple method for removing dust, grime and lint from your top loader washer and dryer.
Here’s the essentials for cleaning a washer and dryer:
Our washer and dryer are still fairly new – only a little over a year at this point. However, once I started cleaning I was shocked to see how much dirt and lint had accumulated. It was a good reminder that this frequently used but often forgotten appliance needs regular care to make sure that it can do its duty without being a potential fire hazard.
Why should you clean your washer and dryer?
If you run your washer and dryer as often as I do (so.many.dirty.clothes) then chances are your washer and dryer are in need of a quick cleaning. After all, that dirt has to go somewhere, right? And let’s not forget those rogue tissues, candy and other food products that tend to get forgotten in pockets and take a cleaning trip through the wash and dry cycle.
How often should you clean your washer and dryer?
Experts suggest cleaning your washer once a month and your dryer every 6-12 months. That’s a big range! But just like everything in your home, time between cleanings will vary based on how much you use it and, well, how dirty it gets.
For me and my average busy family, the right amount of cleaning seems like a quick monthly wipe down of all the surfaces and a deeper clean of both the washer and dryer every 6 months. I’m sure I COULD clean it more, but like everything in life I need to balance the benefit with the effort it takes to clean the item. Time and energy come in a limited supply so I’m alway trying to balance maintaining a clean home with everything else that must be done in a day.
What cleaning supplies are safe?
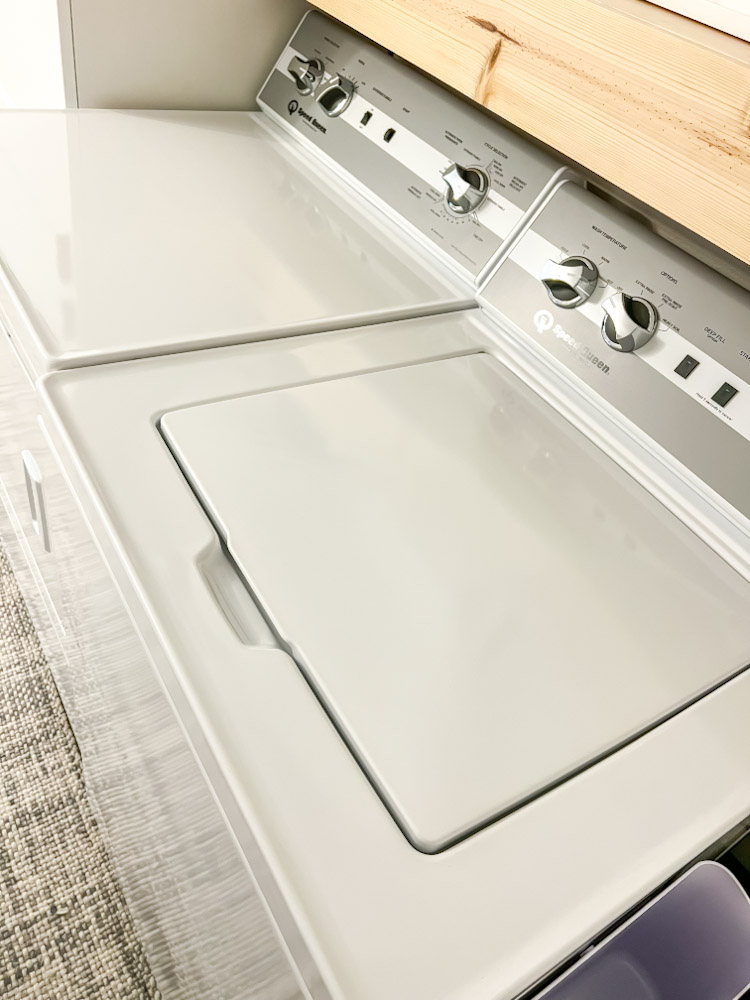
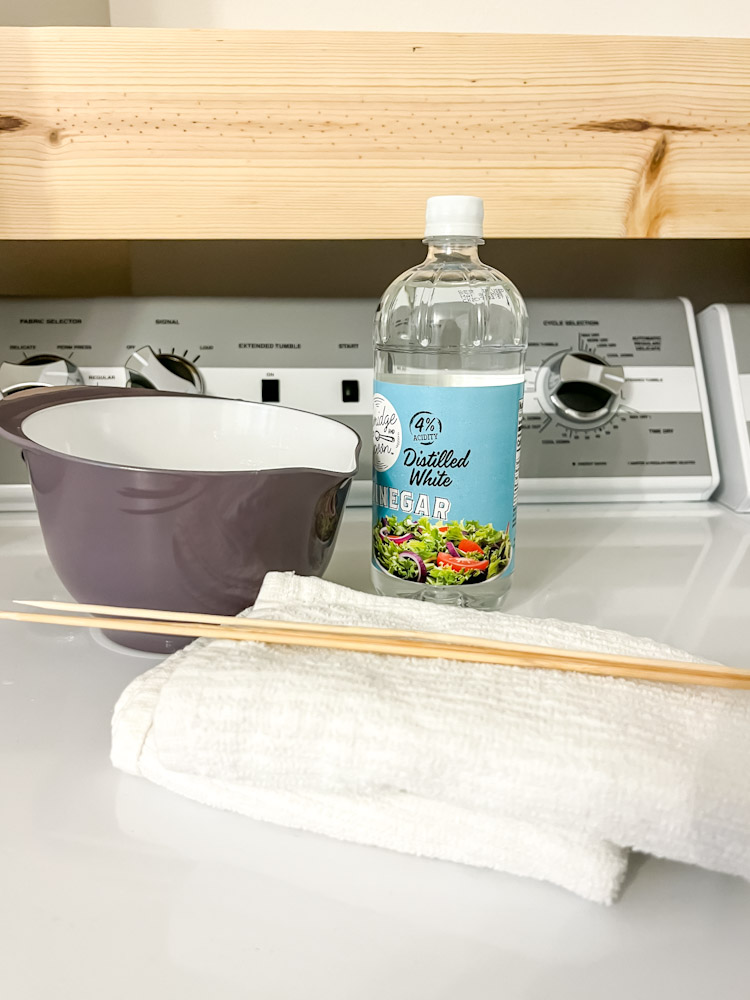
I have a gas dryer, so it is essential to make sure I use a non-flammable cleaner. After trying to do some research on ‘non-flammable cleaners’ I decided to go with a cleaner I knew was washer and dryer safe – good old vinegar and water.
I’m always a big fan of the vinegar water combo and know that it cleans really well without leaving much scent. The only thing to keep in mind is that you should not mix vinegar with Oxi-clean so be cautious if you have some residual powder hanging around on the surfaces.
Just remember, when in doubt, stick with plain water. It cleans surprisingly well!
How long does this take?
The whole process took about 35 minutes. Honestly, the longest part was trying to unscrew the lint trap, but time will vary based on how dirty your machines are.
What about the dryer vent?
I vacuumed out my lint trap but I didn’t disconnect the vent in the back to clean that out. I’m adding this to my longer spring cleaning list and will most likely hire it out to a vent cleaning company.
How To Clean Your Top Loader Washing Machine
Step 1: Clean the surfaces
Start by wiping down the entire outside of the machine with a slightly damp cleaning rag. Top, sides and controls. I used white vinegar mixed with water, 1/3 vinegar to 2/3 vinegar. Multipurpose cleaner would work as well.
Step 2 : Interior
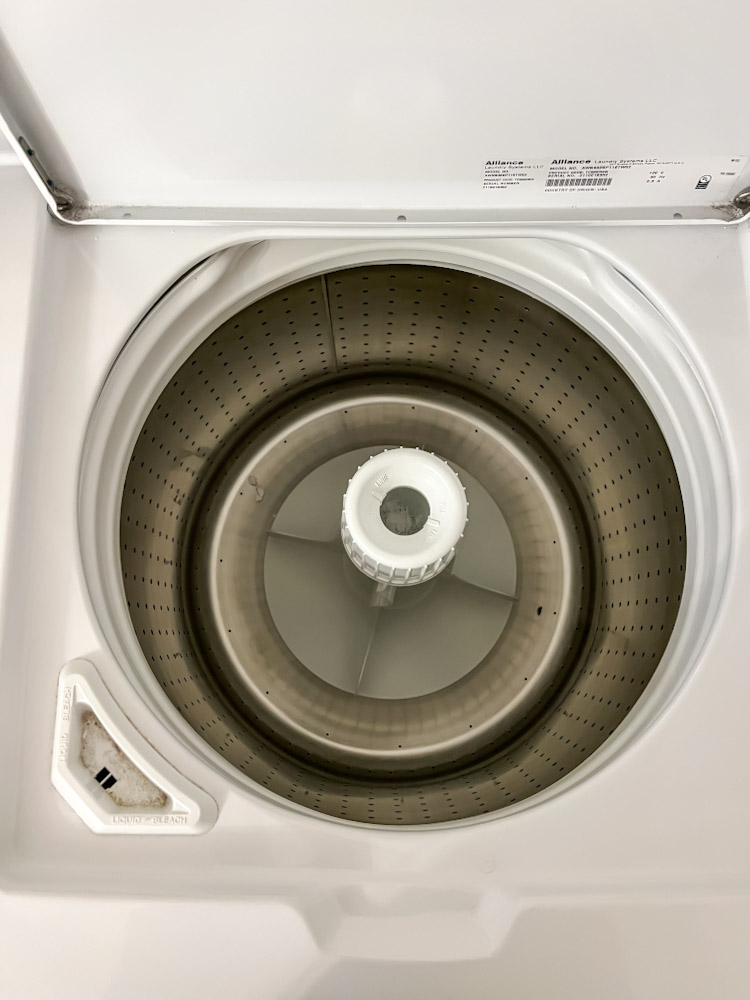
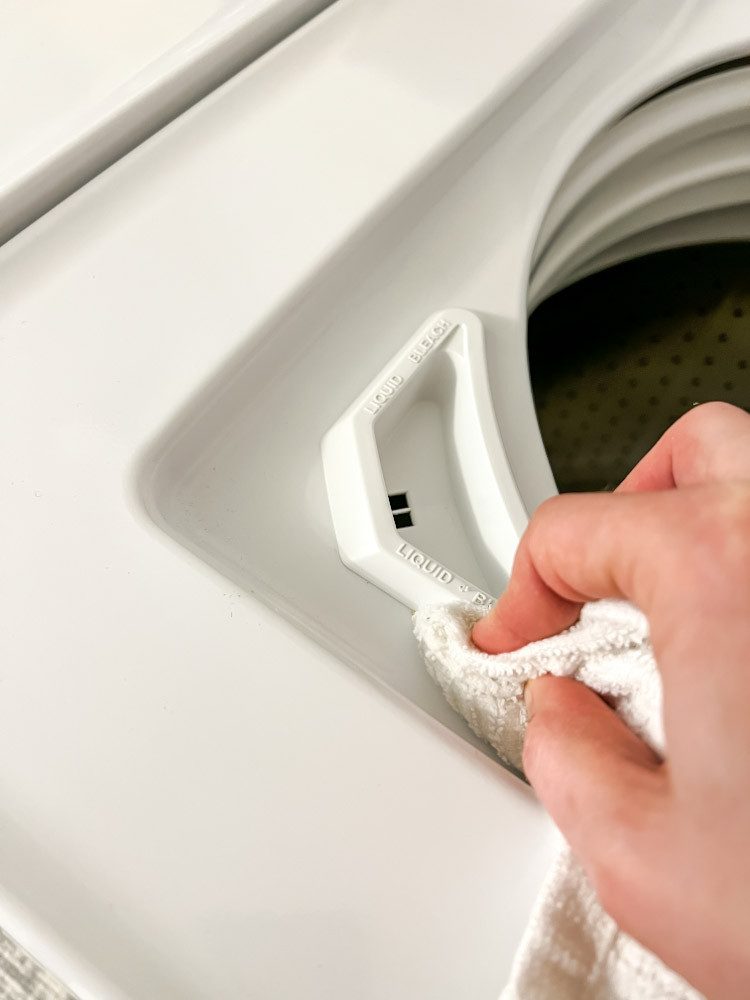
Use the damp rag to clean all the crevices, cracks and holes. For the grimy edges and corners, I like to wrap a wooden skewer with a rag and use the wrapped point to clean out the gunk.
Step 3: Run a cleaning load
In an empty washer, add 1 cup of baking soda followed by 1 cup of vinegar. It will bubble wildly in the bottom of your machine, just like a school science project. Let it bubble for a few minutes before setting the washer to run on hot. *Note, you will run the washer empty with just the vinegar, baking soda and hot water. No clothes this time!
Step 3: Wipe down inside
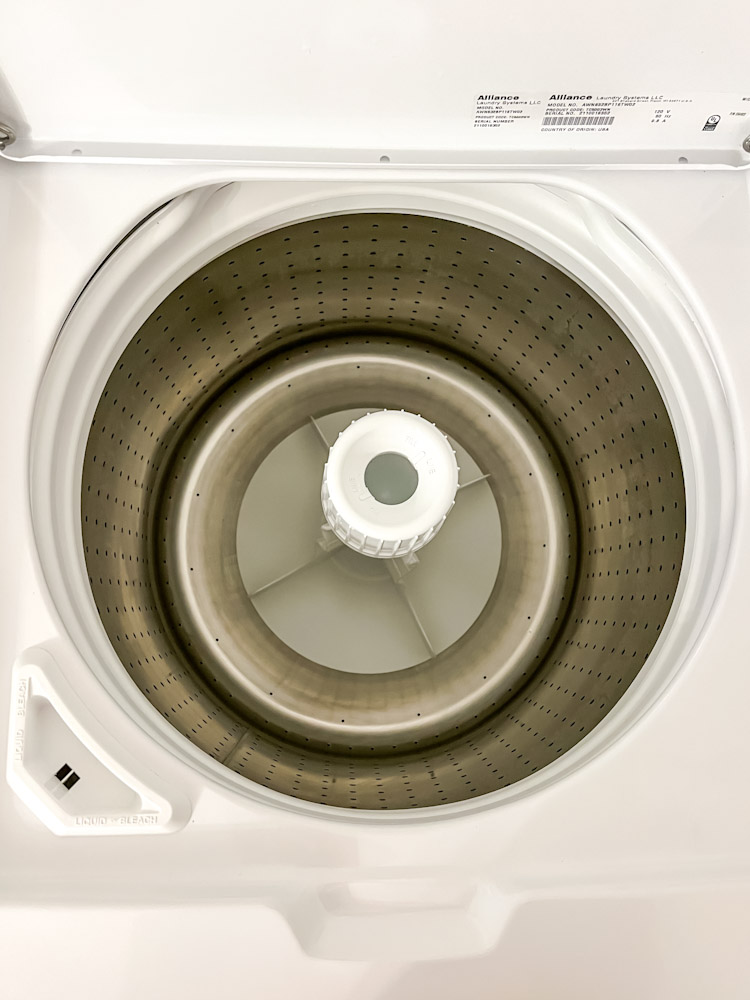
After your load is finished and the inside of the washer is still damp, wipe out the inside of the drum with a clean and dry rag. This will remove any remaining baking soda residue.
Next, move on to the dryer!
How to clean a gas dryer:
Step 1: Remove the lint trap
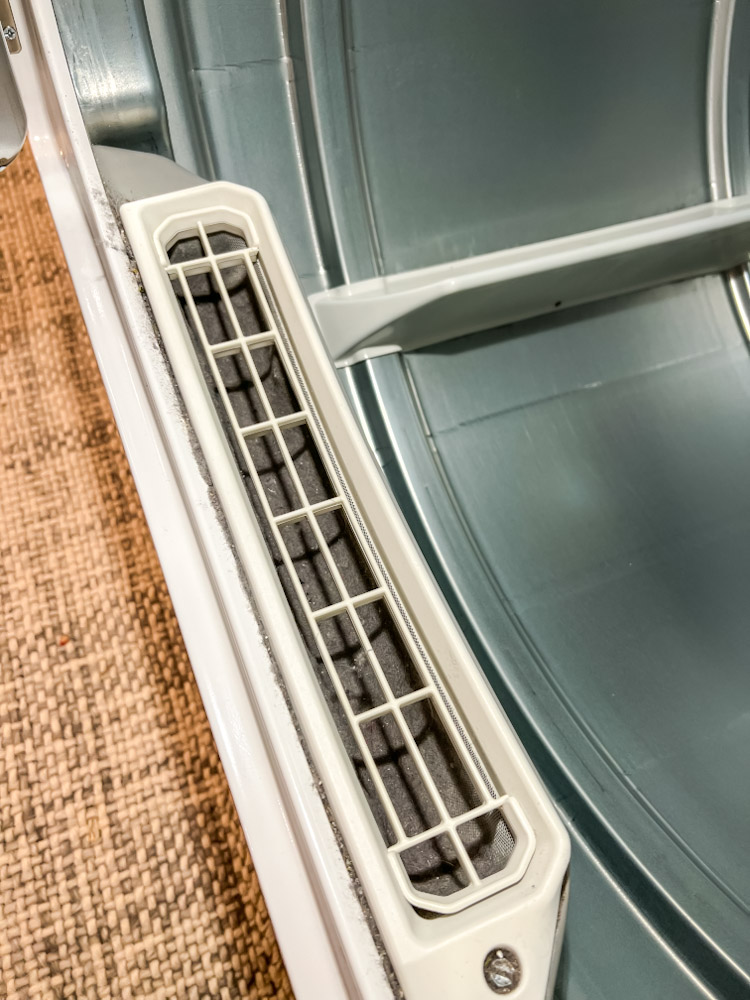
Remove the lint trap cover and then look for screws that hold the trap on. Unscrew the screws so you can get access to the vent.
Use a vacuum with a narrow attachment to suction up all the dust and lint in the trap. Check for any clogs and use a dry dust rag if necessary to wipe up any remaining lint.
Wipe off the lint trap with a damp rag. I used the vinegar water solution I made for the washer. Use the skewer and rag to clean any lint and dirt stuck in the crevices.
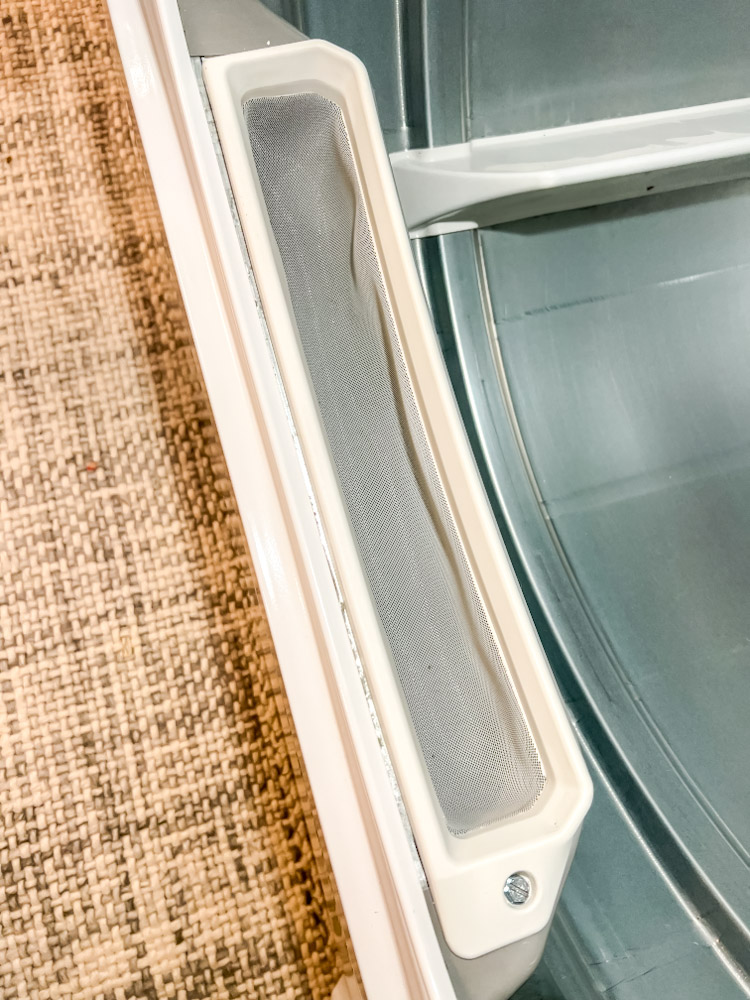
Reattach the trap with the screw and place the cover on.
Step 2: Wipe down the door and drum
Dip a cleaning rag in the vinegar/water mix and wring out. Wipe the door to remove lint and use the wooden skewer to remove lint from any tight cracks.
Next, move on to the drum. Use warm water and a rag (grab a clean one if needed!) and wipe down the drum. I noticed some dried clumps of Oxy-Clean near the agitator arms and used warm water to loosen and remove the clumps. Be careful to not mix vinegar with Oxy-Clean as the mix can be toxic. I stuck with pure water when I had doubts.
Step 3: Wipe down the outside, side and controls.
Again, use a clean rag if needed and wipe down all exterior surfaces. If you notice any stubborn dust in the cracks, grab the wooden skewer again and use the point to get into those hard to reach areas.
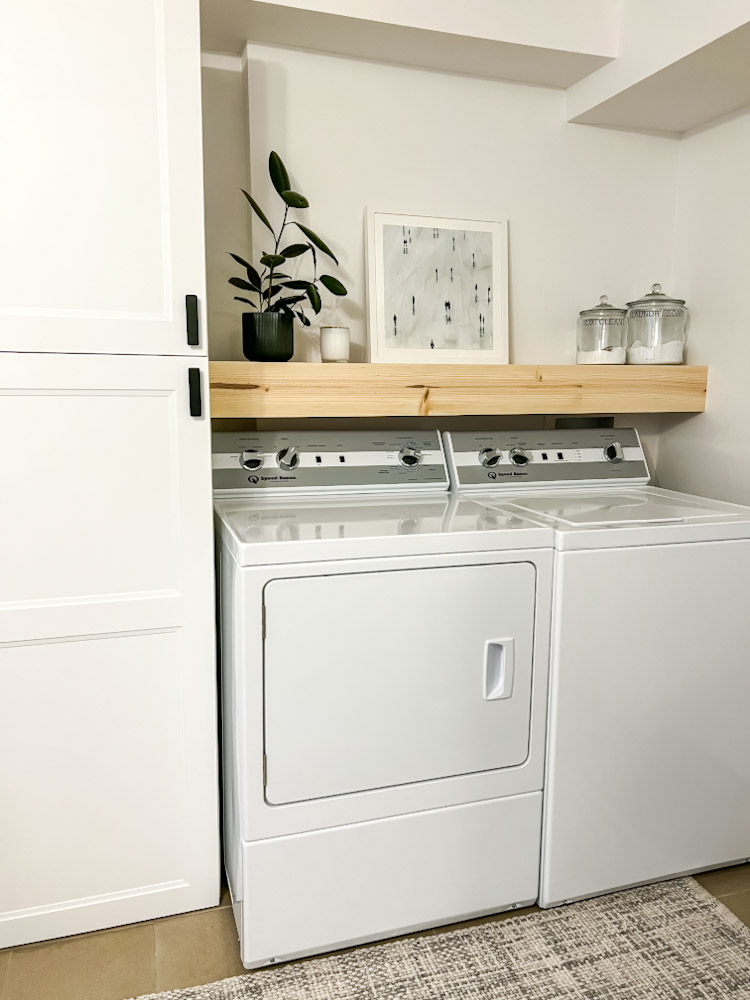
Thats it! Now, just remember to add this to your cleaning checklist every 6 months. 🙂
Looking for more spring cleaning tasks? Download my FREE Spring cleaning checklist so you can stay organized as you get your home ready for spring!

Leave a Reply