There’s nothing that makes me feel crazier than toy chaos. All those little pieces spread all over the floor, getting mixed together, broken, lost, and no storage solution in sight. Or worse, mixed in a jumbled heap at the bottom of a toy box.
I cringe just thinking about it.
But let me tell you what has helped turn our toy situation around: organizing our toys in a toy library, with individual storage boxes for each toy. This consolidates and displays toys so you and your kids can find exactly what you want, when you want, and easily put it away when you are done.
This post contains affiliate links. As an Amazon Associate, I earn from qualified purchases.
What is a toy library?
Toy libraries are simply bins of individual toys kept together in a closet, bookcase, or cabinet. All pieces are stored together in one easily identifiable, portable container.
We keep toy libraries in each of our kid’s closets and our kids “check out” boxes to play. This keeps the toys fresh and makes it exciting to pull them out (even if they aren’t new toys!)

But the best part is that it minimizes mess during play since there are only a few types of toys out at one time. Plus, even a child as young as two can help place toys back in a bin for pickup.
It’s easier than you think to organize your toys this way. Here’s the four-step process I follow:
How to organize toys in a toy library:
Step 1: Sort and purge toys – only keep the best!
The first step is to gather all the toys that could work in a toy library. This is anything with small pieces, figurines, building toys, dolls, dress up, cars, and really anything that could fit in a bin. Go through your toys and group by set or by type. I like to do this in the middle of the floor so I can really see what I have.
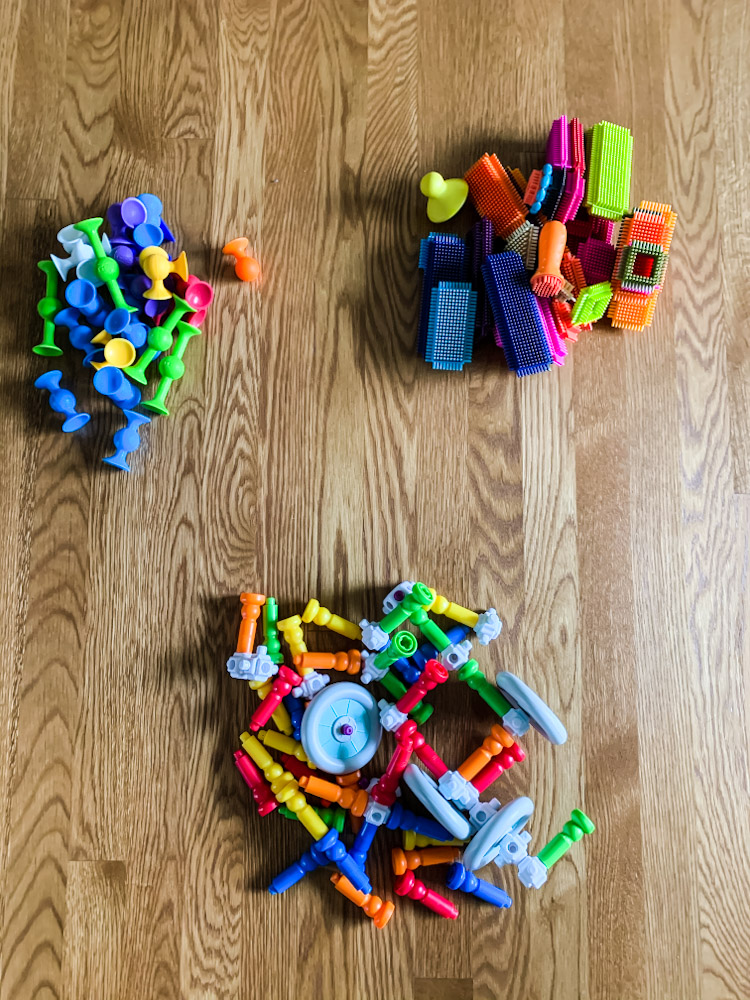
Now, you purge. This is the most important step – don’t skip this! When you have a small house, storage space comes at a premium. You only want to keep the best of the best toys. Toys that are open-ended, high quality, and that your kids actually play with. Anything else should be removed and donated, sold, or given to friends.
Look at your piles of remaining toys and figure out how many bins you need. Keep in mind that sometimes it makes sense to combine different sets of toys to facilitate play and save storage space. For example, I combine wooden people and vehicles. I also only have one bin for figurines called “characters”. You don’t need different small bins for Paw Patrol, Little People, Daniel Tiger, etc.
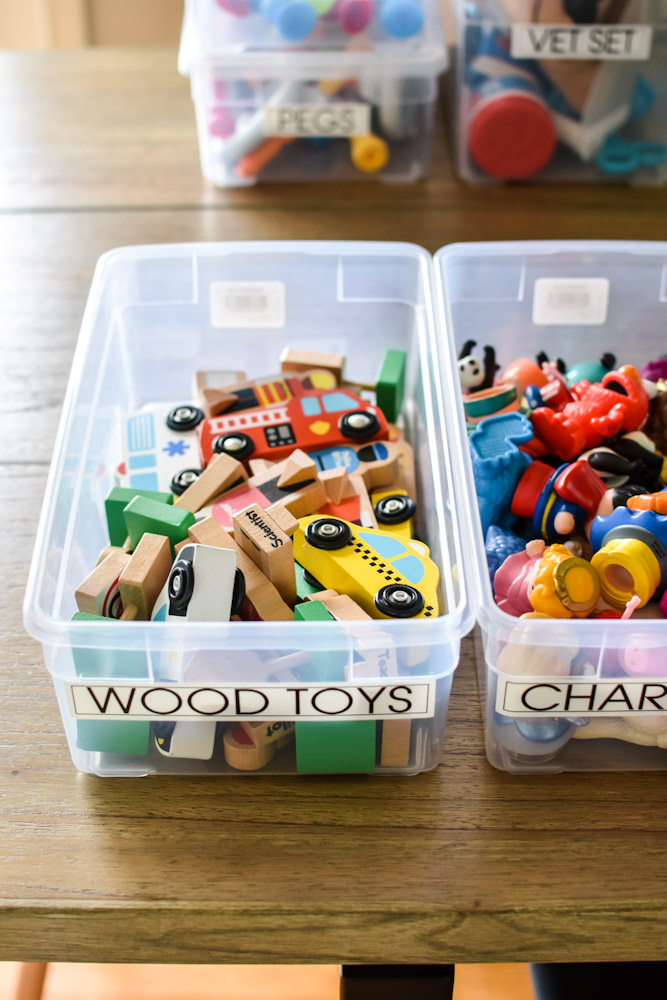
Make sure to measure your storage space to ensure your desired bins will fit. Then, it’s time for the fun part – shopping!
Step 2: Purchase your bins
Remember, buying bins is an investment. Doing all the steps above helps ensure success because you know exactly what you need and won’t waste money on bins you don’t need.
It’s essential to buy all the same brand of bin to ensure they stack easily. I like to stick with styles that are easily available in case I need to add to my collection. This means I favor stores like Target and The Container Store over HomeGoods, Costco, or Home Depot, since you have a better chance of finding the same bin or basket 6 months later when you decide you need more.
For my daughter’s closet, I went with Clear Storage Boxes from The Container Store.
The sides and lids are clear, which makes it easy to see what is inside. I used the shoe box and tall shoe box sizes, which were perfect for toys, but these bins come in a wide range of dimensions to fit any space.
I also really like Sterilite Storage Boxes and Target Room Essentials Modular Storage bins.
small bin / large bin source small bin / large bin source
(These bins are not affiliate links or sponsored in any way. I’m just really passionate about vetting storage containers and like how these have worked for us)
Step 3: Place the toys in the bin
Take the toys out of their original package and dump them into the bin. It’s helpful to leave some space at the top to make it easier for kids to fit all the toys inside. If you pack it too tight, you’ll get frustrated having to Tetris them in every time.
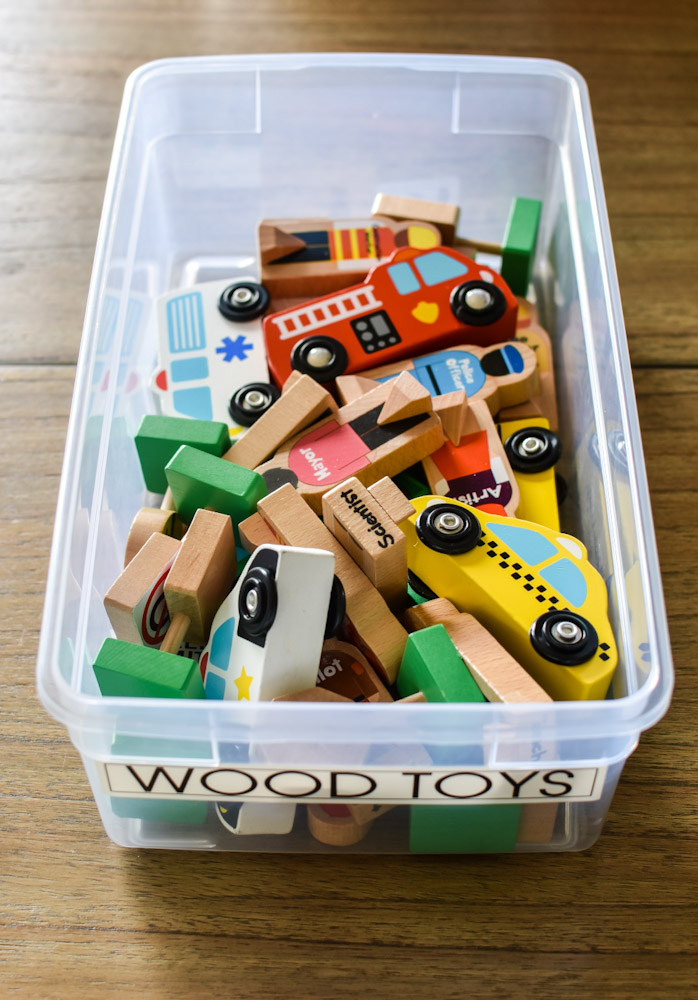
If there are instructions, be sure to include those in the box. Also, consider cutting out pictures from the box and placing them in the bin as well.
Step 4: Create Labels And Stack
Labels are key. They are what keep the system from completely falling apart. If there are no labels, people will just throw things in wherever. It’s that little guilt trip that keeps people from putting the wrong thing in a bin. Trust me, labels keep the chaos away.
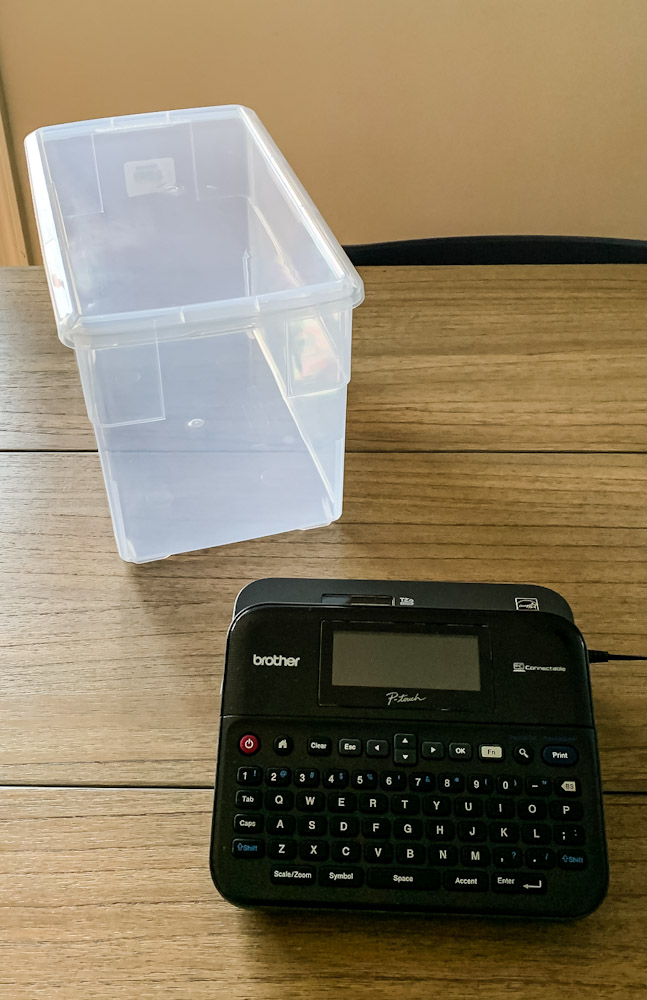
I love my Brother PT-600 label maker for this type of job because it is just so easy. I literally turn it on, type out what I want it to say, and hit print. That’s it.
For the toy bins, I used a large font on white label tape to really make the label pop. This leaves no question about what should be inside.
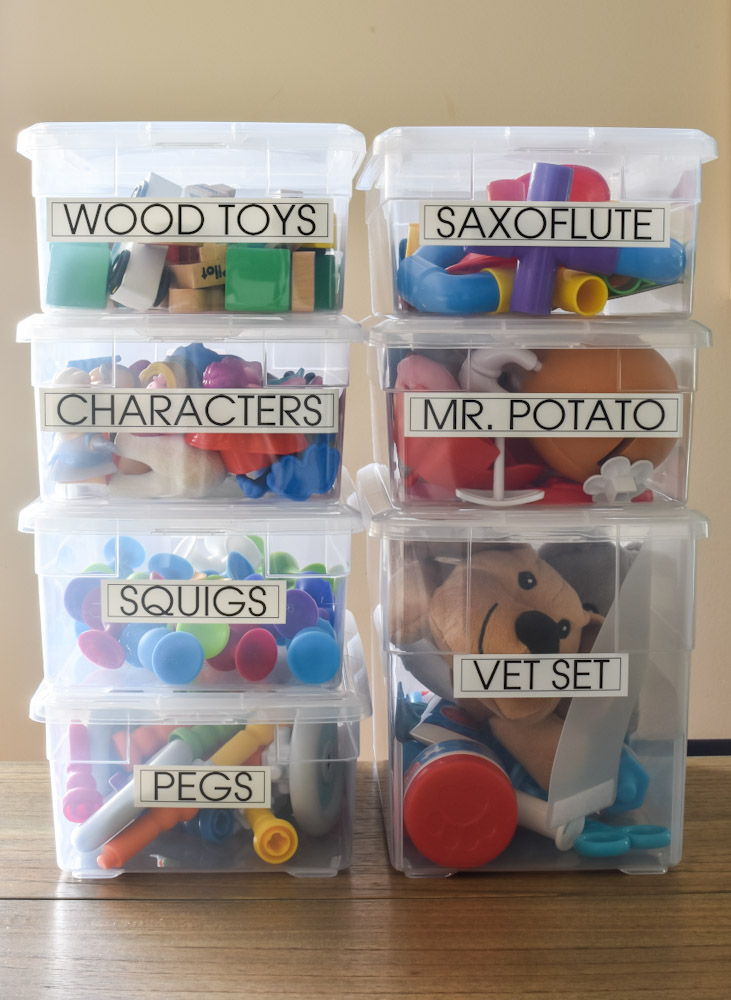
The font is ‘Atlanta’ in all caps with a square border.
The label tape acts like a giant sticker. Once printed, you peel off the back and stick to the bin. They easily peel off if you need to change the label as your toy library evolves.
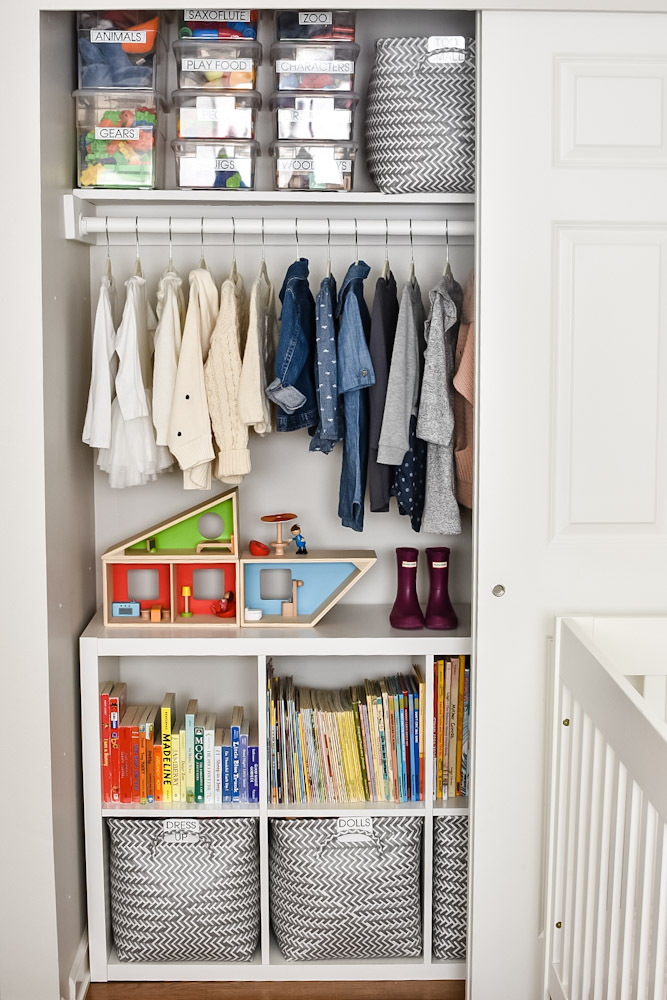
The toy library has been a huge hit for my almost 3-year-old daughter and fits perfectly in her reorganized closet. If you’d like to see how I organize the rest of her closet, click here to read the post.
And if you’d like to give this a try yourself, remember:
- Get rid of toys that you don’t need
- Group by type
- Find the right bin for your space
- Label everything!
You can do this. You can tame the mountain of toys and bring order to the chaos!
And if you give this a try, tag me on Instagram. I’d love to cheer you on and celebrate your toy win! Find me @smallishhome
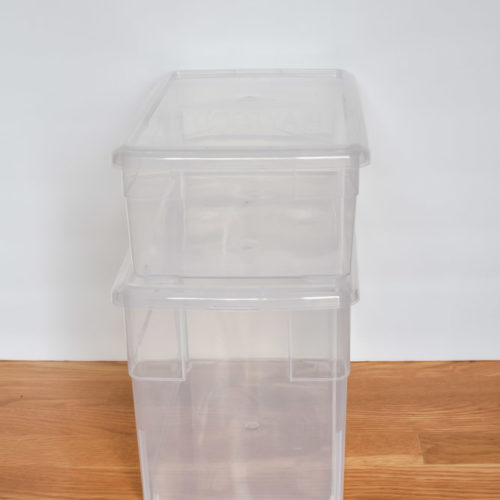


[…] Click here to see her closet and read about the best bins for toys. […]