What’s better than a room makeover? A whole (miniature) home makeover!
Now, truthfully, this was supposed to be a Christmas present for my 2.75-year-old daughter, but, it may have been for me too. Just a little bit.
Last summer I found a dollhouse on Facebook Marketplace that looked really intriguing. I picked it up and realized how good of a find it was. It’s the Plan Toys First Dollhouse (affiliate link / non-affiliate link) and normally retails for around $150. So finding it for $20 felt like an absolute steal!
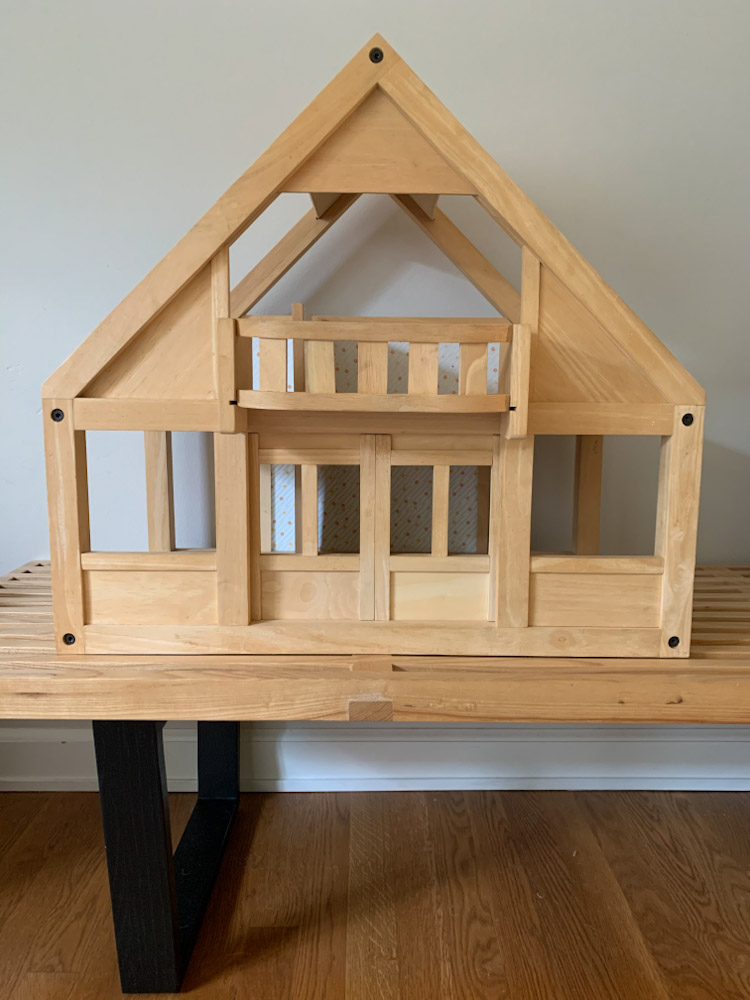
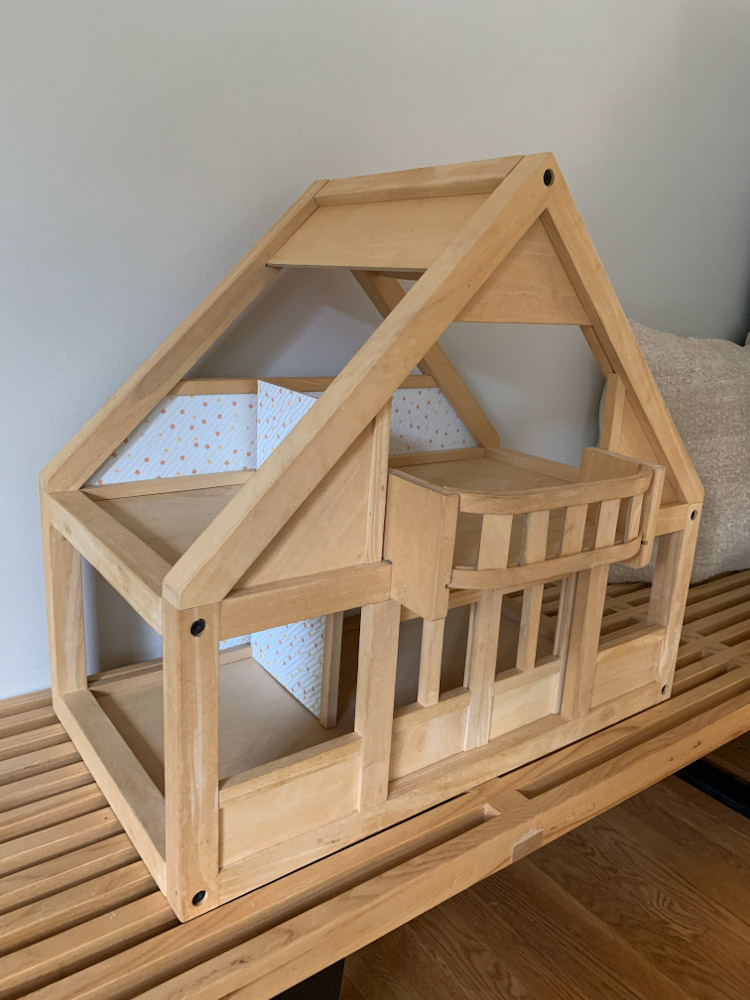
We played with the house as-is before realizing my daughter was just too young to really enjoy it. Knowing that she would eventually grow into it we stashed it away for a year before it finally came back out. This time, I was ready to give it a makeover!
But why paint it?
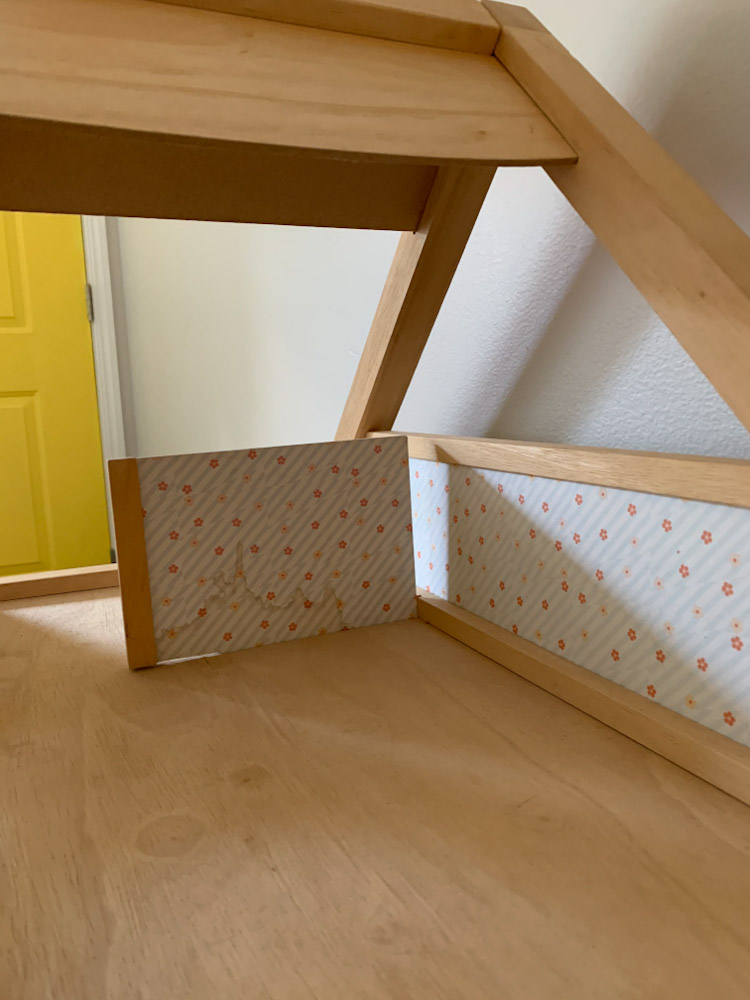
The house was in pretty good shape, minus a bit of water staining on the wallpaper. I toyed with the idea of leaving it as is, but I have this strange drive to paint perfectly good toys just for kicks. I just love giving things a personal spin!
If you are looking to give a fixer-upper dollhouse a new lease on life, here’s the process I followed:
This post contains affiliate links. As an Amazon Associate, I earn from qualified purchases.
SUPPLIES
Rust-Oleum Chalked in Charcoal
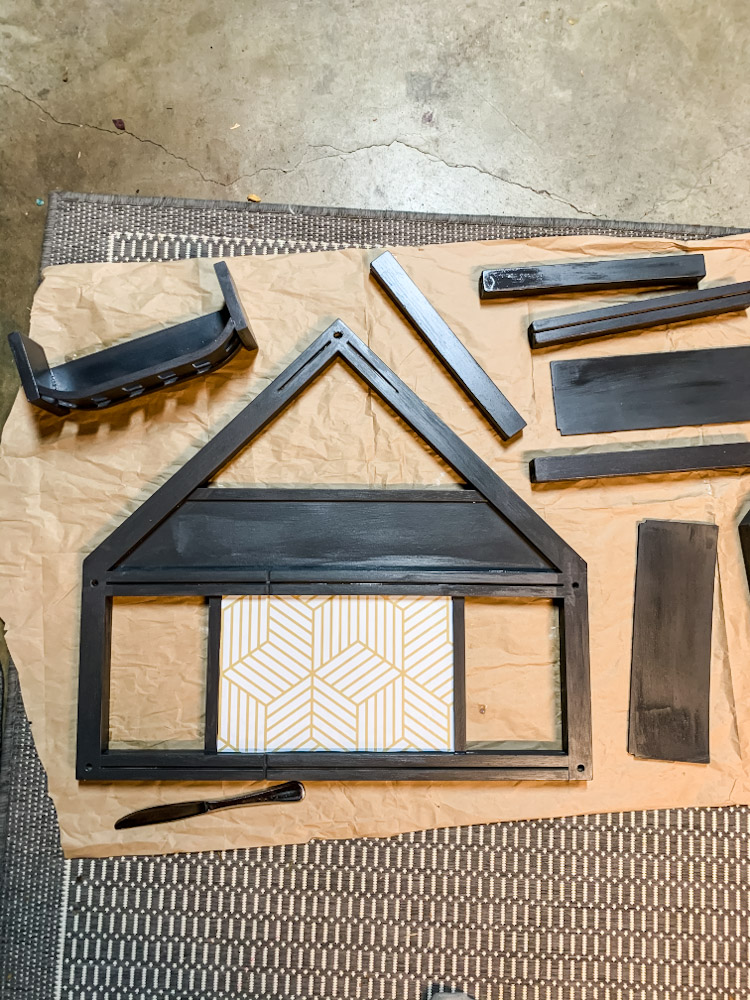
STEP 1: Disassemble and Paint
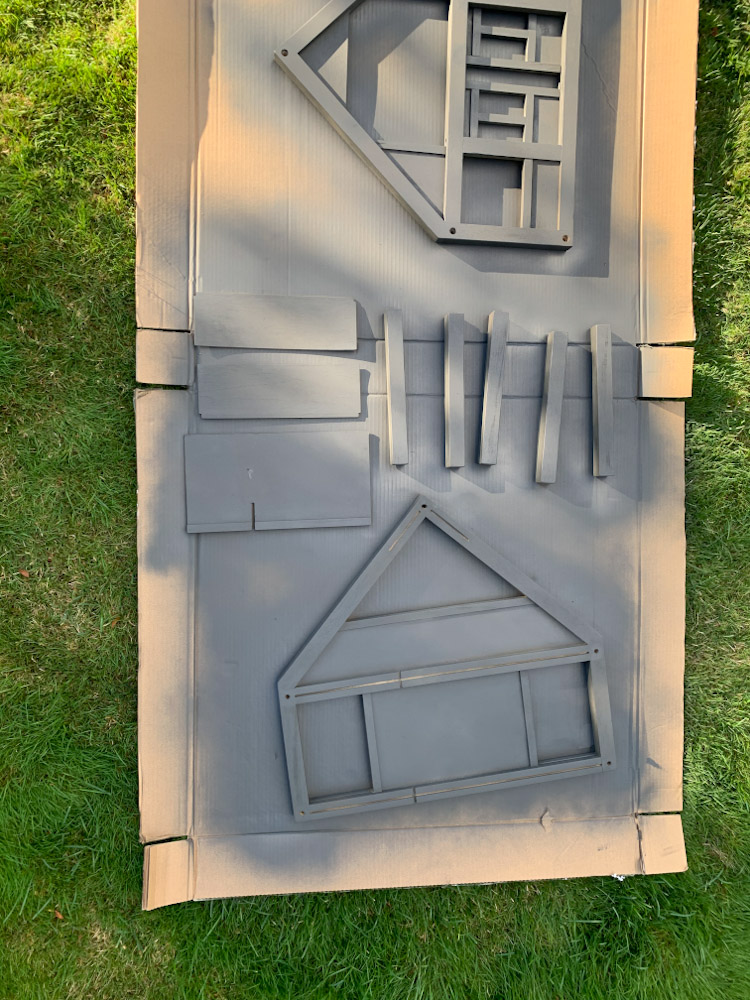
Remove all screws and place them in a labeled bag. Wipe down all surfaces with a damp cloth to remove any dust and dirt. Let dry.
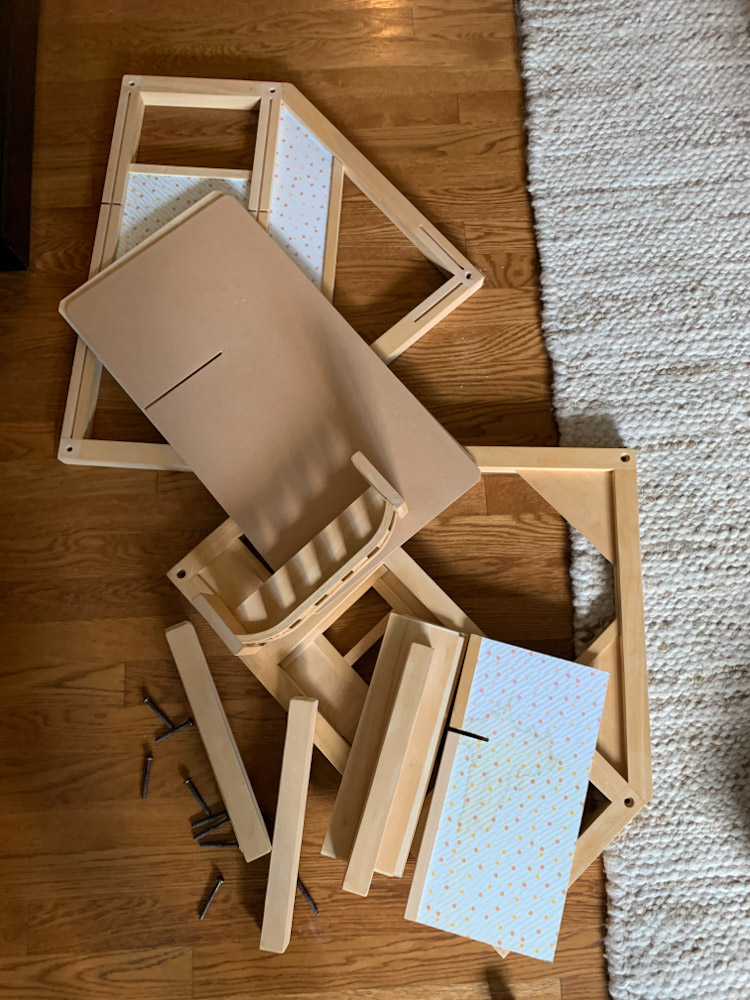
Choose your paint. I decided to use dark grey spray chalk paint because 1) it’s what I had on hand and 2) I didn’t need to sand before painting.
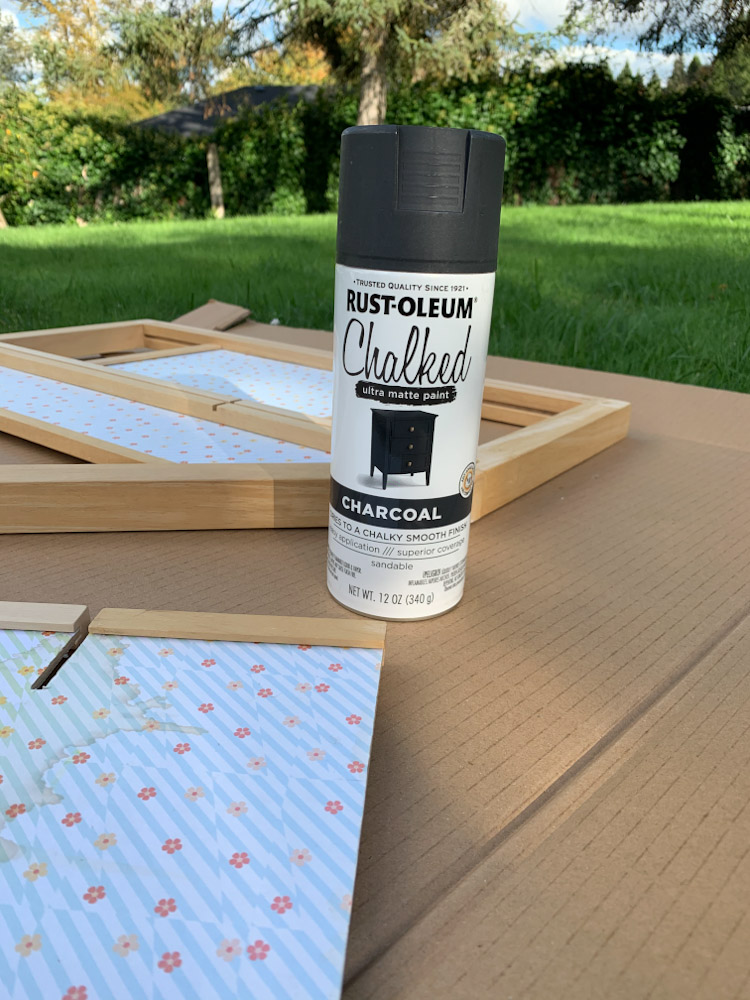
Spray the pieces using many, many light coats with plenty of time to dry in between.
STEP 2: Wallpaper
After painting and drying, use contact paper or wallpaper to line the walls. I used a gold and white geometric peel and stick wallpaper to give the walls a fun pop against the dark grey.
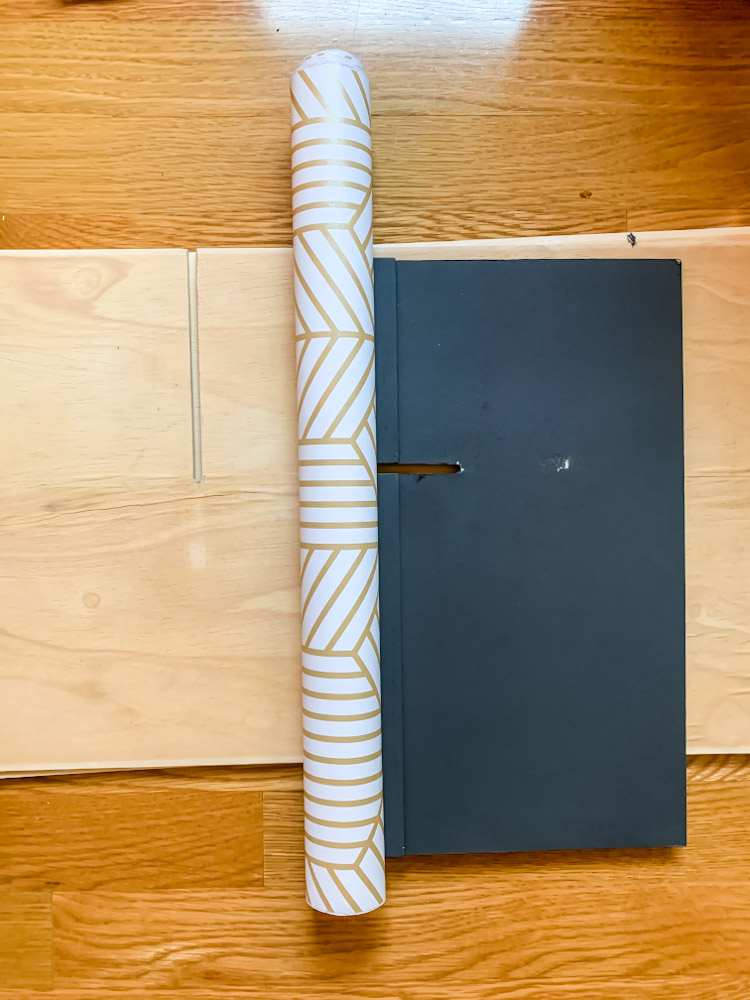
I left the floorboards alone. The natural light brown finish looked nice with the dark grey and the gold and white.
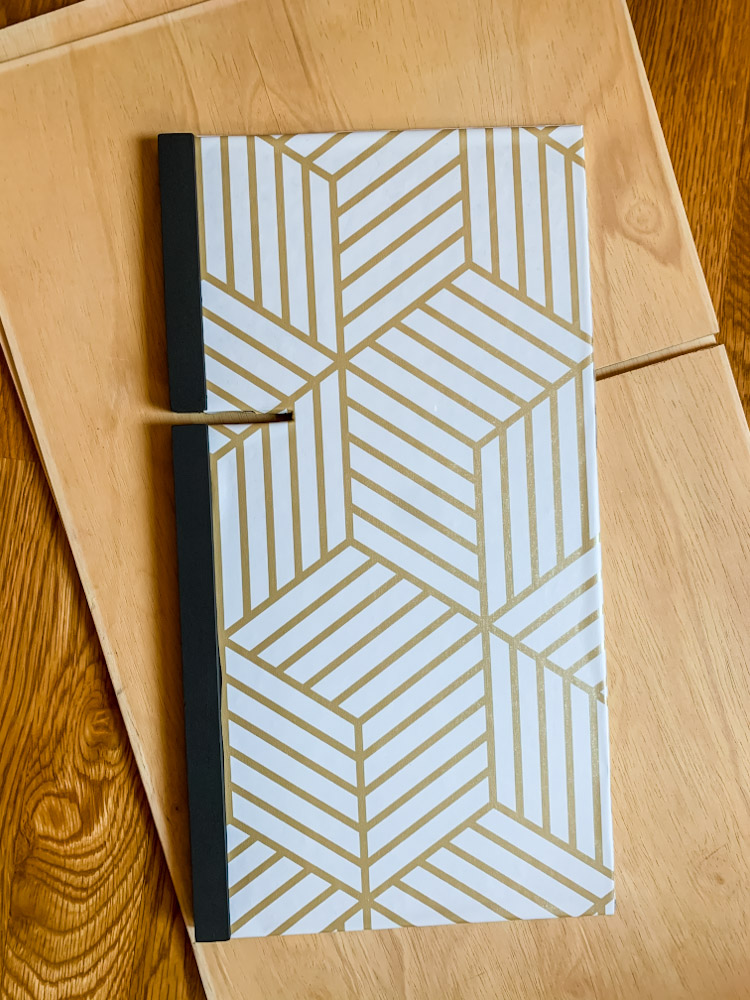
I found it helpful to make a template from plain white paper first. Then I was able to trace the final shape onto the paper before using a crafting knife to cut.
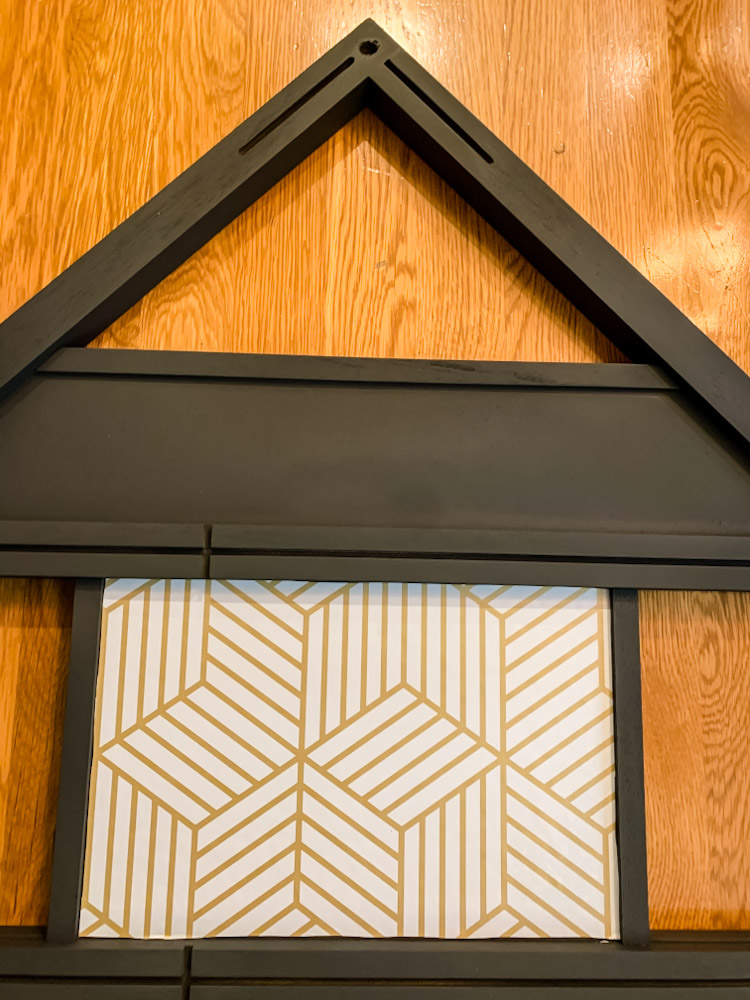
It’s amazing what a change paint makes!
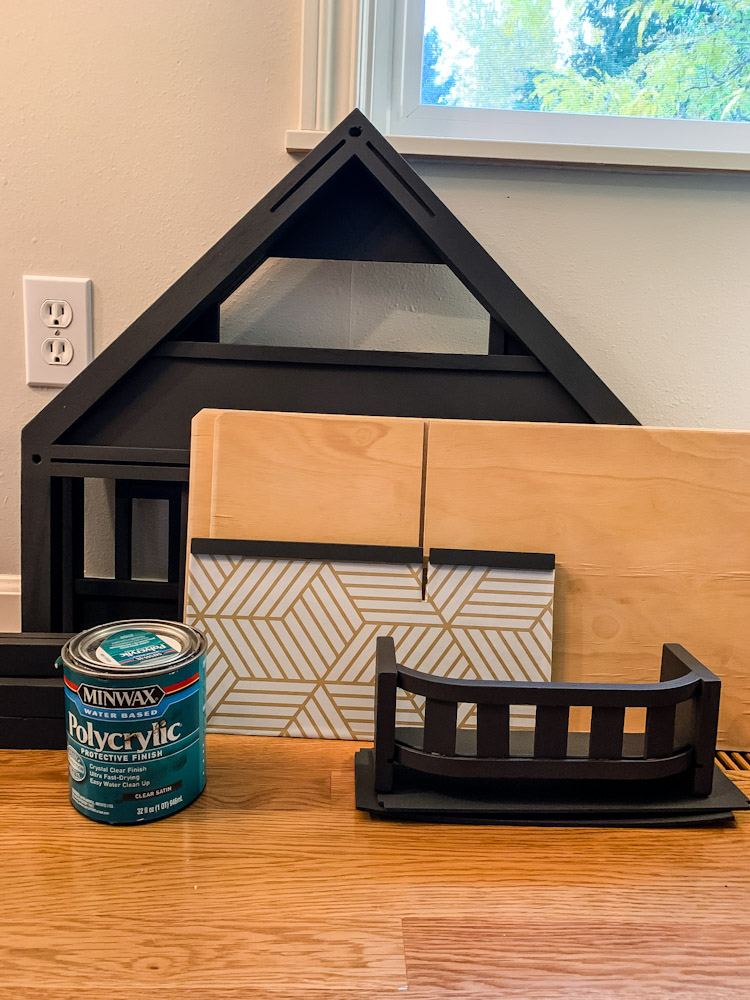
STEP 3: Clear Coat
Consider finishing with 1-2 coats of a clear coat of your choice. While I loved the color and the matte finish of the chalk paint, I was really worried about how it would hold up to a toddler.
Thus, I ended up putting two coats of polycrylic over the top. I think this was the right move from a durability standpoint, but my can was really goopy and (I think it was old?) and made the finish look streaky. I’m not thrilled with the final result, but it’s only really noticeable in bright light. Live and learn.
STEP 4: Furnishings!
Now for the best part – all the things that go inside the house! Wood dollhouse furniture can be easily found on Amazon or even used on Facebook Marketplace.
This set from Amazon is really cute.
And this one is great too – it even includes bunk beds!
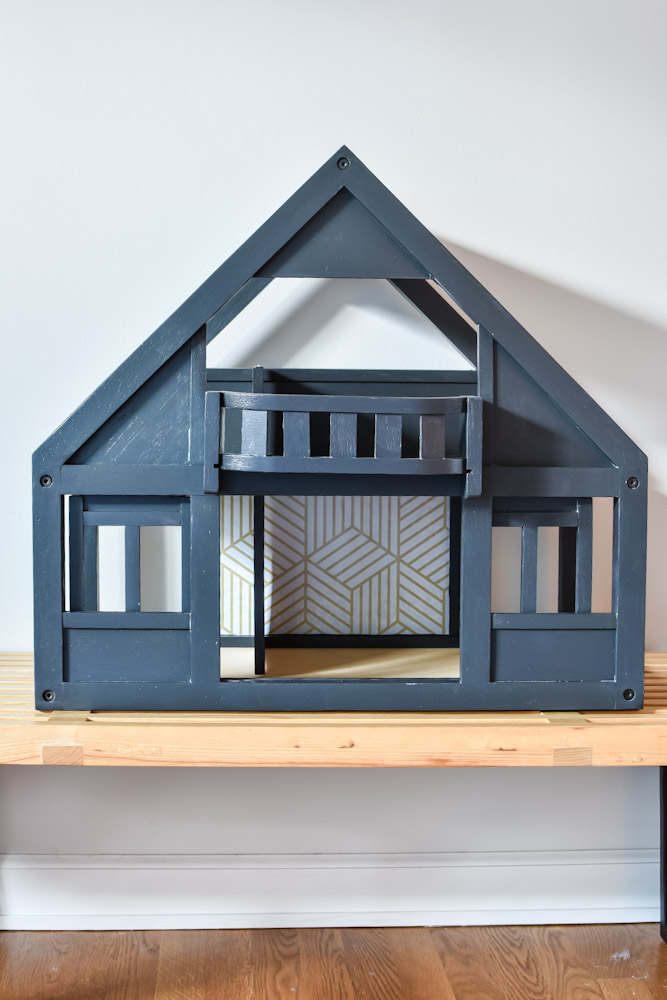
Our set is from Crate and Kids (formerly Land of Nod) and was purchased on major clearance over a year ago. I think I paid $50 including shipping for the whole box of mid-century goodness.

I’ve been hoarding this away under my bed for a year, waiting for the perfect time to give this to my daughter. And this is the year! She’s already seen the dollhouse, but the furniture and new dollhouse families we purchased will be a surprise for her on Christmas morning.
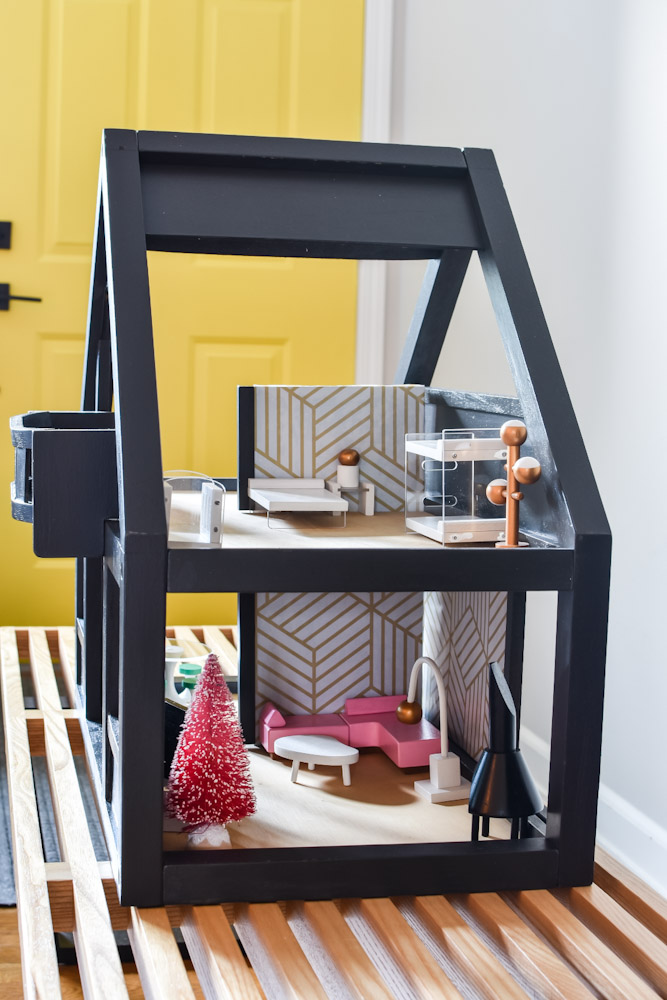
Of course, I had to style it out while she was napping. For science.
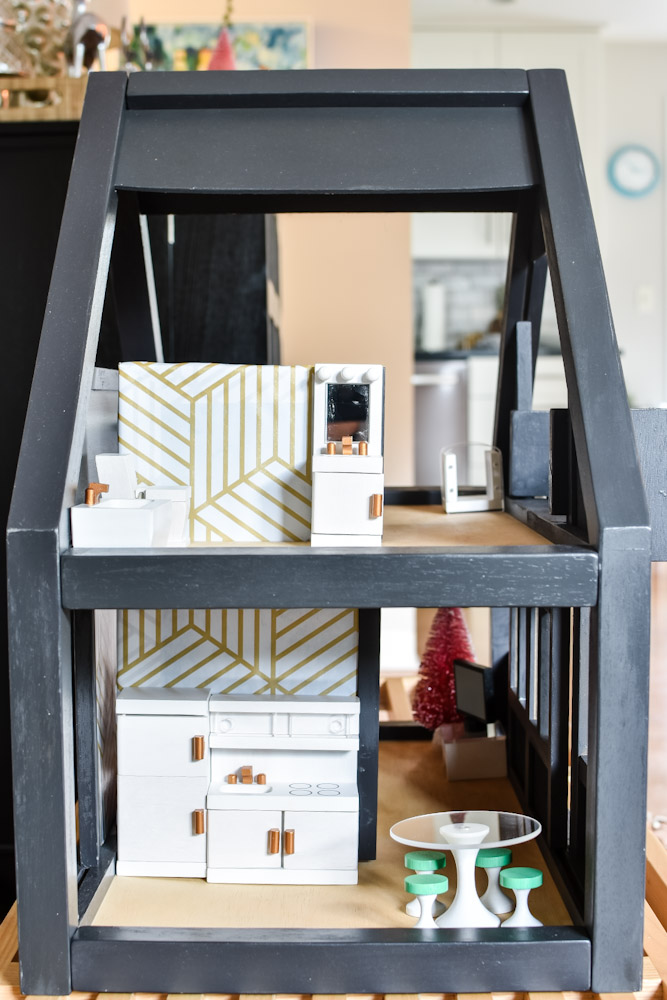
Top floor bathroom and bottom floor kitchen. The gold hardware gives me all the feels.
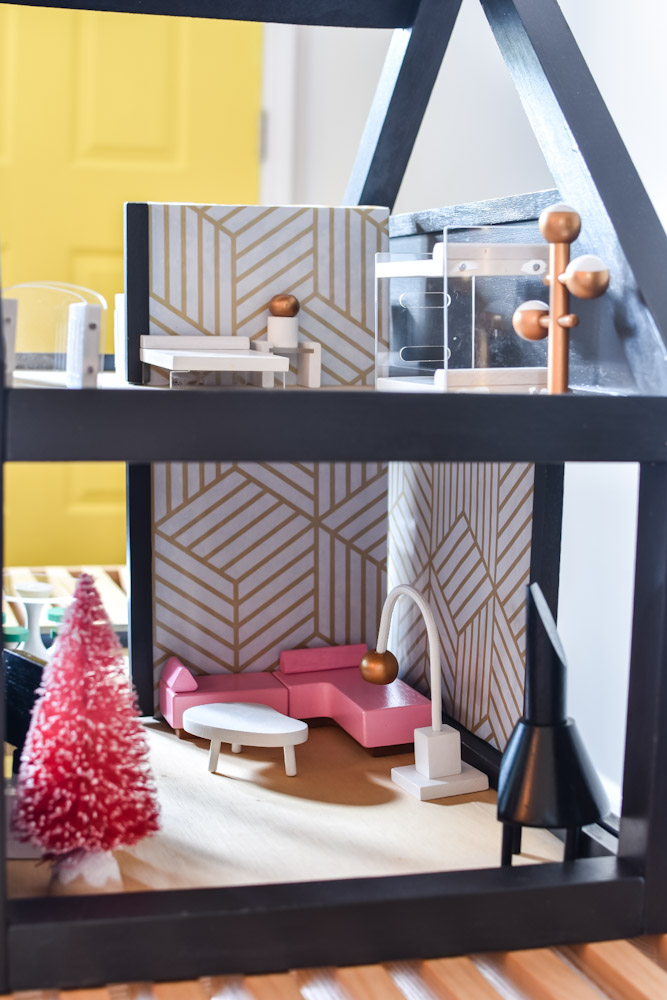
Acrylic bunk beds, gold lamps, pink sectional, AND a mid-century fireplace? Yes, please.
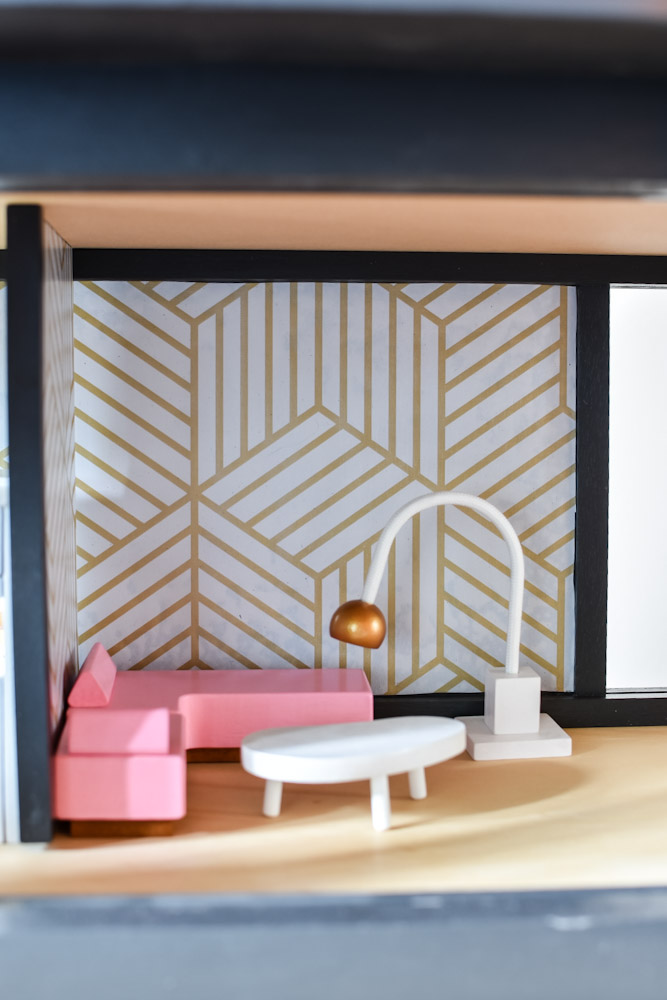
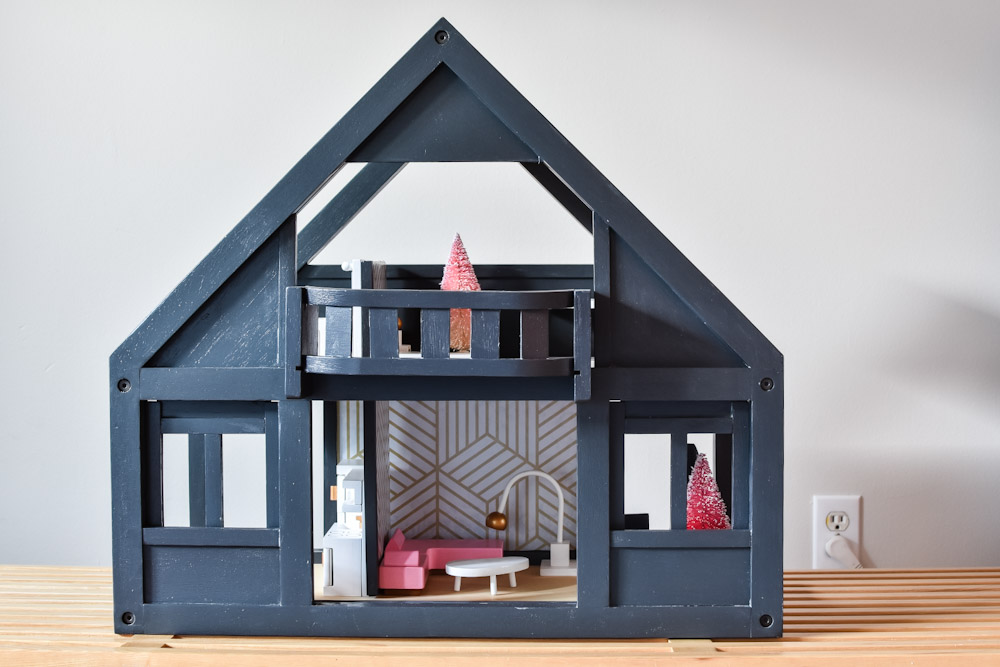
I think she’s going to love it. And I’ll enjoy playing with it just as much as she will.

Leave a Reply