Looking to take your pantry labeling up a notch? Vinyl pantry labels are the perfect addition to you newly organized pantry and look beautiful on clear plastic containers that can hold everything from sugar to nuts!
Here’s what you need to get started on this project:
Pantry containers (I used this set of 8 from Walmart)
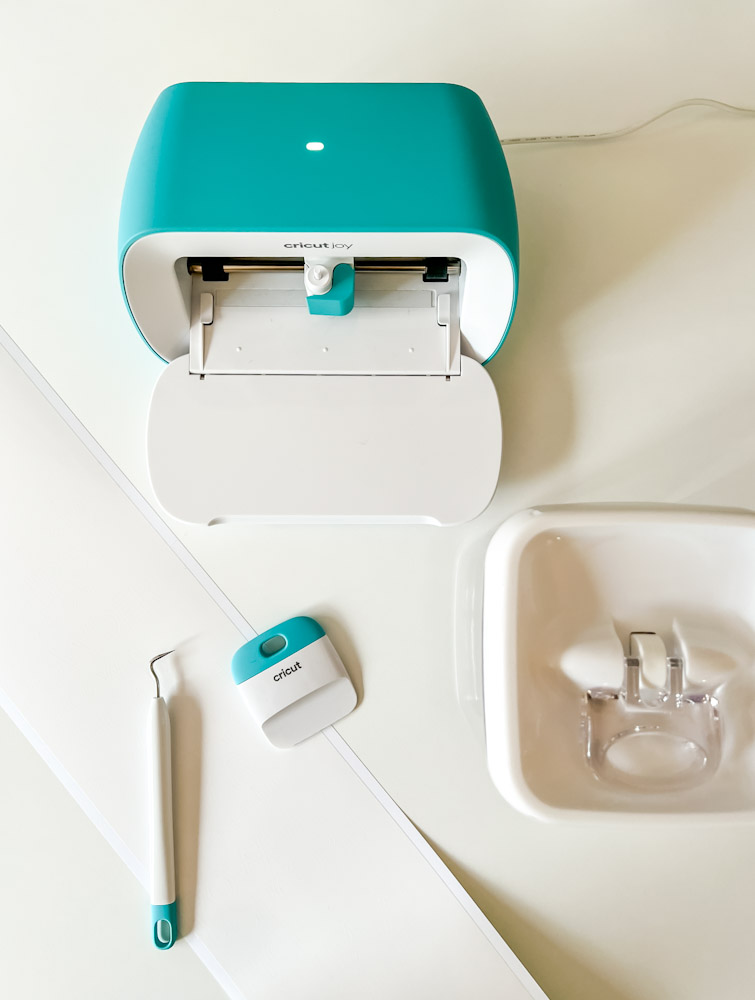
Cricut Joy
Permanent Smart Vinyl in White
Weeding tool & scraper
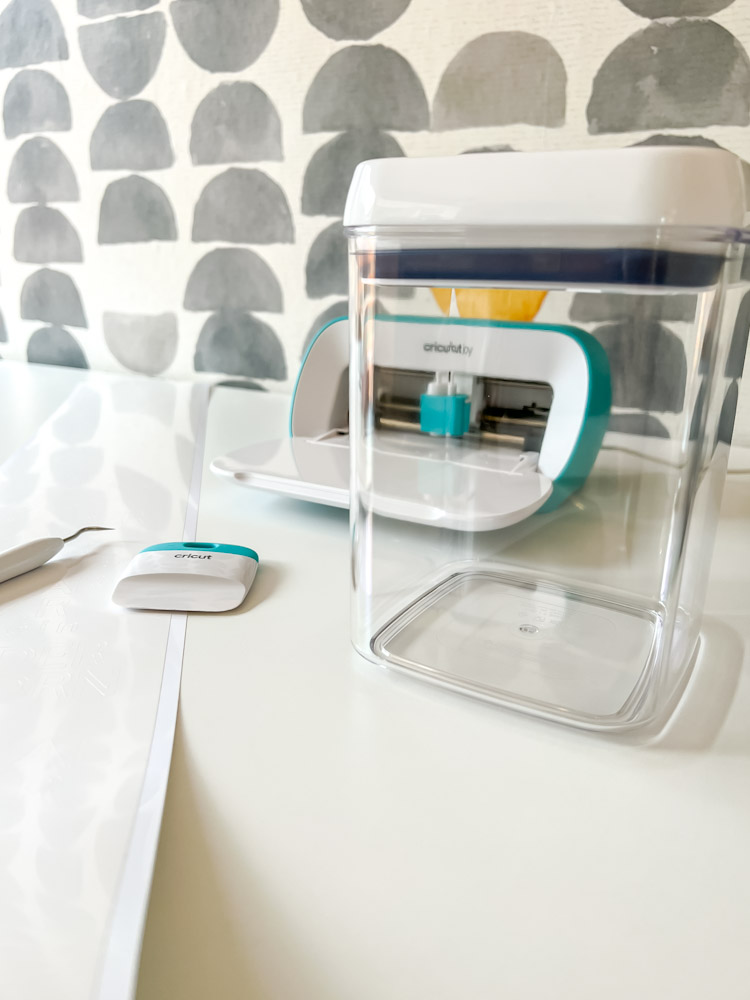
If you know me, you know I love a good label. I’ve tried them all, but in my opinion a good vinyl label is perfection in the pantry.
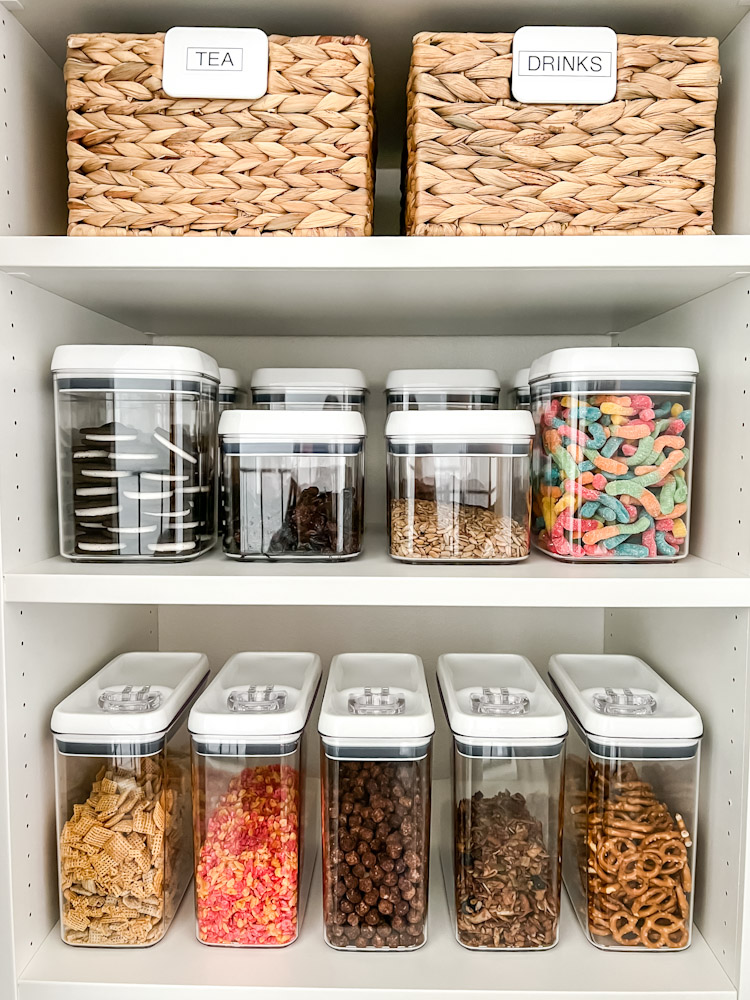
I recently re-organized my small pantry (final reveal coming soon!) using a ton of clear pantry canisters for decanting cereal, nuts, baking items… really, all the things. I’ve been excited to simplify my pantry and decant my items into clear plastic containers so I can see exactly what’s in there at all times.
I went with these clear containers from Walmart because they were a steal. And I needed a ton of them! I purchased 3 packs of 8 (comes with 3 sizes) but they are also sold individually.
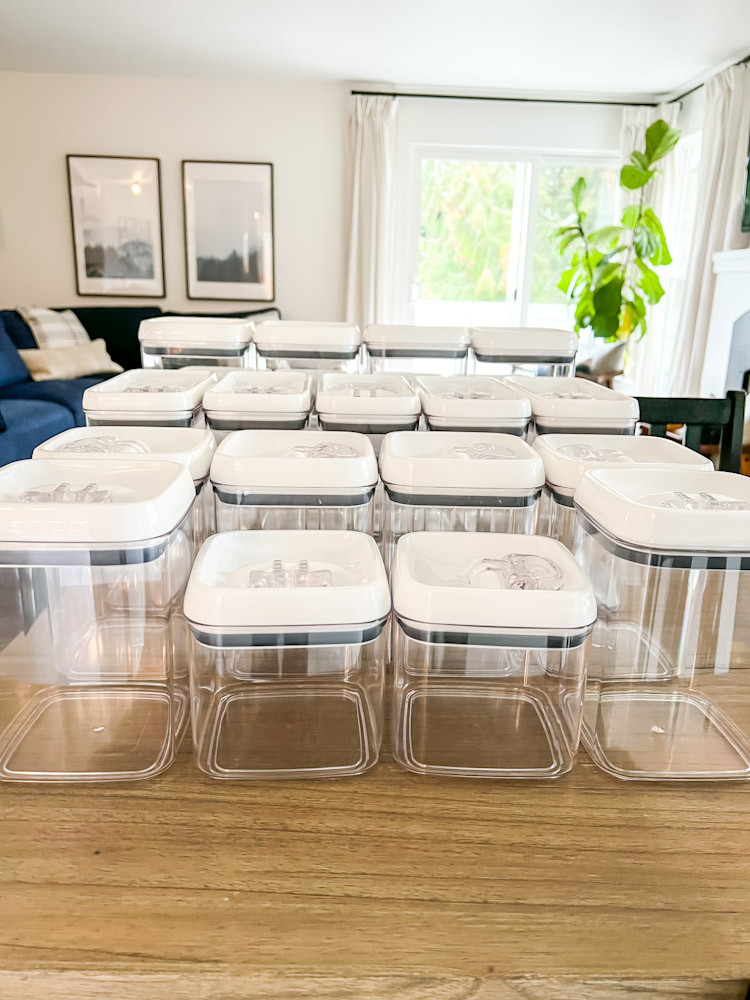
After washing and drying all the containers, I had to make a decision about how best to label the new containers.
Why use vinyl for pantry labels?
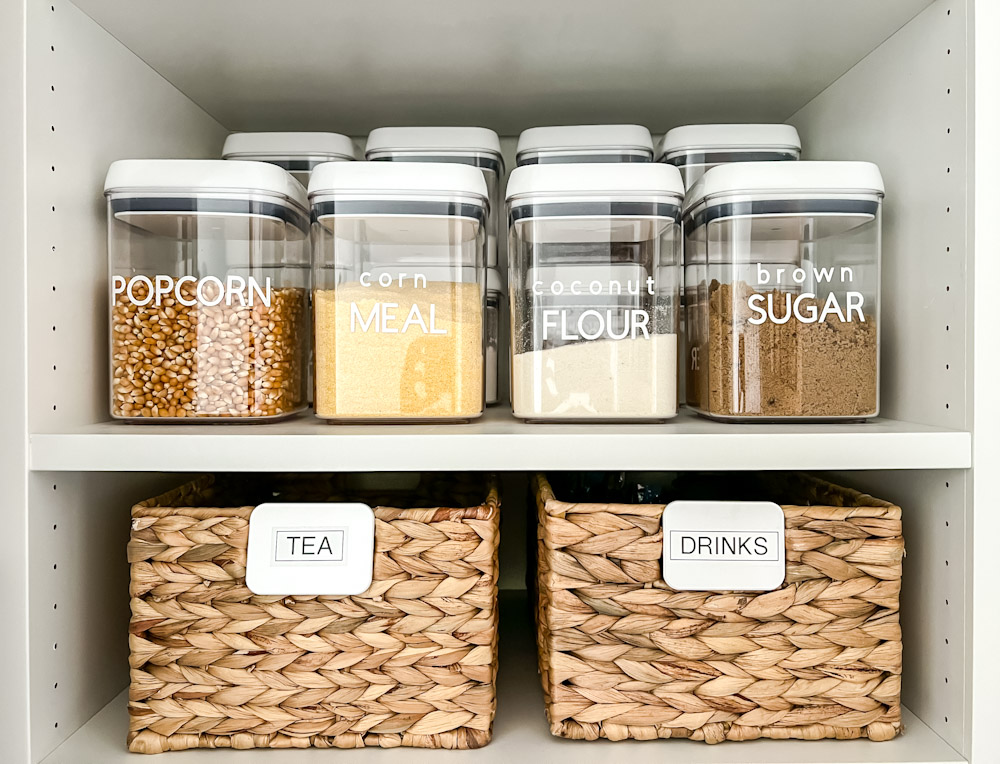
Adhesive vinyl is just one option when it comes to pantry labeling. In this pantry I used my label maker for the boxes and bin labels, but decided to go with vinyl for the clear canisters.
Before deciding, I weighed the pros and cons of using vinyl labels:
Pros:
They look SO GOOD, especially on clear containers.
Can easily wash/run through the dishwasher. Unlike some sticker labels that are not waterproof, these can go through the dishwasher.
Each letter is individually cut vinyl which mean there is no “tape” edge. This makes for a much more professional feel.
Completely customizable, from font style, to font size, to color of vinyl. Your only limitation is the size of your container and your imagination.
Cons:
It’s permanent. This means. you CAN remove them if you need to, but each letter will have to be peeled off individually.
Can be a bit time consuming to make and apply each label, especially if you have a lot of containers.
Sometimes the vinyl and the transfer tape can be finicky. I’ve definitely noticed a bit of a learning curve, but to me it’s been worth it to push through because the end result is stunning.
In the end I feel like the pros outweighed the cons and I decided to go ahead with the vinyl labels.
Do you label everything?
This is a personal preference. I know some families are very consistent with their purchases week to week, so labeling every container may make sense. For other families (including my own) we tend to vary our purchases week to week. Sometimes we have almonds and sometimes we have pecans. We like a little variety. 🙂
I didn’t want to create a system so rigid that I HAD to buy crackers to fit in the cracker bin when maybe pretzels sounded better. To allow for this flexibility I chose to label only the containers I knew would be consistent from week to week. These are the staples that we always have on hand for baking or meal prep.
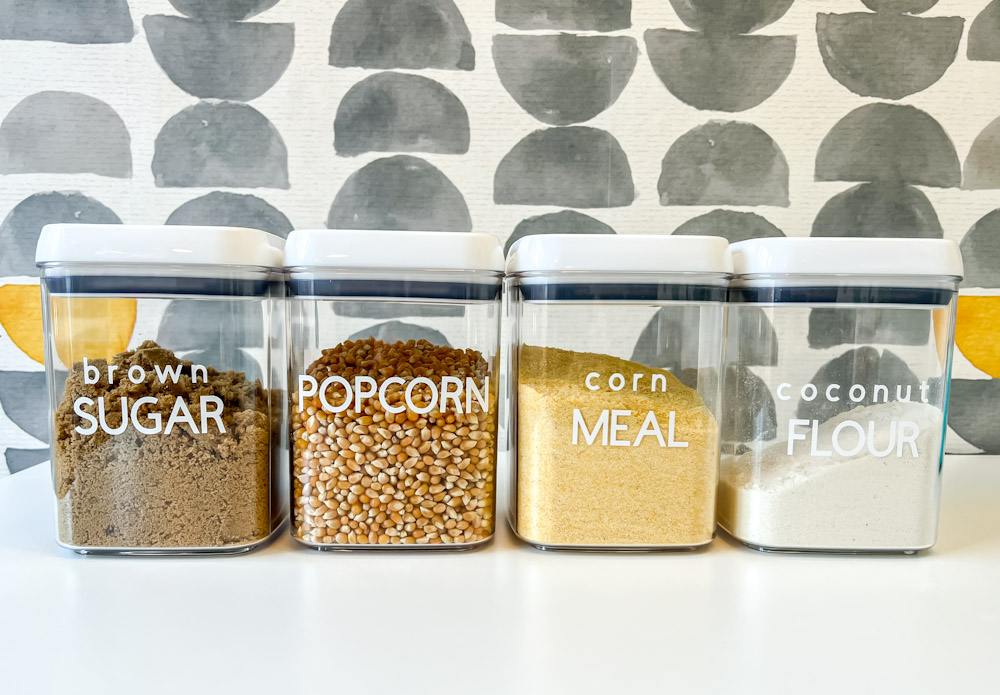
Here are the items that I made labels for:
Large containers:
- gluten free flour
- almond flour
- coconut flour
- protein powder
- rice
- sugar
Medium containers:
- brown sugar
- powdered sugar
- popcorn
- corn meal
Small containers
- baking powder
- baking soda
- tapioca flour
- monk fruit sweetener
- arrowroot starch
- chocolate chips
- cocoa powder
The remaining non-labeled containers held mostly snack foods, cereal, nuts and dried fruits. Because they are clear, you can see exactly what is inside, so really, a label isn’t necessary. I can also rotate these items every week or so without having to make or change labels.
How to make vinyl pantry labels with a Cricut:
Step 1: Measure your containers
This is a super important step that must be done first. Use a ruler or tape measurer to determine the maximum height and width for a label. In general, this will be the width and the height of the container as you don’t want the label to wrap around the side.
Step 2: Use Design Space to create the labels
I started with a blank project and played around with fonts and sizes until I landed on something I liked:
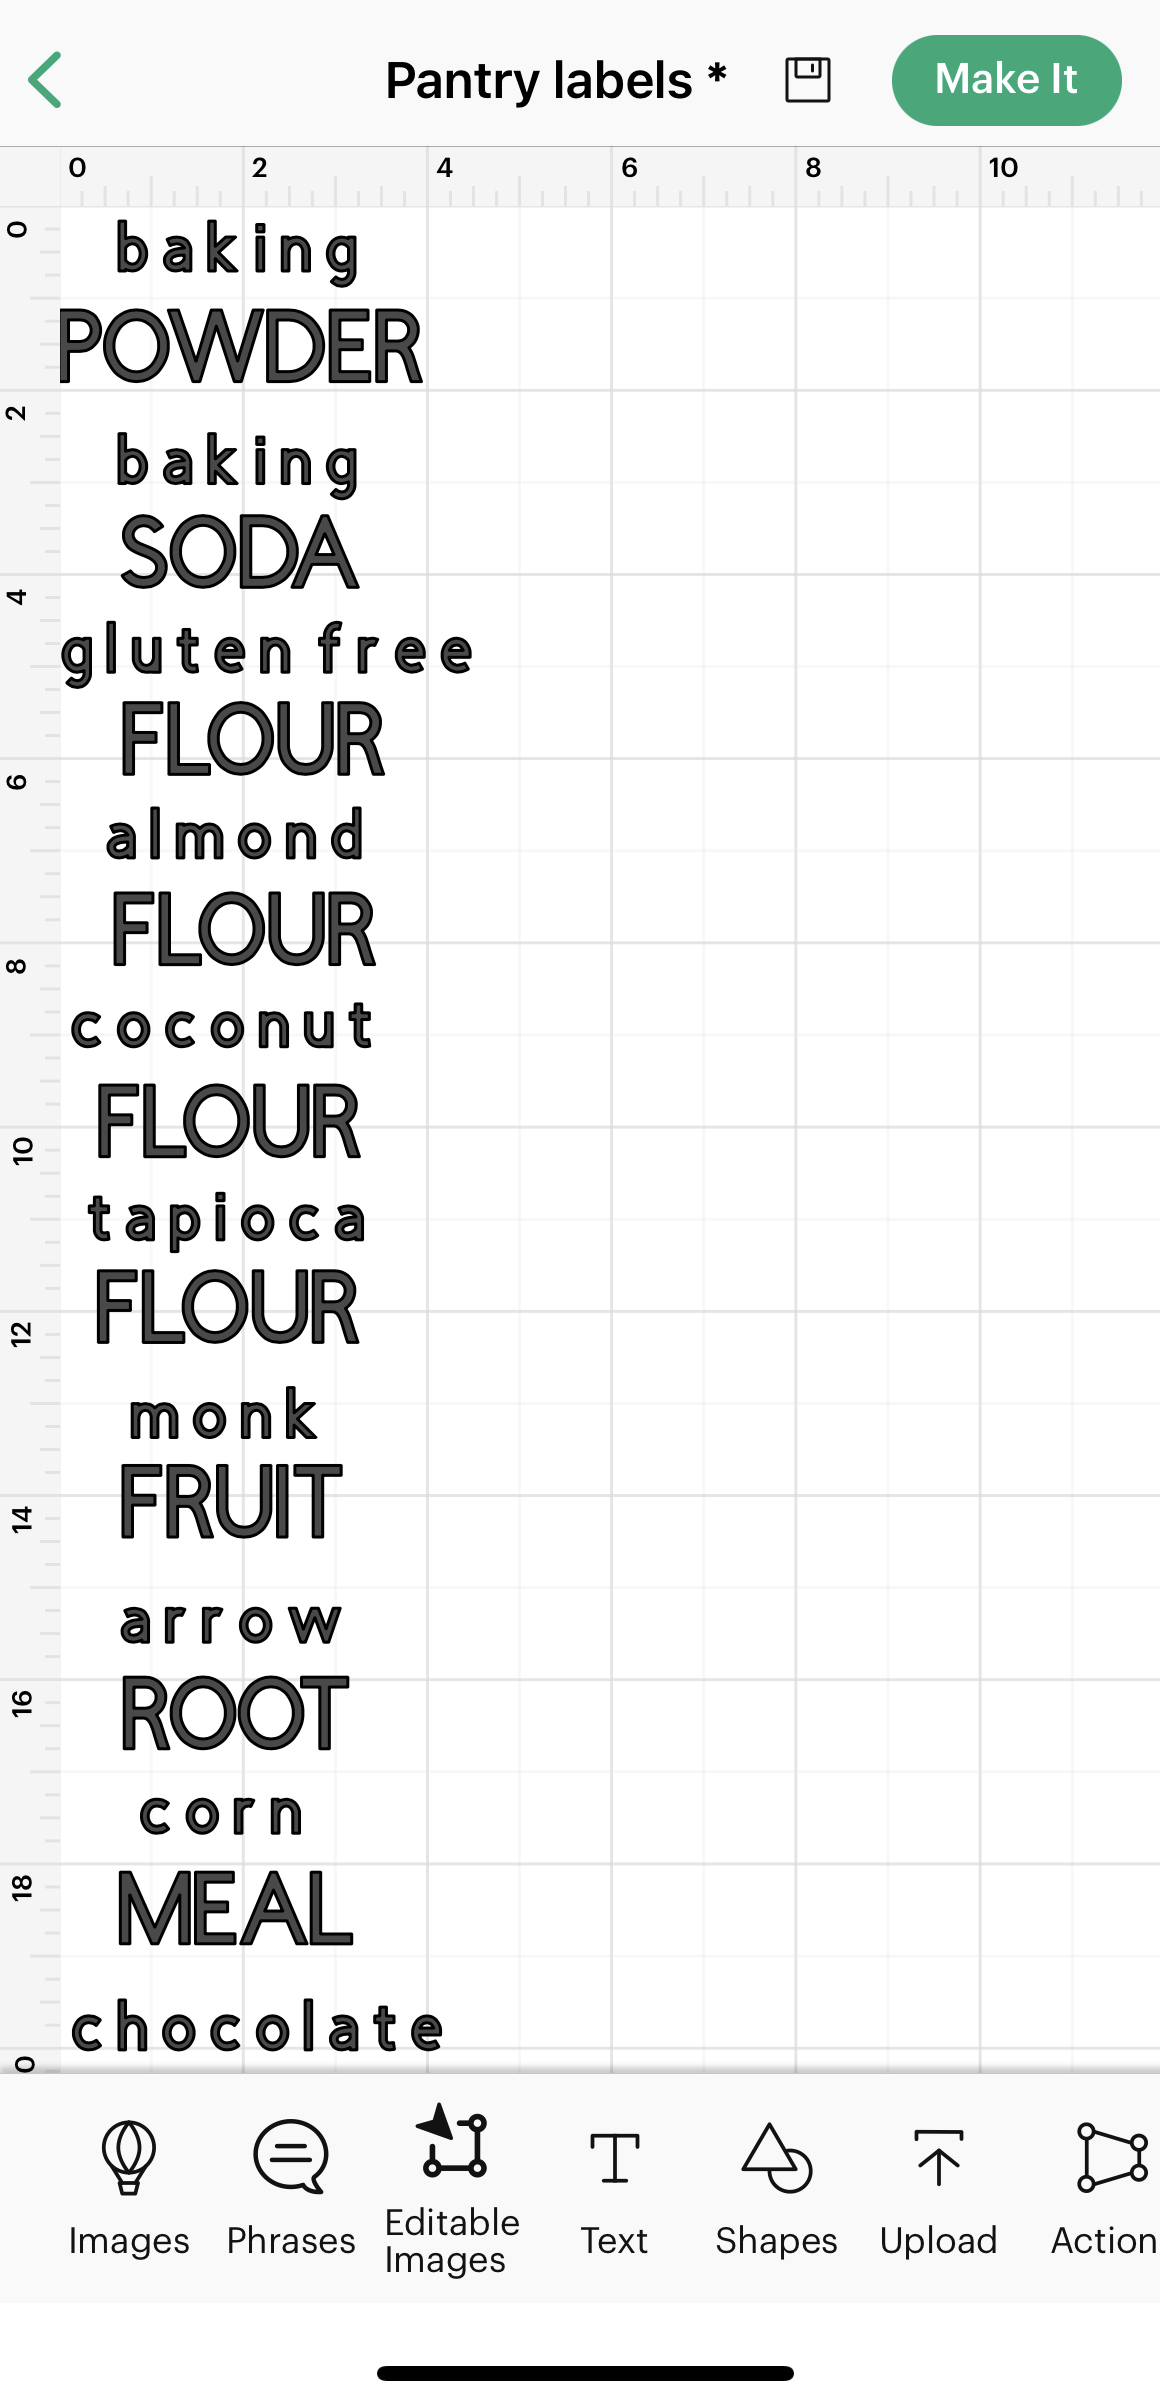
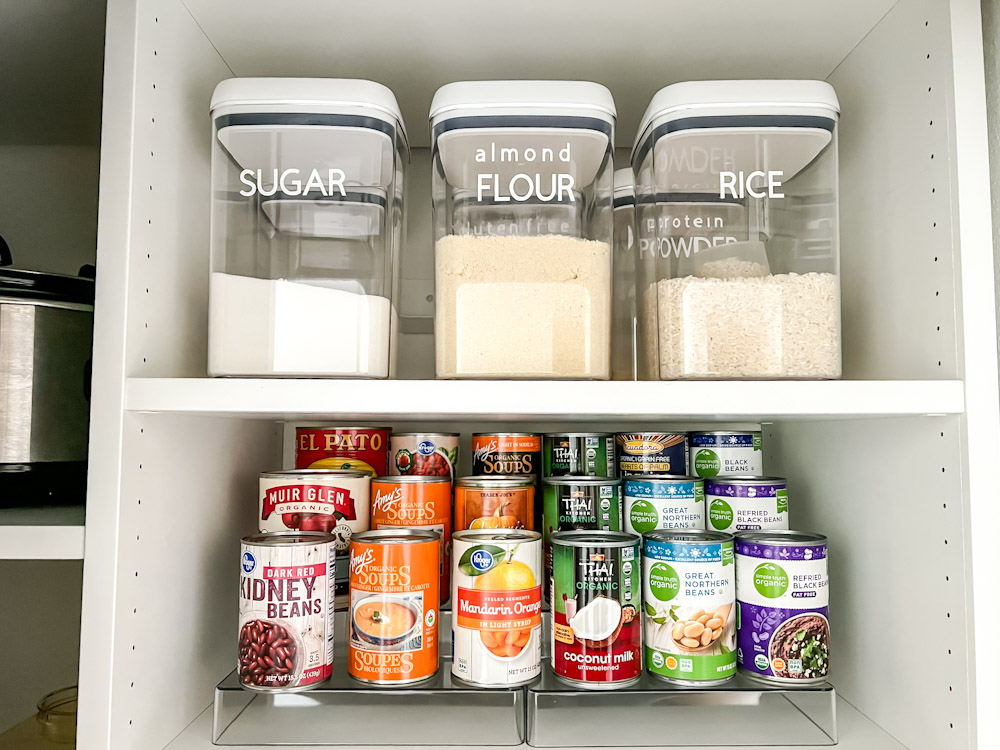
I used the font “CricutSans” in size 40 for the top word and 56.08 for the bottom word. I made sure the words were no wider than 4.5 inches. To help give the labels some interest I used all lower case letters with a space in between each letter for the top word (or words). For the lower word, I used all caps with no extra spaces.
Once I felt sure that the labels were the right size and would fit within my canister dimensions, I grouped each label (the top word and the bottom word) to make sure they would print perfectly aligned to the center.
Step 3: Add smart vinyl to you machine and cut:
I love to use smart vinyl for my labels because it doesn’t require a mat. All I have to do is cut the correct amount of vinyl (the Cricut Joy tells you how much) and feed it into the system.
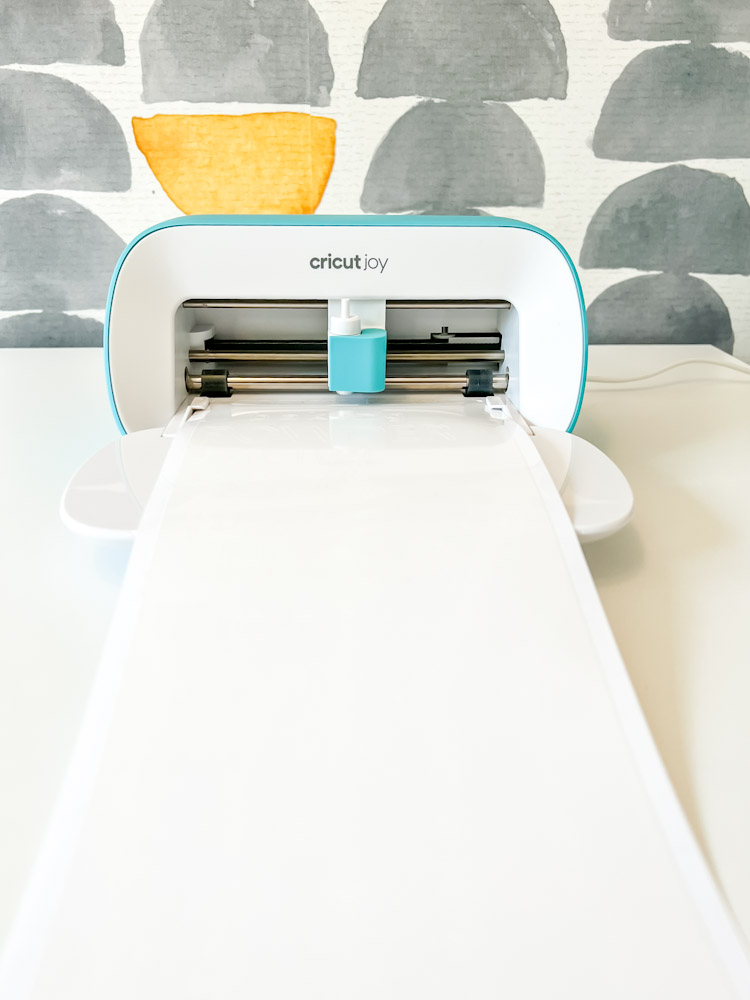
The Cricut Joy then does its magic and perfectly cuts all my vinyl pantry labels.
Step 4: Apply your labels
Once the cutting is done, use the weeding tool to remove the background, leaving only the letters on the sheet. Then cut out each label and press a similar sized piece of transfer tape on top of the letters. Use the scraping tool to press the letters into the tape and make sure they will stick when you peel off the backing paper.
Then get your clean, dry, container and decide where the label will be positioned. Peel off the backing paper (the letters should be stuck to the tape!) and press the tape onto the container. Use the scraping tool to push the letters onto the plastic container, then peel back the transfer tape.
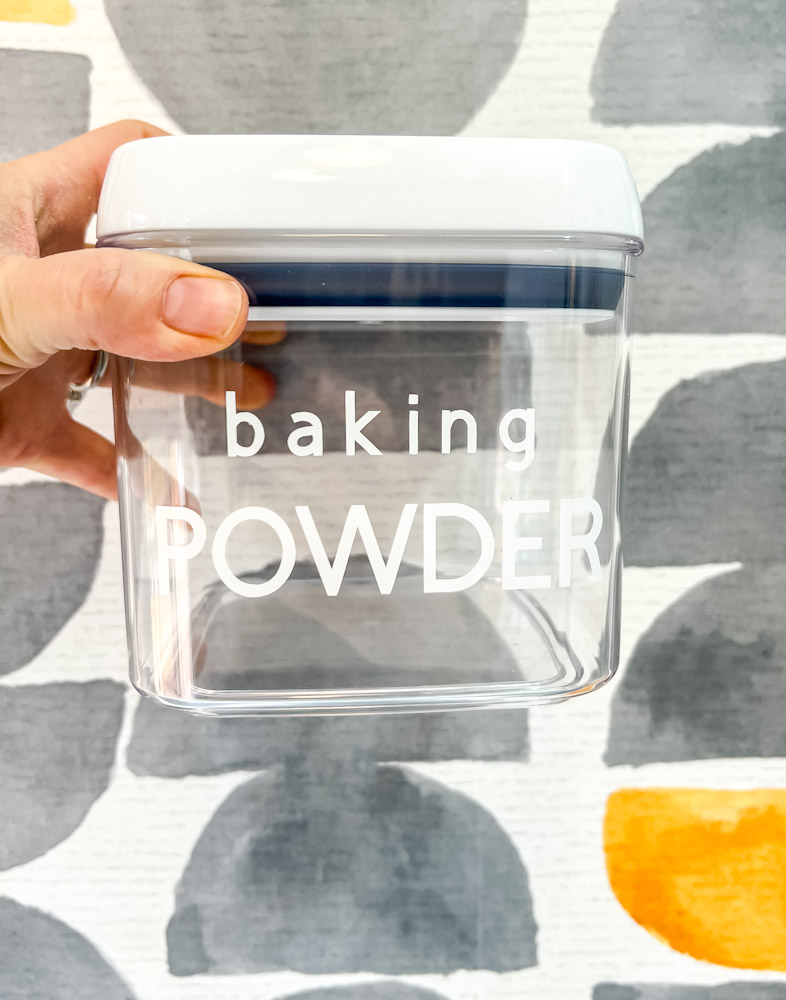
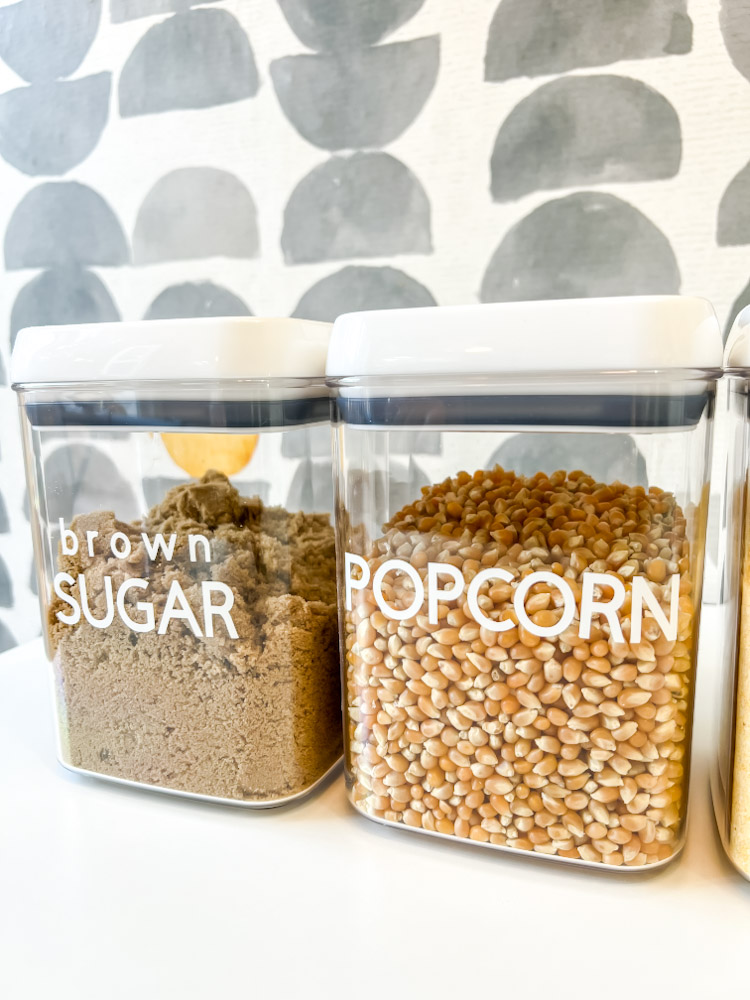
And…that’s it! Your containers are now labeled and ready to be filled.
The white vinyl is subtle but striking on the pantry containers. And I’m a fan of how the all lowercase/all caps font turned out. It feels different than the cursive fonts you often see and gives the pantry a lot of visual interest.
But most importantly, simplifying and labeling our pantry staples has made it SO MUCH easier to find thing. I’ve already found myself taking on new baking projects, knowing how easy it is to access the ingredients I need. I don’t miss all the annoying zip top packaging, boxes and bags AT ALL!
Let me know in the comments if you liked this tutorial and if you want to see more labeling projects like this in the future. I love the creativity you can add with labels and feel like I have a lot more ideas I can share.
And as alway, be sure to come say hello on Instagram and Tiktok where I love to share small home organization and design videos every week.

[…] How To Make Vinyl Pantry Labels With A Cricut […]